How to use a Soil Moisture Sensor (Resistance)
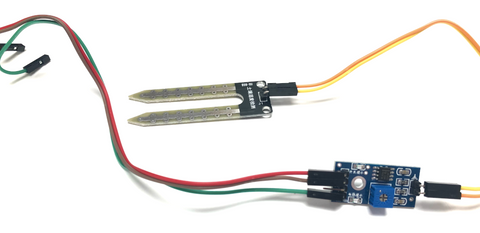
The Soil Moisture Sensor Module (Resistance) consists of two probes which are used to measure the volumetric content of water. The two probes allow the current to pass through and then it gets the resistance value to measure the moisture value. However, the major issue with resistive soil moisture sensor is the corrosion of the sensor probes. it is because it is in contact with the soil while there is also a DC current flowing which causes electrolysis of the sensors.
In this article, we will talk about how to wire and set up the module for operation with an Arduino Board.
Wiring
Most soil moisture sensor module operates between 3.3V to 5V and produce an analog output. For this project, we will be using Soil Moisture Sensor Module (Resistance), the one we carry in our shop.
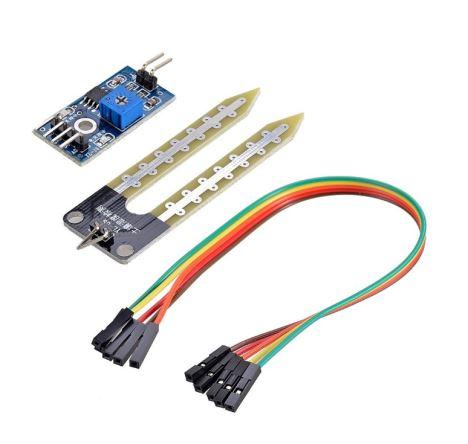
Parts
Wiring Guide
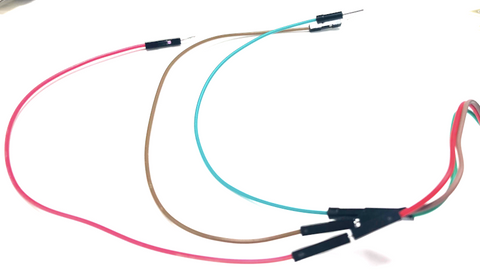
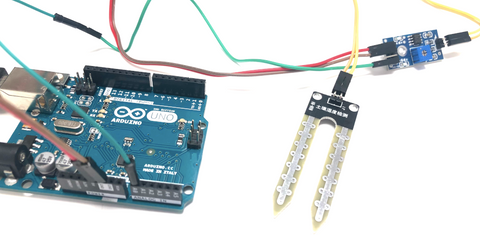
Step 1: Connect the pins the female to female jumper wires
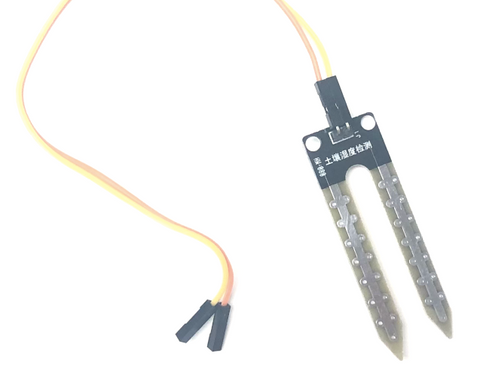
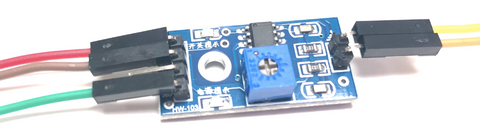
Step 2: Connect the other female heads to the amplifier
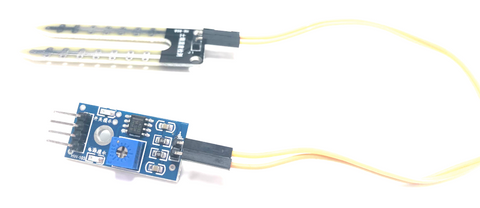
Step 3: Connect the pins on the amplifier with female to female jumper wires
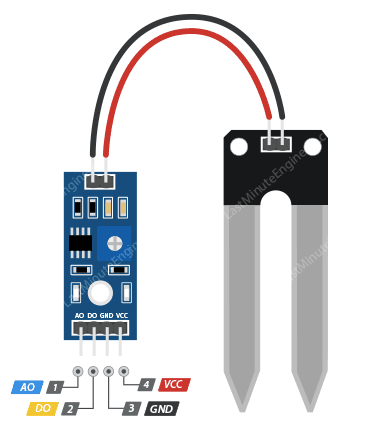
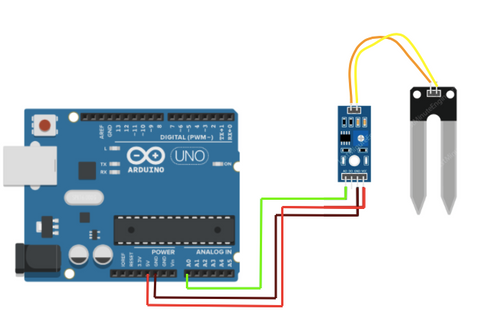
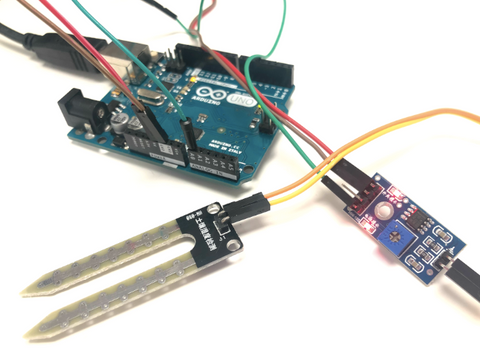
Step 4: Connect the amplifier to Arduino Board.
First, connect the other female head end with a male to male jumper wires.
Then, connect to Arduino Board.
- Amplifier GND -- Arduino GND pin
- Amplifier VCC -- Arduino VCC pin
- Amplifier A0 -- Arduino A0 pin
Programming
Before we get the accurate value for result, we need to know what are the values when the sensor is in water and when it is dry. If you want to skip the steps and jump to the Final Build.
Step 1: Create a variable for storing the sensor's output
int value = 0;
Step 2: Set up serial communication between Arduino and the sensor.
void setup(){
  Serial.begin(9600);
}
Step 3: Read the sensor's output
void loop(){
  value = analogRead(A0);
Step 4: Print out the value and wait for half a second for the next reading.
  Serial.println(value);
  delay(500);
}
Full Code
int value = 0;

void setup(){
  Serial.begin(9600);
}

void loop(){
  value = analogRead(A0);
  Serial.println(value);
  delay(500);
}
Now that you can measure the threshold values for the sensor. The values will vary depending on the water level.
Step 1: Put the sensor in a dry spot and record the highest value. I got 1023 in this example.
Serial Monitor:
![]()
Step 2: Put the sensor in a cup of water and record the lowest value. I got 352 in this example.
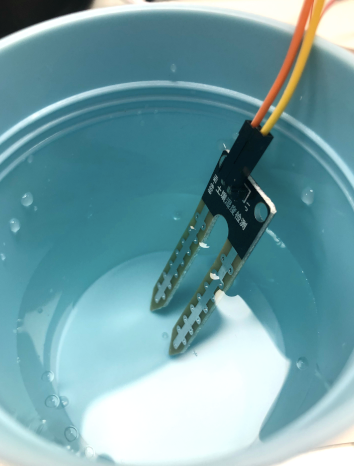
Serial Monitor:
![]()
Step 3: Wipe down the water on the sensor.
Final Build
Now that we know the values when the sensor is in water and when it is not. We can use those values as the threshold and determine the moistness percentage with the map function on Arduino. If you want to skip the steps and jump to the Full Code.
Step 1: Create variables to store the threshold values, sensor's output and percentage result.
const int dry = 1023;
const int wet = 352;
int value = 0;
int percentage = 0;
Step 2: Set up serial communication between Arduino and the sensor.
void setup(){
  Serial.begin(9600);
}
Step 3: Read the sensor's output.
void loop(){
  value = analogRead(A0);
Step 4: Use map function to change the range from the two threshold values to be from 0 to 100.
percentage = map(value, dry, wet, 0, 100);
Step 5: Print message according to the percentage, and wait for half a second for next reading.
if (percentage >= 100){
    Serial.println("100%");
  }
  else if (percentage <= 0){
    Serial.println("0%");
  }
  else {
    Serial.print(percentage);
    Serial.println("%");
  }
  delay(500);
}
Full Code
const int dry = 1023;
const int wet = 352;
int value = 0;
int percentage = 0;

void setup(){
  Serial.begin(9600);
}

void loop(){
  value = analogRead(A0);
  percentage = map(value, dry, wet, 0, 100);
  if (percentage >= 100){
    Serial.println("100%");
  }
  else if (percentage <= 0){
    Serial.println("0%");
  }
  else {
    Serial.print(percentage);
    Serial.println("%");
  }
  delay(500);
}
Output
When it is in the water

When it is not in the water
![]()