How to use The DSO138 Oscilloscope Kit
Our DSO138 Oscilloscope Kit is designed for ease in assembly and operation as all the parts are pre-soldered and the MCU has been pre-programmed with no additional requirement for programming. It uses a 2.4 inch TFT LCD as its display element that will display nice clear waveforms. If you don't like the default program, you can also upgrade or hack it for your application.
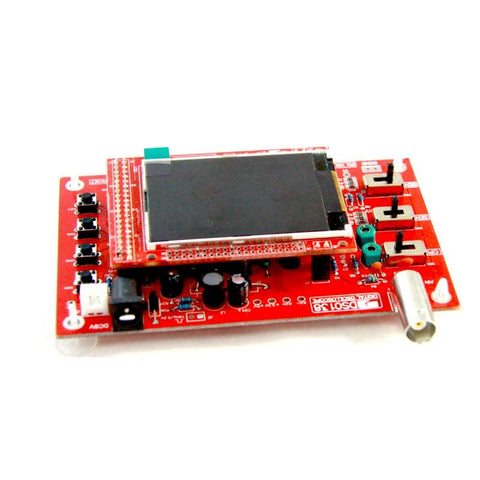
In this article, we will walk you through the set up and the operation with Oscilloscope Kit.
The kit comes with all the parts that have been soldered onto the PCB board, and 3 instructions manual.
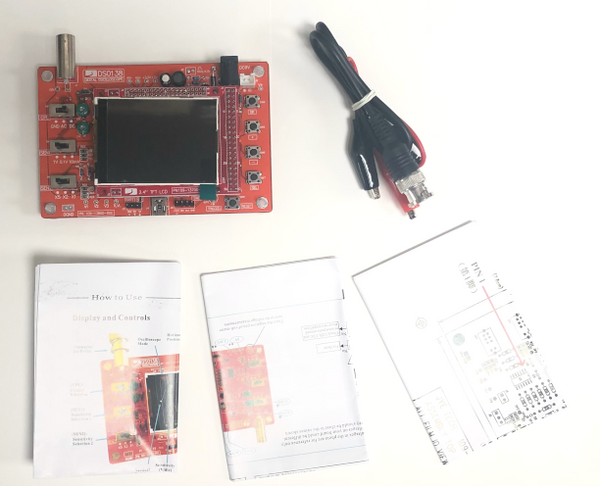
Parts
Connections
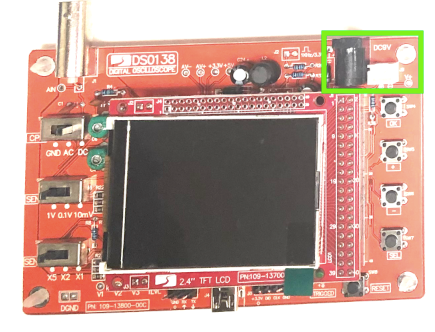
Power Supply: Connect DC power supply to J9 or J10. The power supply voltage must be in the range of 8V - 12V.
**Noted that, the power supply voltage must not exceed 12V. Otherwise, the regulator will get hot and you might see some smoke!
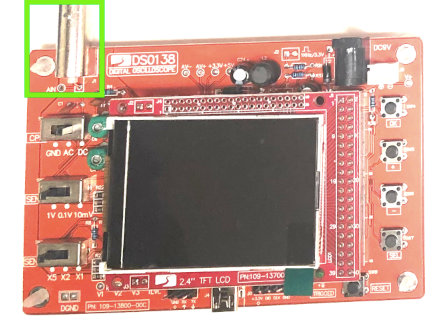
Probe: Connect the test probe to J1. The maximum allowable signal input voltage is 50Vpk (100Vpp) with the clip probe.
Operations
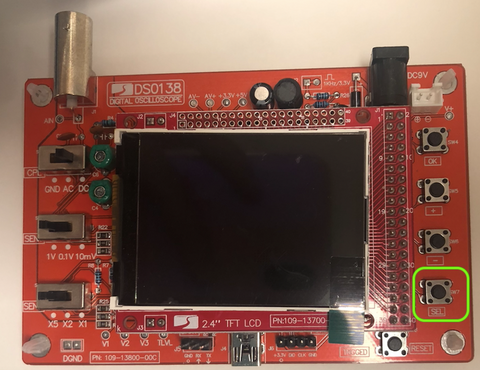
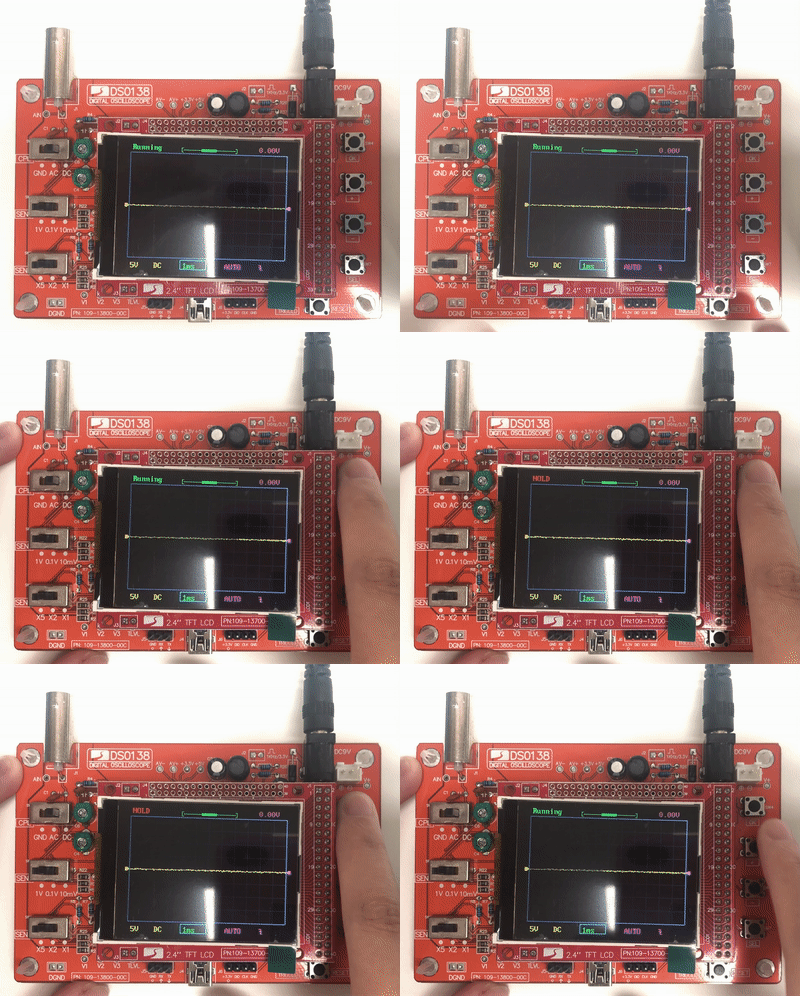
Press on [SEL] button: Select parameter to be adjusted. The selected parameter will be highlighed
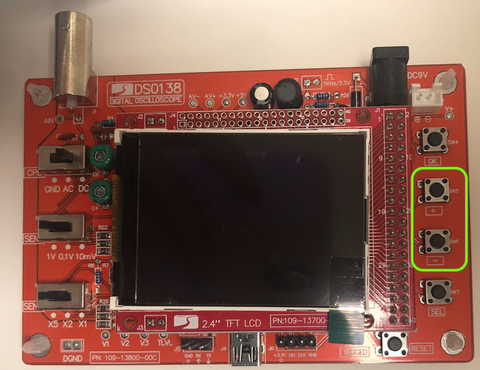
Press on [+] or[-] button: Adjust the parameter selected by [SEL] button.
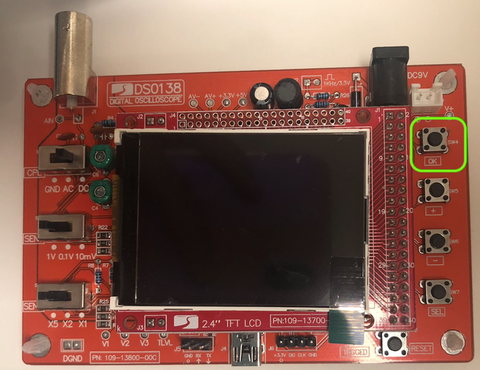
Press on [OK] button: Freeze waveform refresh (entering HOLD state). Press on it again will re-freeze.
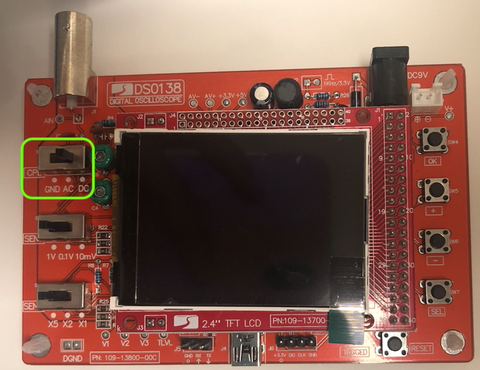
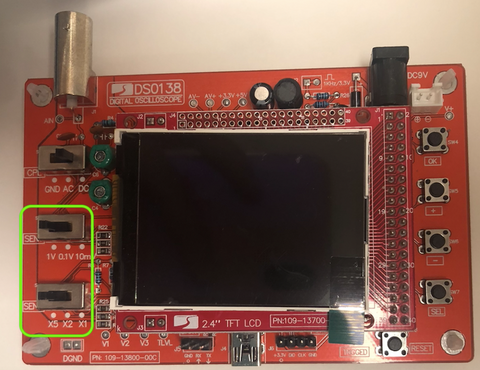
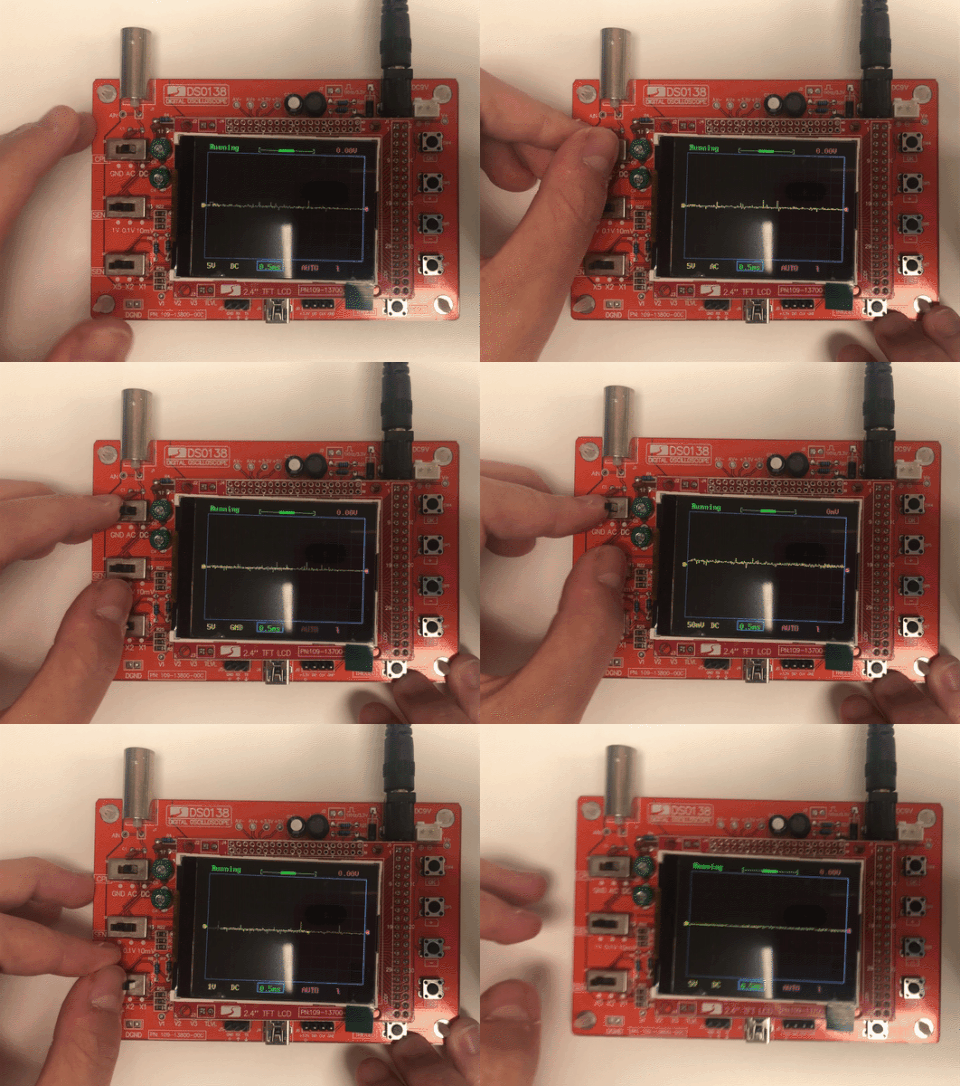
Change [CPL] switch: Set couple to DC, AC, or GND. When GND is selected the scope input is isolated from input signal and connected to ground (0V input).
Change [SEN1] or [SEN2] switch: Adjust sensitivity. The product of [SEN1] and [SEN2] settings makes the actual sensitivity which is displayed at the lower-left corner of the panel.
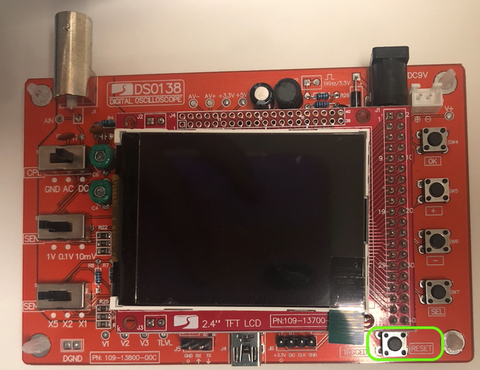
Press on [Reset] button: Perform a system reset and re-boots the oscilloscope.
Test and Use
Let's test out the oscilloscope kit and see how it works.
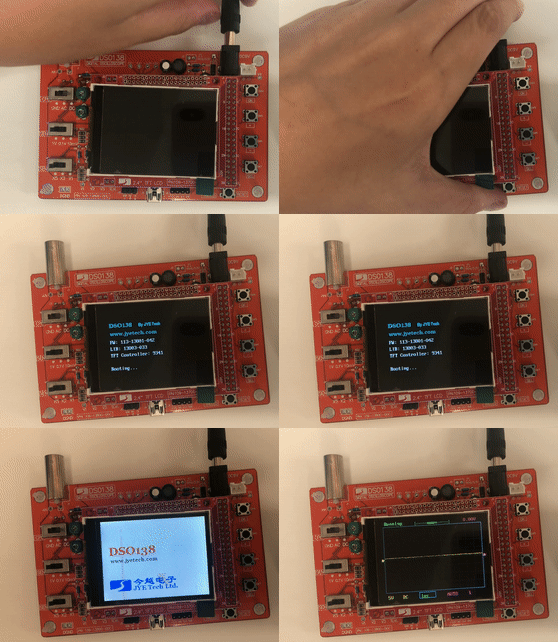
Step 1: Plug in a 9V power supply to J10 or J9. You should see the LCD lights up and oscilloscope panel displayed.
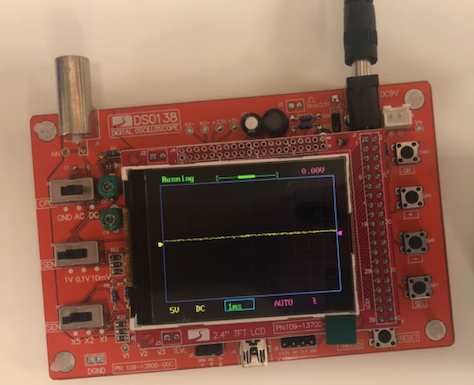
Step 2: Press various buttons and move the switches to verify their functions.
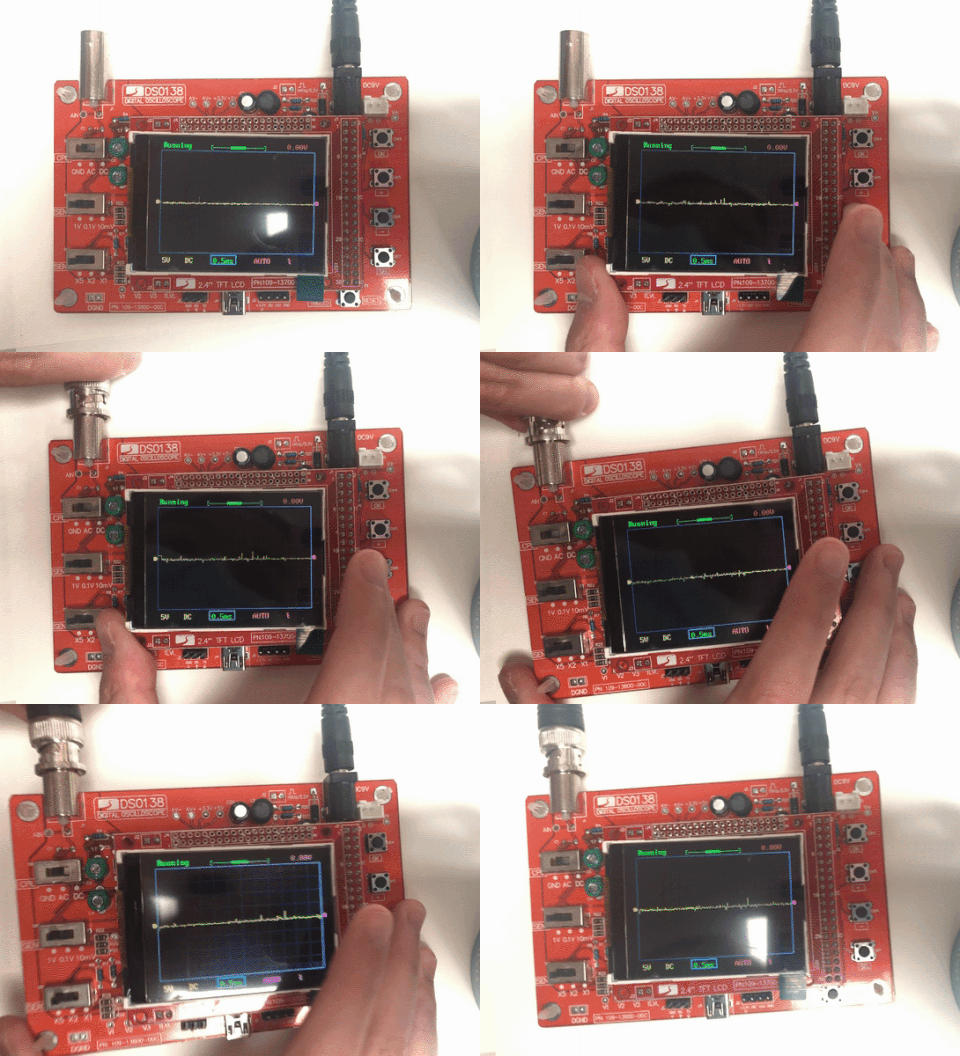
Step 3: Attach the probe to J1. Touch the red clip with your finger and see if there is any signal showing on the display.
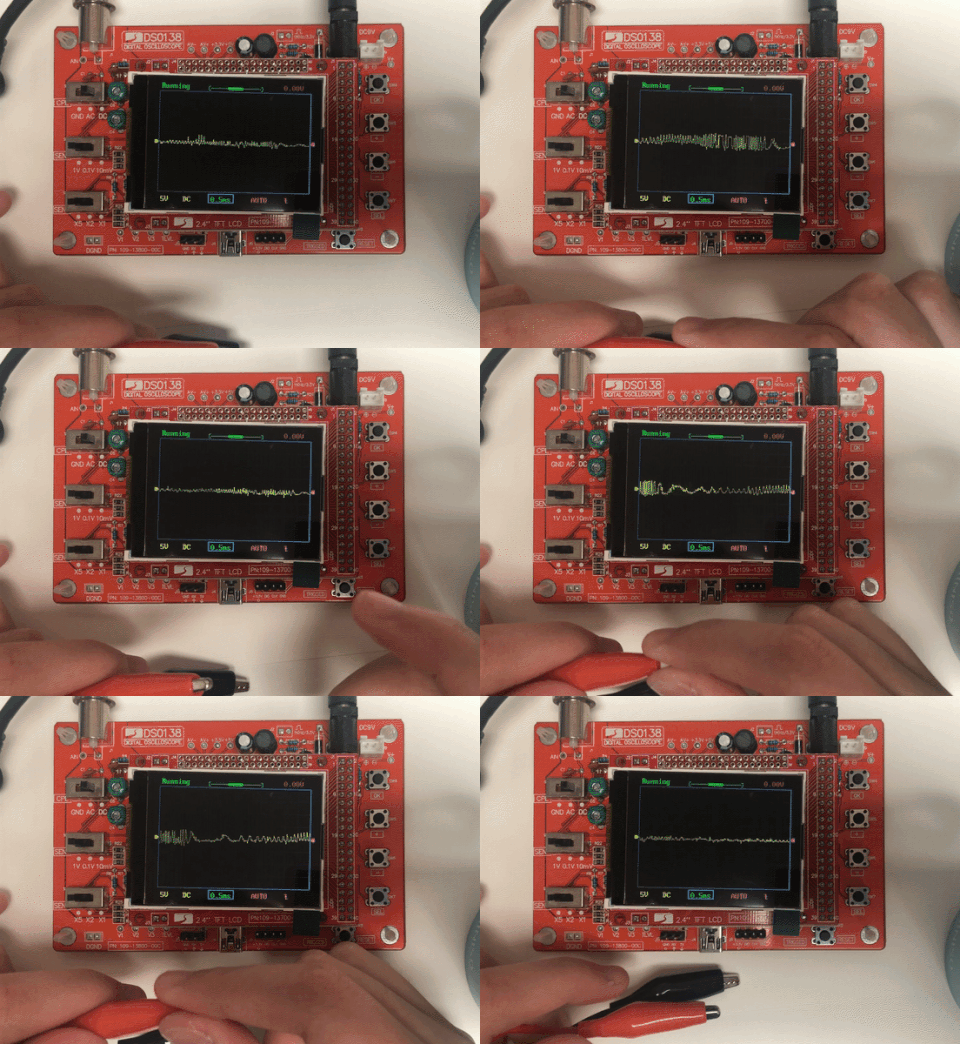
Now, you can connect the red and black clips to a circuit and test out the results, such as the voltage, current and more.