How to use a 8-digit SPI 7-segment LED Display
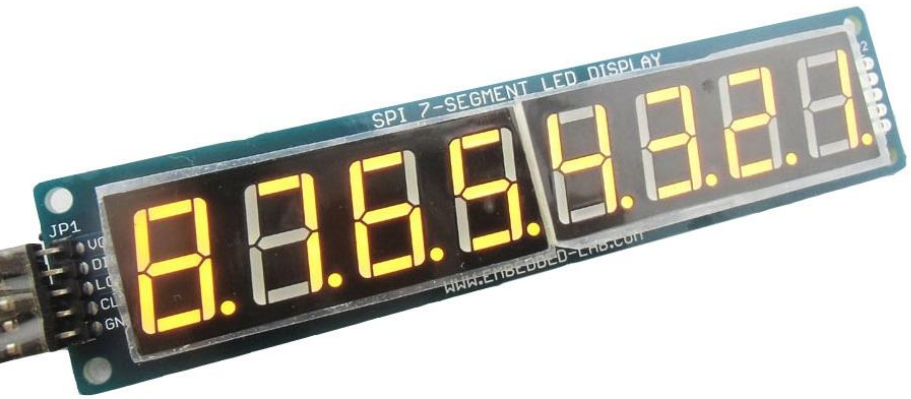
The 8-digit SPI 7-segment LED display consists of 8 7SEG LED displays which supports SPI interface for controlling the display data. This display only requires 5 wires to activate 8 digits.

Wiring
The 8-digit SPI 7-segment LED display relies on the digital output pins to operate. In this guide, we will be using the 8-Digit SPI 7-Segment LED Display from our store.
Parts
Wiring Guide
| 7SEG | Arduino |
|---|---|
| VCC | 5V |
| DIN | Pin 7 |
| LOAD | Pin 5 |
| CLK | Pin 6 |
| GND | GND |
Programming
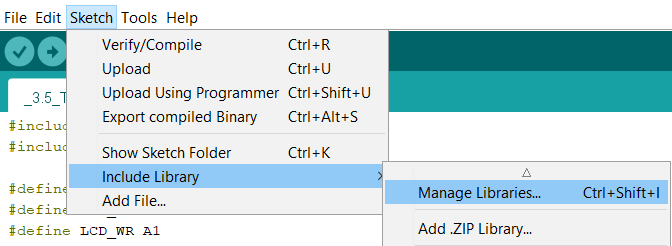
Step 1: Before we start coding, we first have to download the needed libraries.

Step 2: Enter LedControl and install the first search.
Step 3: Declare your libraries
#include "LedControl.h"
Step 4: Create an object using LedControl.
LedControl lc = LedControl(7,6,5,1);
ledControl(pin connected to DIN, CLK, LOAD, # of chips);
Step 5: Initialize the MAX7219 device.
lc.shutdown(0,false);  // Enable display (false = turn on, true = turn off)
lc.setIntensity(0,5);  // Set brightness level (0 is min, 15 is max)
lc.clearDisplay(0);    // Clear display register
//you are now done with setting up the 7SEG
Full Code
#include "LedControl.h"
LedControl lc = LedControl(7,6,5,1);

void setup(){
    lc.shutdown(0,false);
    lc.setIntensity(0,5);
    lc.clearDisplay(0);
}
Example
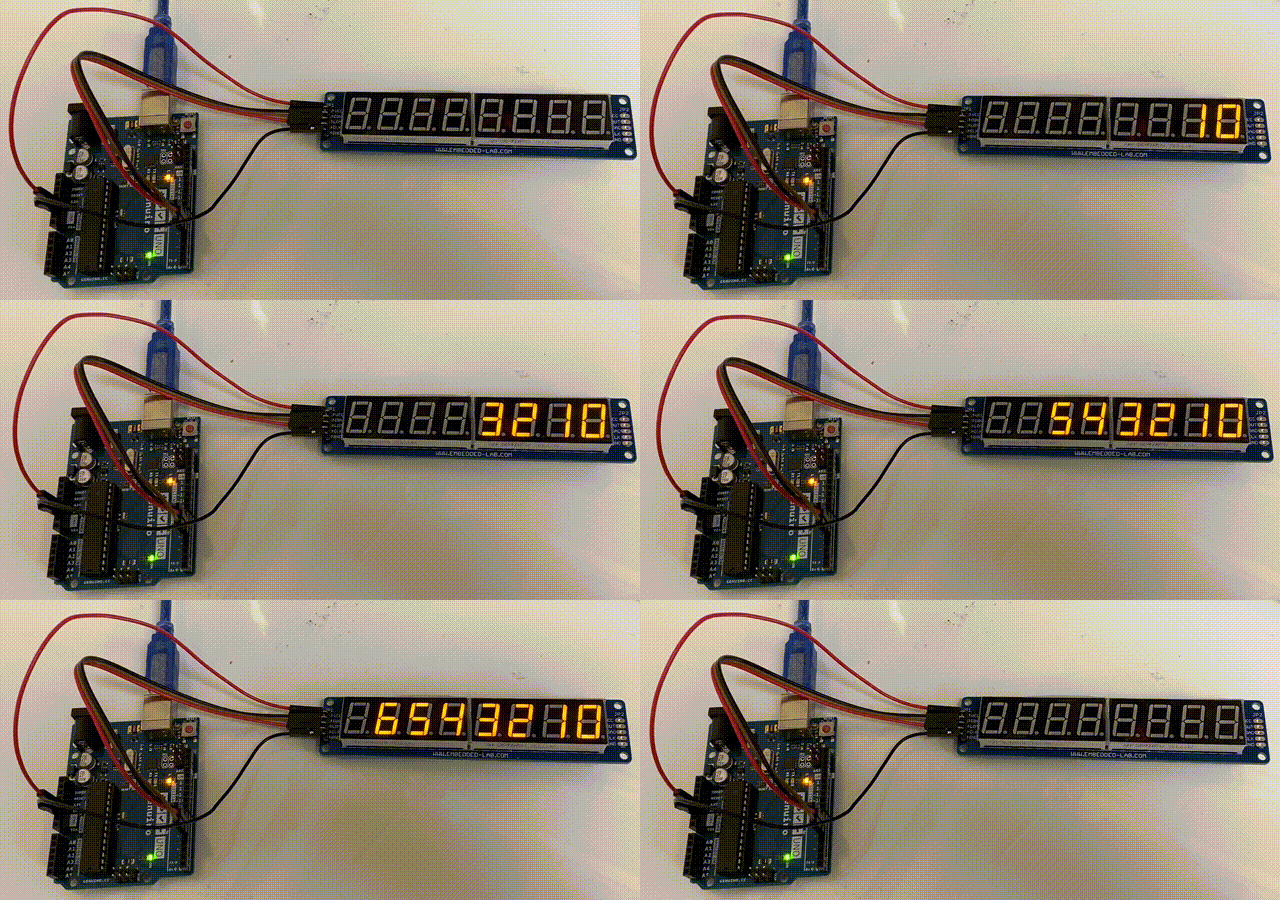
Let's write a code that allows the 7SEG to display an ascending number every second, starting with 0 on the right and ending with a 7 on the left.
Step 1: For this example, we will use the For Loop.
void loop(){
    for(int i = 0; i < 8; i++){
        lc.setDigit(0, i, i, false);
        delay(1000);
    }
    lc.clearDisplay(0); // clears the entire 8-digit 7-SEG
    delay(1000); // wait for 1 second before restarting the whole sequence
}
lc.setDigit(chip, position, number you want, decimal Y/N);
Full Code
#include "LedControl.h"
LedControl lc = LedControl(7,6,5,1);

void setup(){
    lc.shutdown(0,false);
    lc.setIntensity(0,5);
    lc.clearDisplay(0);
}

void loop(){
    for(int i = 0; i < 8; i++){
        lc.setDigit(0, i, i, false);
        delay(1000);
    }
    lc.clearDisplay(0);
    delay(1000);
}
Output
