12. MAX7219 LED Matrix
The MAX7219 is an integrated serial input/output common-cathode display driver that connects your microcontroller to a 8-digit 7-segment digital LED display or a 8x8 LED matrix. It is especially useful when you need to control a large number of LEDs with minimal pin usage. In this tutorial, we will learn how to set up and use the MAX7219 LED matrix module with an Arduino.
Materials
| Component | Image |
|---|---|
| Breadboard | 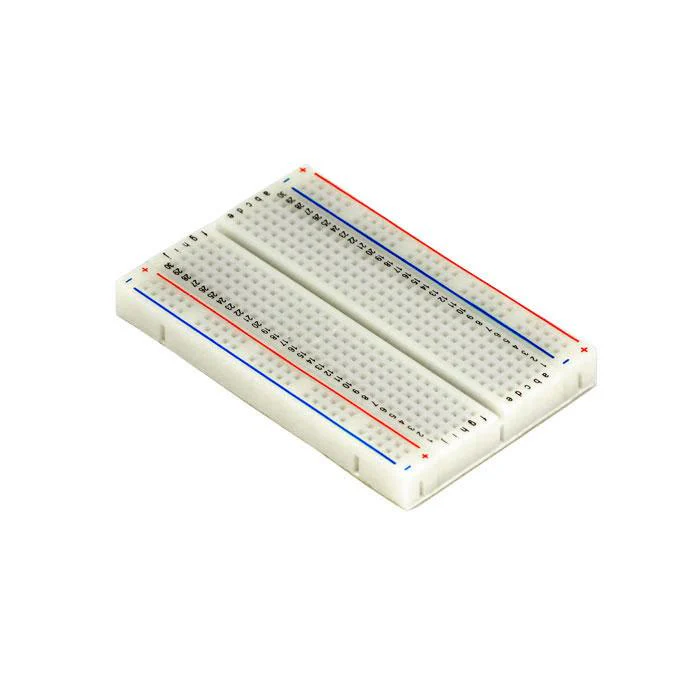 |
| Jumper wires | 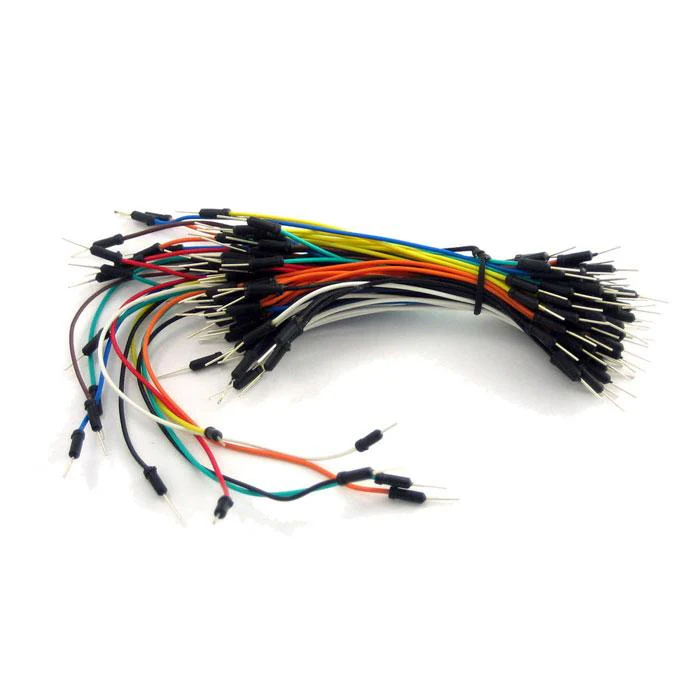 |
| Arduino Uno R4 Minima | 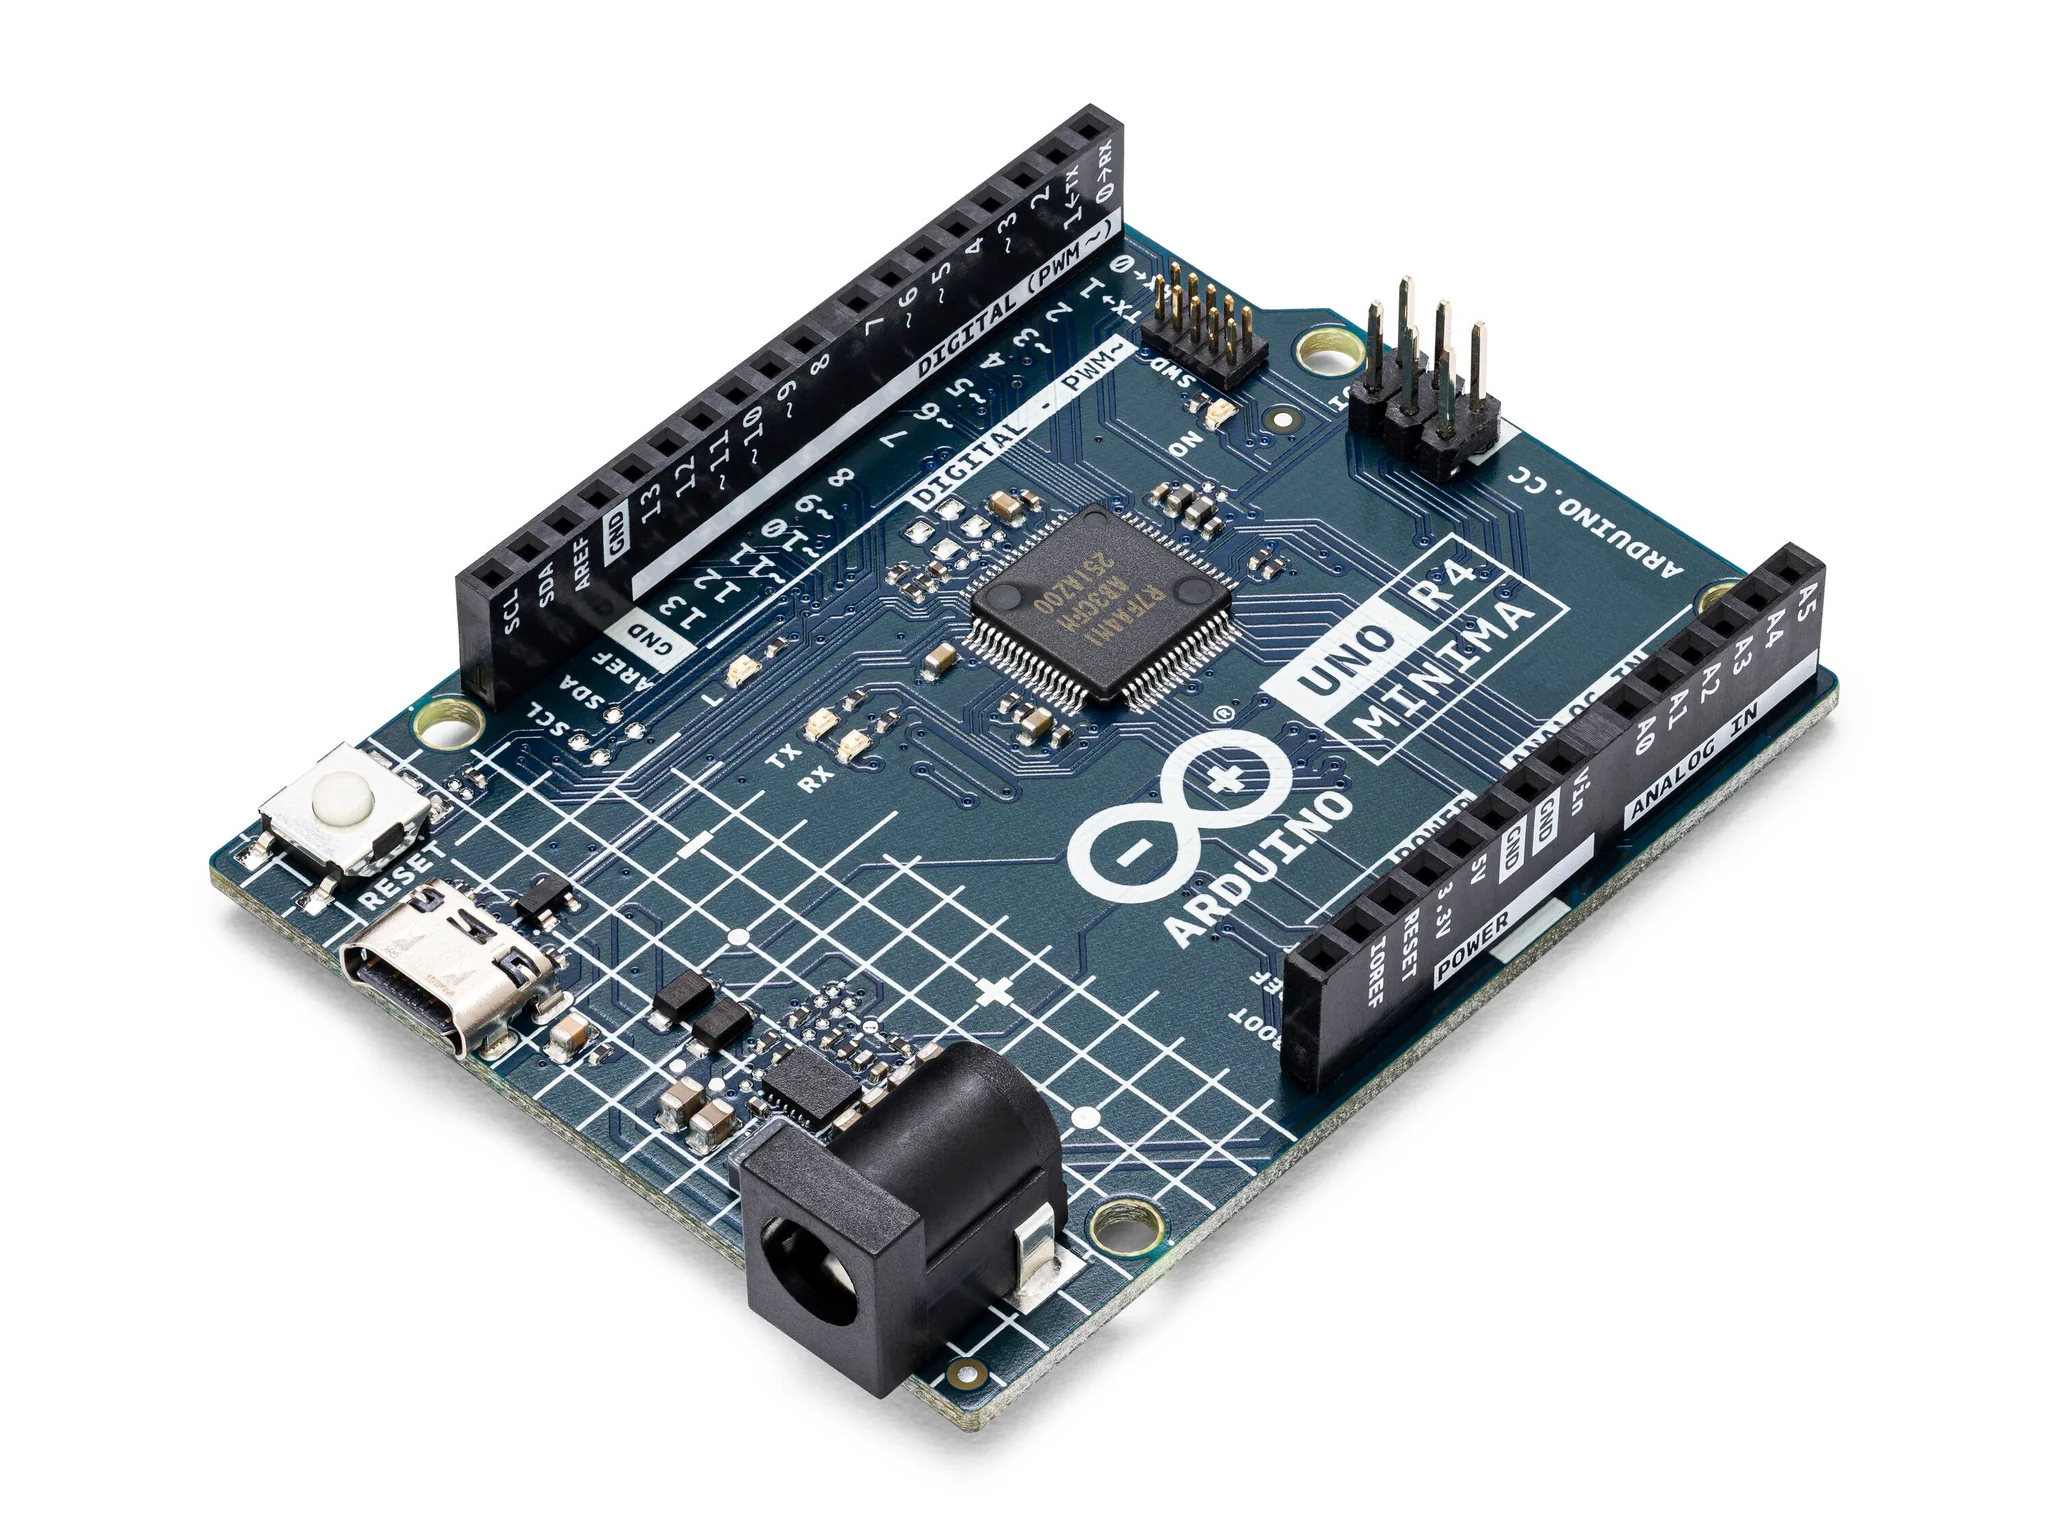 |
| MAX7219 Module | 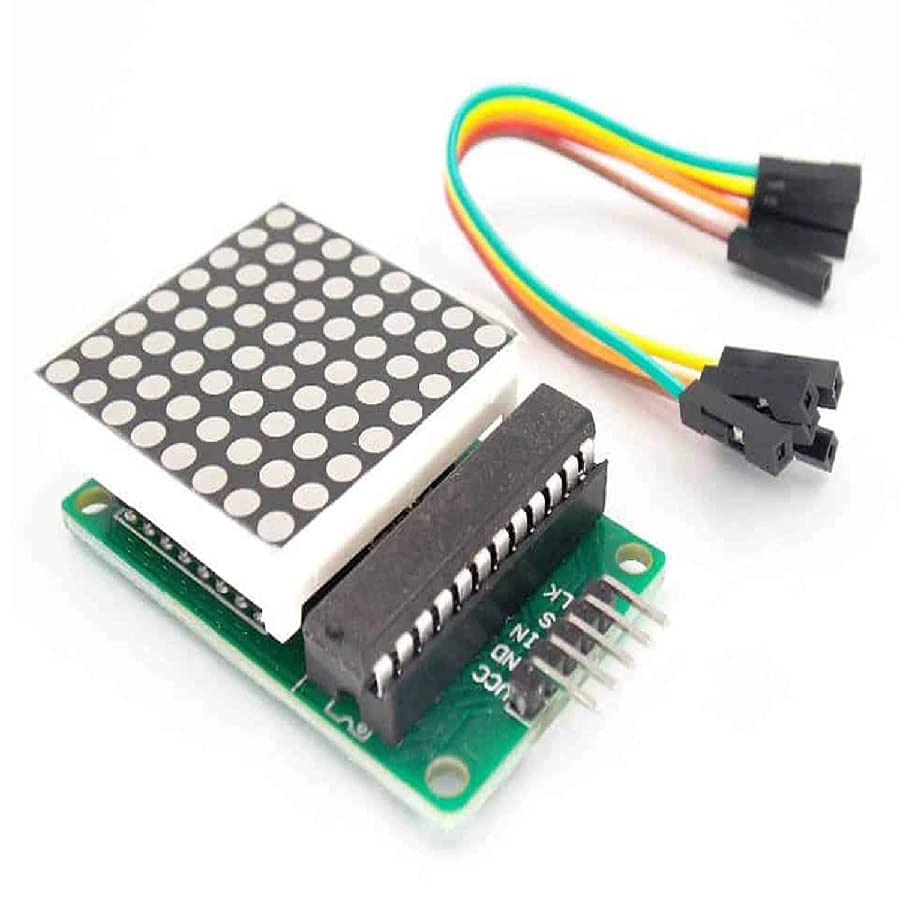 |
Instructions
- Make the following connections using the breadboard and jumper wires.
Connections
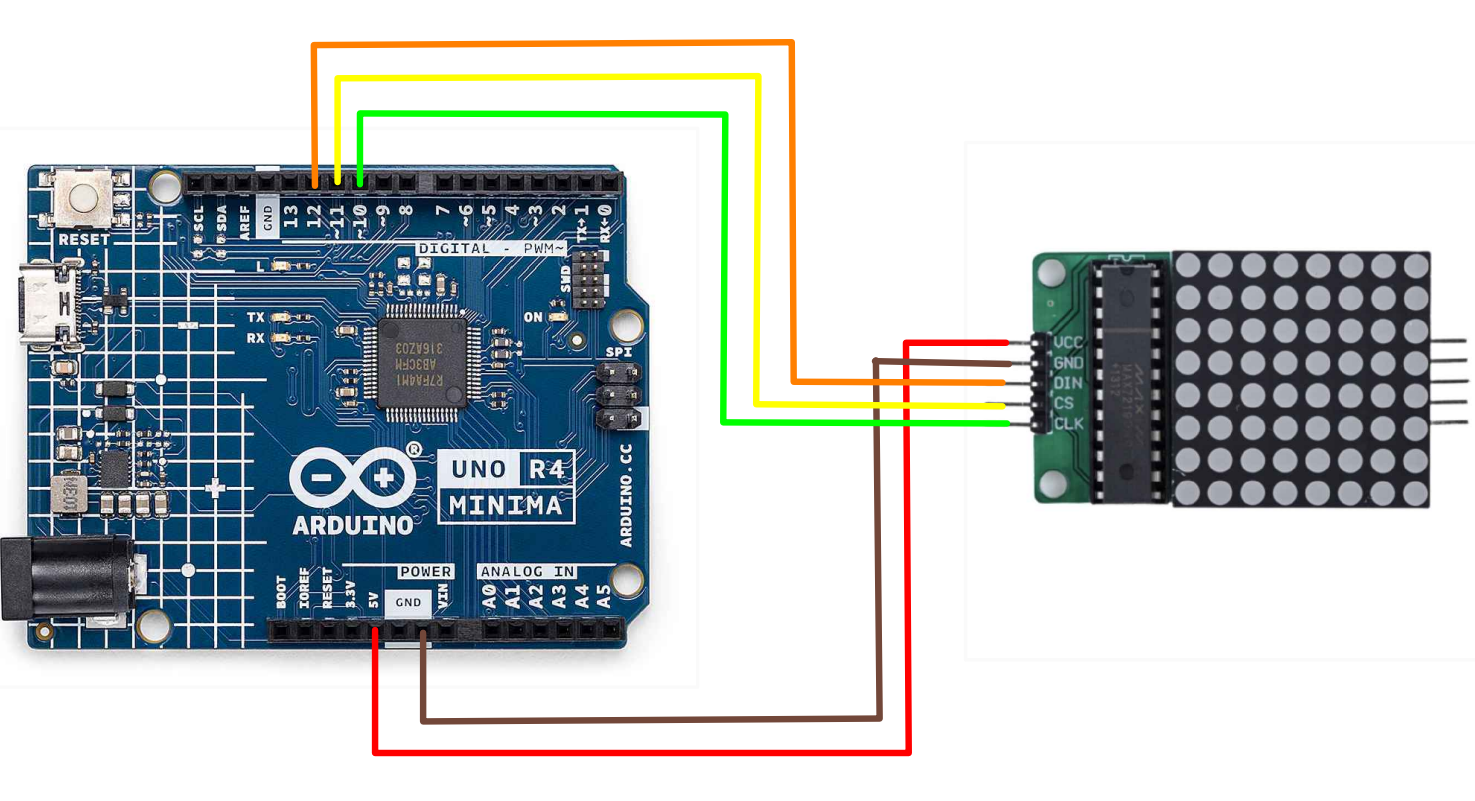
(MAX7219 to Arduino)
- Vcc to 5V
- GND to GND
- DIN to pin 12
- CS to pin 11
- CLK to pin 10
-
Download the LedControl library from the Library Manager in the Arduino IDE.
-
Paste the following code into your main Arduino sketch:
Code
#include <LedControl.h>

LedControl lc=LedControl(12,10,11,1);

/* we always wait a bit between updates of the display */
unsigned long delaytime1=500;
unsigned long delaytime2=50;
void setup() {
  /*
   The MAX72XX is in power-saving mode on startup,
   we have to do a wakeup call
   */
  lc.shutdown(0,false);
  /* Set the brightness to a medium values */
  lc.setIntensity(0,8);
  /* and clear the display */
  lc.clearDisplay(0);
}

/*
 This method will display the characters for the
 word "Arduino" one after the other on the matrix.
 (you need at least 5x7 leds to see the whole chars)
 */
void writeArduinoOnMatrix() {
  /* here is the data for the characters */
  byte a[5]={B01111110,B10001000,B10001000,B10001000,B01111110};
  byte r[5]={B00010000,B00100000,B00100000,B00010000,B00111110};
  byte d[5]={B11111110,B00010010,B00100010,B00100010,B00011100};
  byte u[5]={B00111110,B00000100,B00000010,B00000010,B00111100};
  byte i[5]={B00000000,B00000010,B10111110,B00100010,B00000000};
  byte n[5]={B00011110,B00100000,B00100000,B00010000,B00111110};
  byte o[5]={B00011100,B00100010,B00100010,B00100010,B00011100};

  /* now display them one by one with a small delay */
  lc.setRow(0,0,a[0]);
  lc.setRow(0,1,a[1]);
  lc.setRow(0,2,a[2]);
  lc.setRow(0,3,a[3]);
  lc.setRow(0,4,a[4]);
  delay(delaytime1);
  lc.setRow(0,0,r[0]);
  lc.setRow(0,1,r[1]);
  lc.setRow(0,2,r[2]);
  lc.setRow(0,3,r[3]);
  lc.setRow(0,4,r[4]);
  delay(delaytime1);
  lc.setRow(0,0,d[0]);
  lc.setRow(0,1,d[1]);
  lc.setRow(0,2,d[2]);
  lc.setRow(0,3,d[3]);
  lc.setRow(0,4,d[4]);
  delay(delaytime1);
  lc.setRow(0,0,u[0]);
  lc.setRow(0,1,u[1]);
  lc.setRow(0,2,u[2]);
  lc.setRow(0,3,u[3]);
  lc.setRow(0,4,u[4]);
  delay(delaytime1);
  lc.setRow(0,0,i[0]);
  lc.setRow(0,1,i[1]);
  lc.setRow(0,2,i[2]);
  lc.setRow(0,3,i[3]);
  lc.setRow(0,4,i[4]);
  delay(delaytime1);
  lc.setRow(0,0,n[0]);
  lc.setRow(0,1,n[1]);
  lc.setRow(0,2,n[2]);
  lc.setRow(0,3,n[3]);
  lc.setRow(0,4,n[4]);
  delay(delaytime1);
  lc.setRow(0,0,o[0]);
  lc.setRow(0,1,o[1]);
  lc.setRow(0,2,o[2]);
  lc.setRow(0,3,o[3]);
  lc.setRow(0,4,o[4]);
  delay(delaytime1);
  lc.setRow(0,0,0);
  lc.setRow(0,1,0);
  lc.setRow(0,2,0);
  lc.setRow(0,3,0);
  lc.setRow(0,4,0);
  delay(delaytime1);
}

/*
  This function lights up a some Leds in a row.
 The pattern will be repeated on every row.
 The pattern will blink along with the row-number.
 row number 4 (index==3) will blink 4 times etc.
 */
void rows() {
  for(int row=0;row<8;row++) {
    delay(delaytime2);
    lc.setRow(0,row,B10100000);
    delay(delaytime2);
    lc.setRow(0,row,(byte)0);
    for(int i=0;i<row;i++) {
      delay(delaytime2);
      lc.setRow(0,row,B10100000);
      delay(delaytime2);
      lc.setRow(0,row,(byte)0);
    }
  }
}

/*
  This function lights up a some Leds in a column.
 The pattern will be repeated on every column.
 The pattern will blink along with the column-number.
 column number 4 (index==3) will blink 4 times etc.
 */
void columns() {
  for(int col=0;col<8;col++) {
    delay(delaytime2);
    lc.setColumn(0,col,B10100000);
    delay(delaytime2);
    lc.setColumn(0,col,(byte)0);
    for(int i=0;i<col;i++) {
      delay(delaytime2);
      lc.setColumn(0,col,B10100000);
      delay(delaytime2);
      lc.setColumn(0,col,(byte)0);
    }
  }
}

/*
 This function will light up every Led on the matrix.
 The led will blink along with the row-number.
 row number 4 (index==3) will blink 4 times etc.
 */
void single() {
  for(int row=0;row<8;row++) {
    for(int col=0;col<8;col++) {
      delay(delaytime2);
      lc.setLed(0,row,col,true);
      delay(delaytime2);
      for(int i=0;i<col;i++) {
        lc.setLed(0,row,col,false);
        delay(delaytime2);
        lc.setLed(0,row,col,true);
        delay(delaytime2);
      }
    }
  }
}

void loop() {
  writeArduinoOnMatrix();
  rows();
  columns();
  single();
}
-
Connect your Arduino to your laptop using a USB-C cable and upload the code to the arduino.
-
Test!
| Prev | Next |
|---|---|
| 11. IR Receiver Module | 13. GY-521 Module |