8. Membrane Switch Module
This tutorial will help you learn how to use a membrane switch module. This makes user interface a lot easier!
Materials
| Component | Image |
|---|---|
| Breadboard | 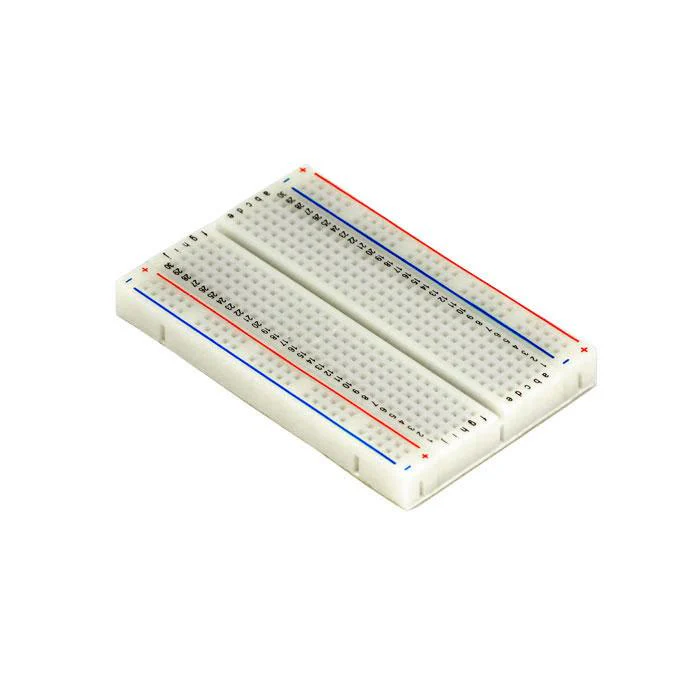 |
| Jumper wires | 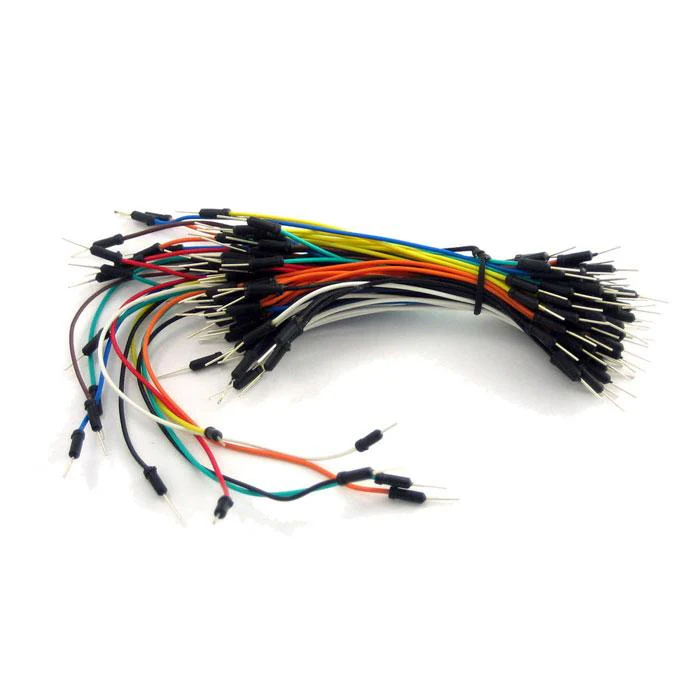 |
| Arduino Uno R4 Minima | 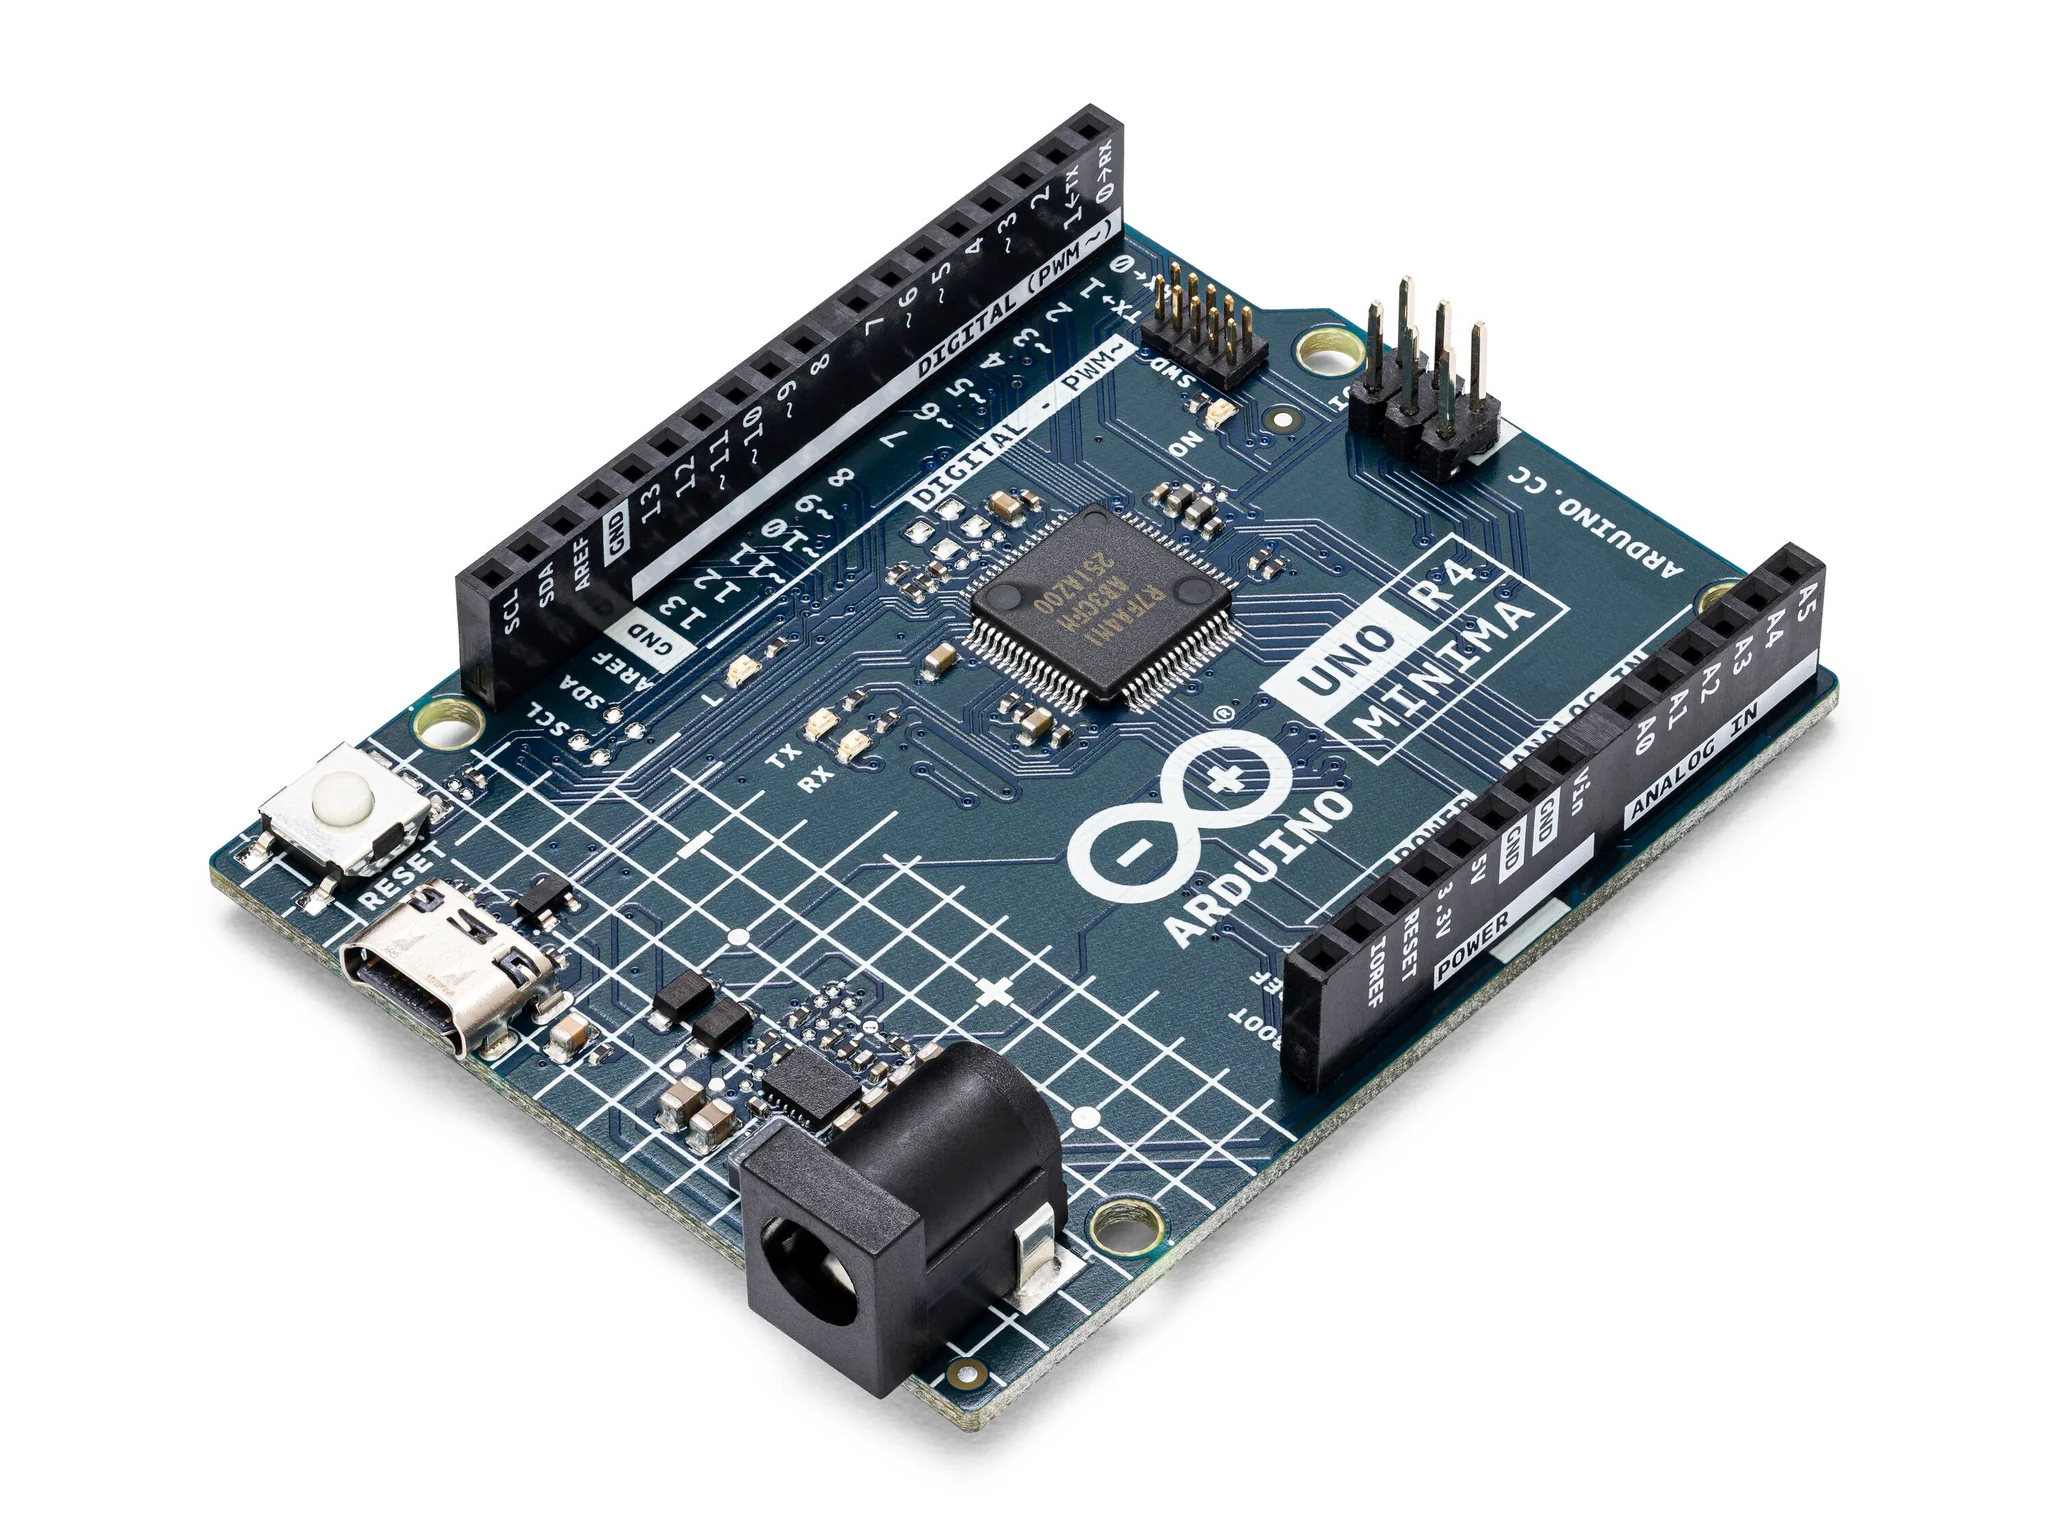 |
| Membrane Switch Module | 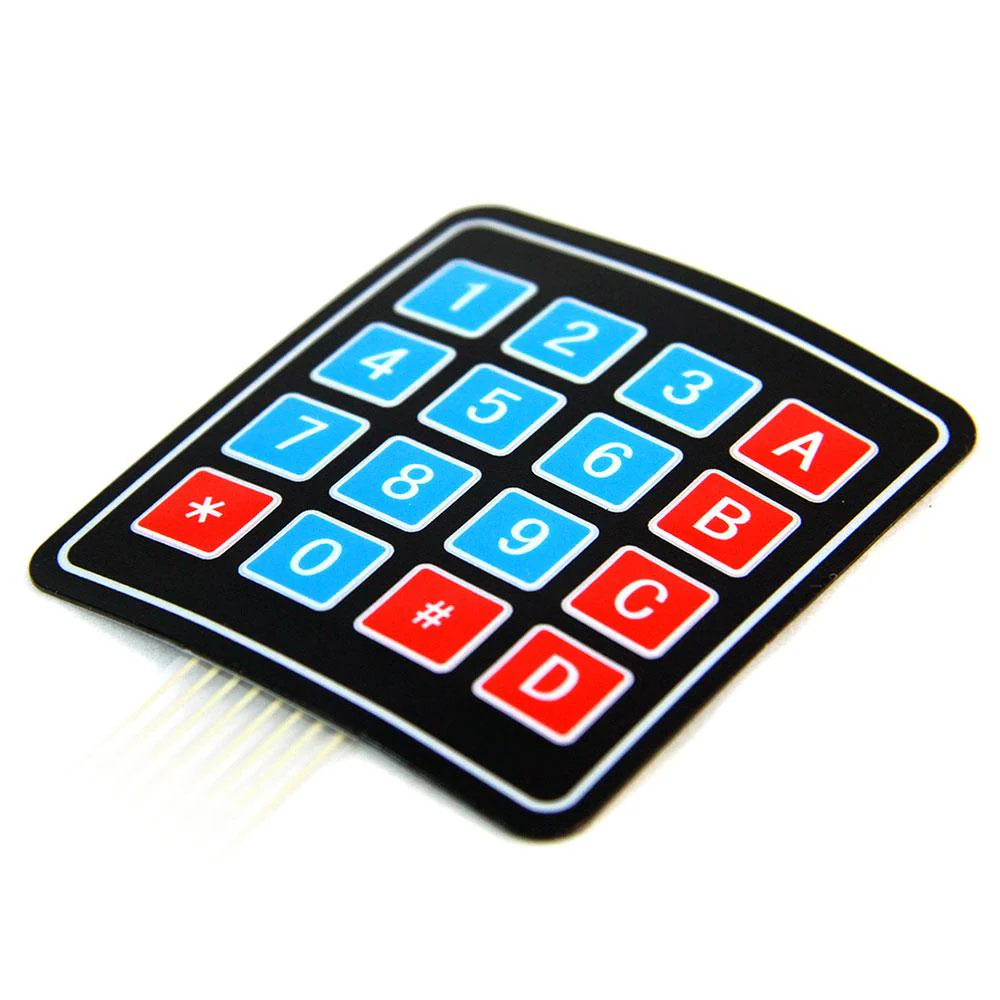 |
Instructions
- Make the following connections using the breadboard and jumper wires:
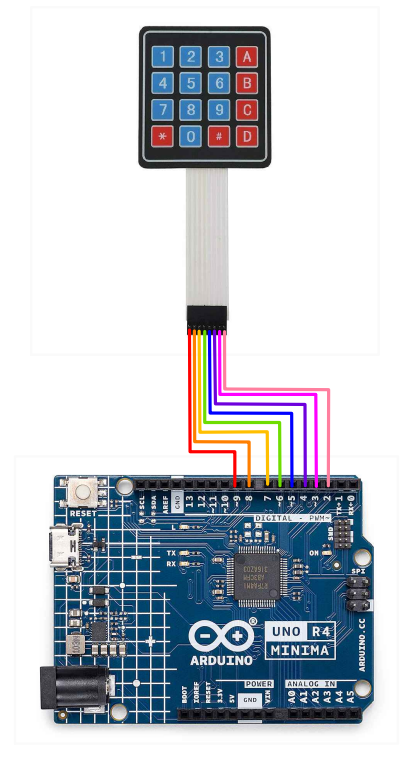
Connections
(Membrane Switch to Arduino R4)
- Terminal 1 to pin 2
- Terminal 2 to pin 3
- Terminal 3 to pin 4
- Terminal 4 to pin 5
- Terminal 5 to pin 6
- Terminal 6 to pin 7
- Terminal 7 to pin 8
- Terminal 8 to pin 9
- Paste the following code into your Arduino IDE:
Code
const byte ROWS = 4;
const byte COLS = 4;

// Define the pins for rows and columns
byte rowPins[ROWS] = {9, 8, 7, 6};
byte colPins[COLS] = {5, 4, 3, 2};

char keys[ROWS][COLS] = {
  {'1', '2', '3', 'A'},
  {'4', '5', '6', 'B'},
  {'7', '8', '9', 'C'},
  {'*', '0', '#', 'D'}
};

void setup() {
  Serial.begin(9600);
  // Set row pins as INPUT_PULLUP
  for (byte row = 0; row < ROWS; row++) {
    pinMode(rowPins[row], INPUT_PULLUP);
  }
  // Set column pins as OUTPUT and HIGH
  for (byte col = 0; col < COLS; col++) {
    pinMode(colPins[col], OUTPUT);
    digitalWrite(colPins[col], HIGH);
  }
}

void loop() {
  // Scan each column
  for (byte col = 0; col < COLS; col++) {
    digitalWrite(colPins[col], LOW);  // Set current column to LOW
    delay(10);  // Delay for stability
    // Scan each row in the current column
    for (byte row = 0; row < ROWS; row++) {
      if (digitalRead(rowPins[row]) == LOW) {
        // Key pressed, print the corresponding key
        Serial.print("Key pressed: ");
        Serial.println(keys[row][col]);
        delay(200);  // Delay for debounce
      }
    }
    digitalWrite(colPins[col], HIGH);  // Set current column back to HIGH
  }
}
-
Upload the code to your arduino and run.
-
Test! Observe the serial monitor as you press buttons into the membrane keypad.
| Prev | Next |
|---|---|
| 7. Ultrasonic Sensor | 9. DHT11 Temperature and Humidity Sensor |