6. Servo
This tutorial will teach you the basics of using a servo motor. The servo motor can be used for a variety of purposes including robotics, aerospace, and industrial automation! Servo motorscan regulate force and control speed as well.
Materials
| Component | Image |
|---|---|
| Breadboard | 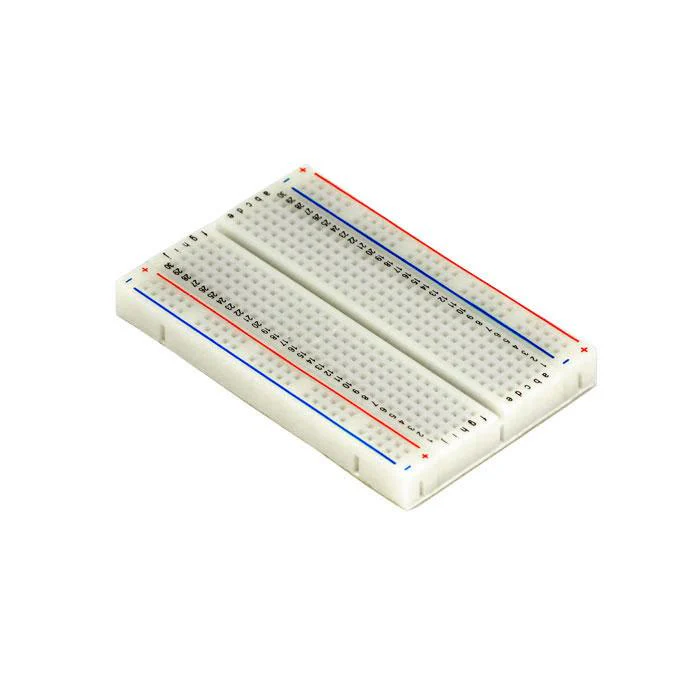 |
| Jumper wires | 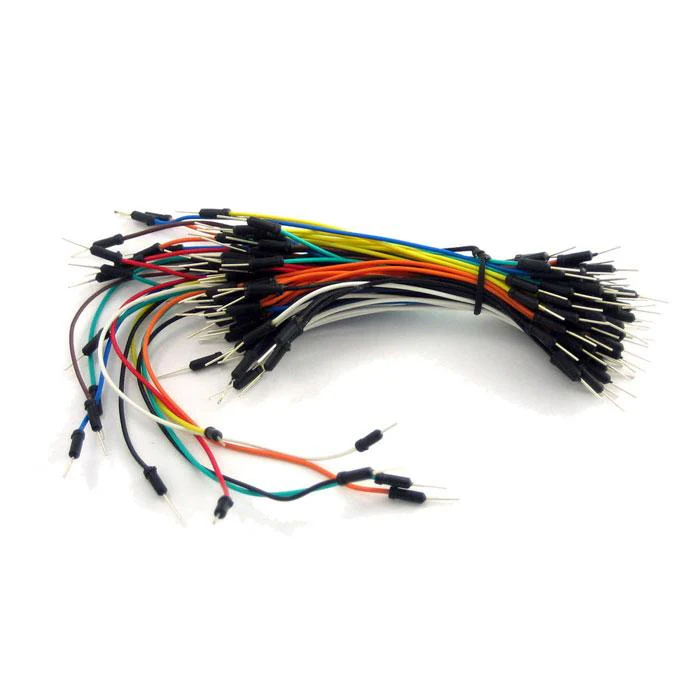 |
| Arduino Uno R4 Minima | 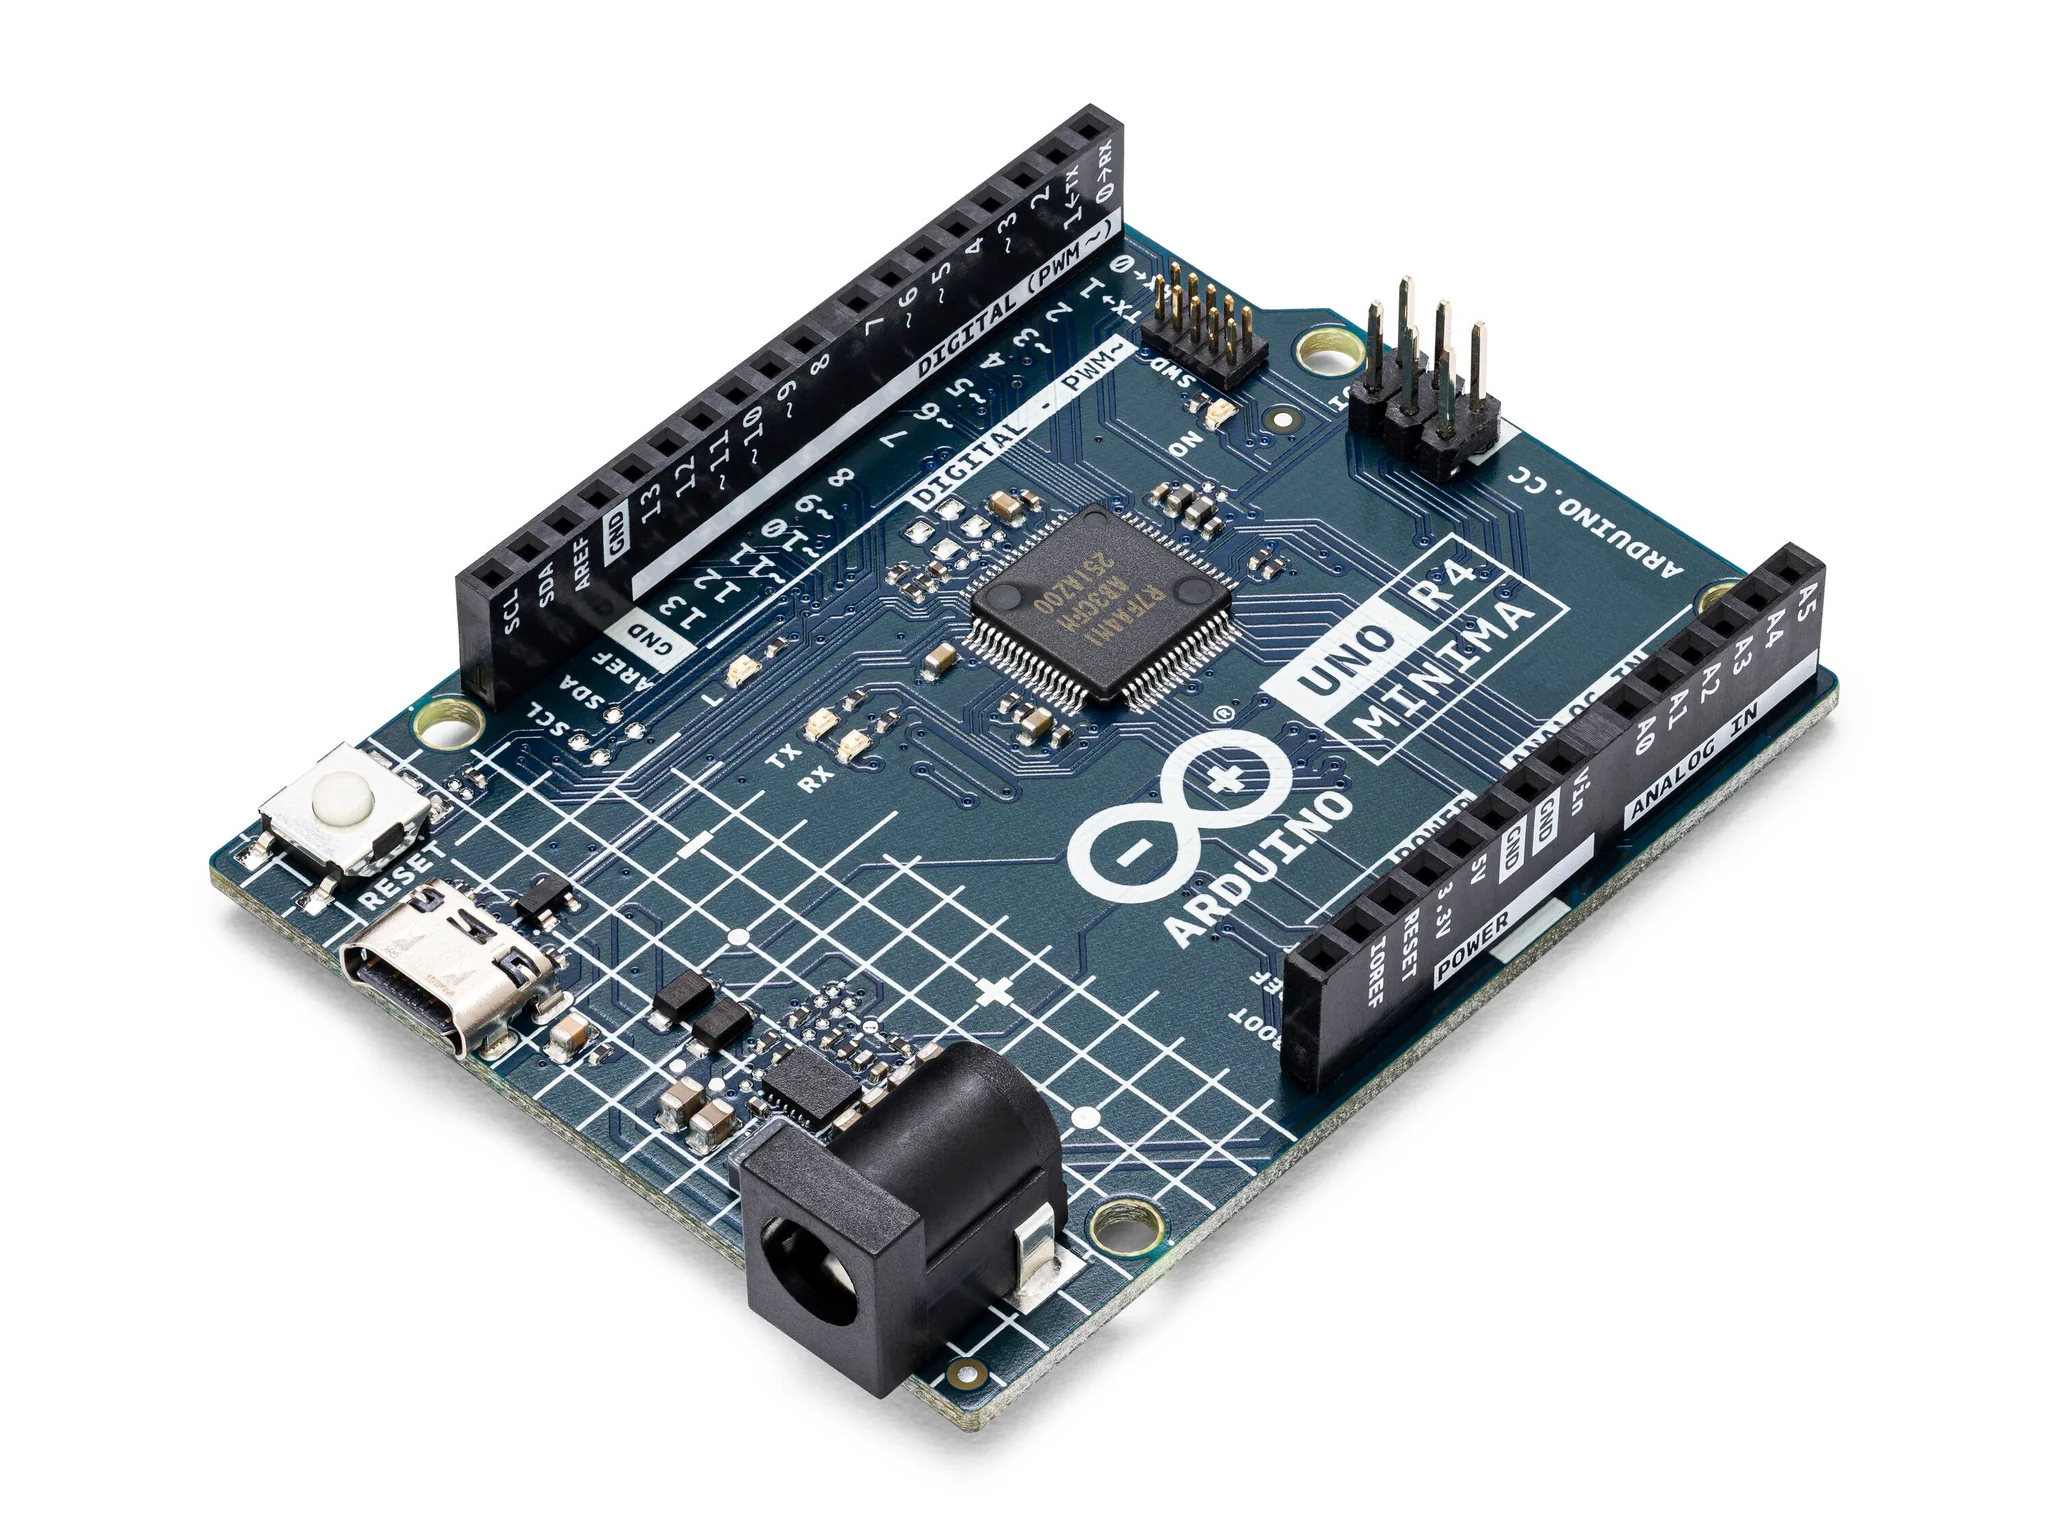 |
| Micro servo (180 degrees, 9g) | 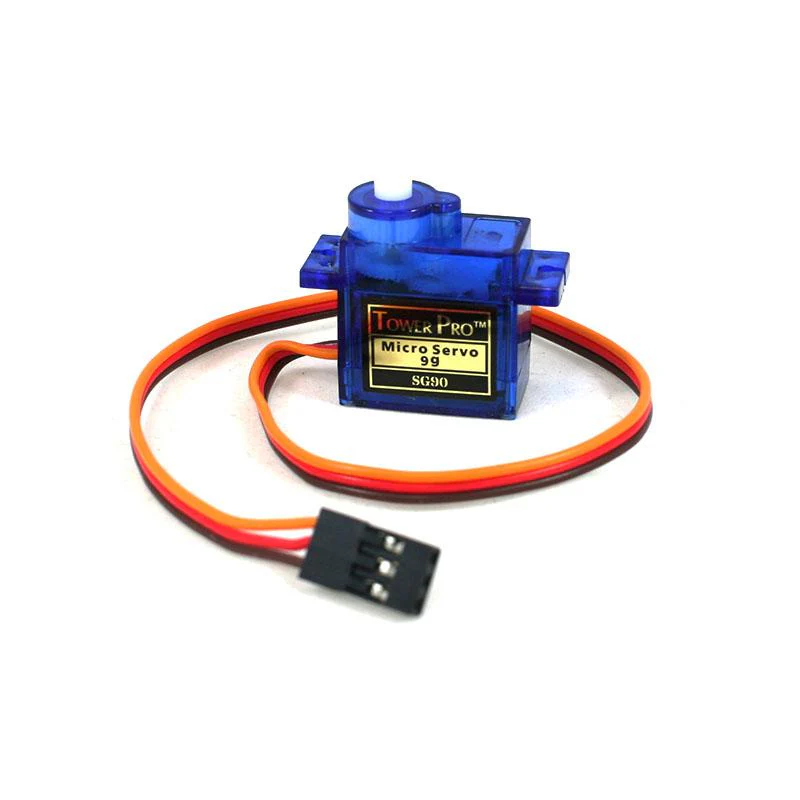 |
| Potentiometer (10k) | 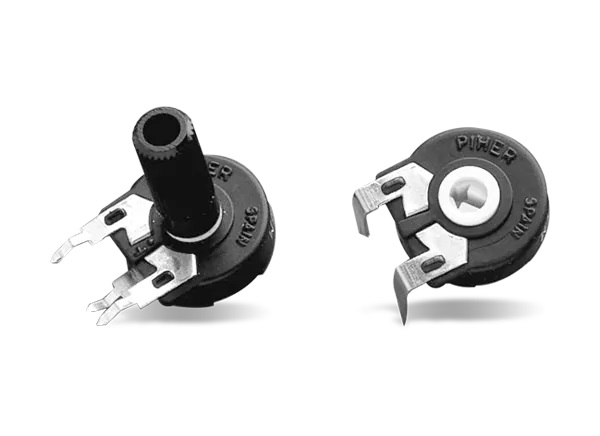 |
Part 1. Basic Movements
-
Attach the servo horn to the servo motor by fastening it securely to the output shaft with screws.
-
Make the following connections using the breadboard and jumper wires.
Connections
- Black wire to GND
- Red wire to 5V
- Orange wire to pin 9

- Upload the following code into your Arduino IDE.
Code
#include <Servo.h>

Servo myservo;

void setup() {
  myservo.attach(9); // Attach the servo to digital pin 9
  myservo.write(90); // Move the servo to the center position (90 degrees)
}

void loop() {
  myservo.write(90); // Move the servo to the center position (90 degrees)
  delay(1000);
  myservo.write(30); // Move the servo to 30 degrees
  delay(1000);
  myservo.write(90); // Move the servo back to 90 degrees
  delay(1000);
  myservo.write(150); // Move the servo to 150 degrees
  delay(1000);
}
-
Upload the code to your Arduino and run.
-
Watch the servo run periodically! You can change the delay time and cutomize the positioning of the servo.
Part 2. Knob
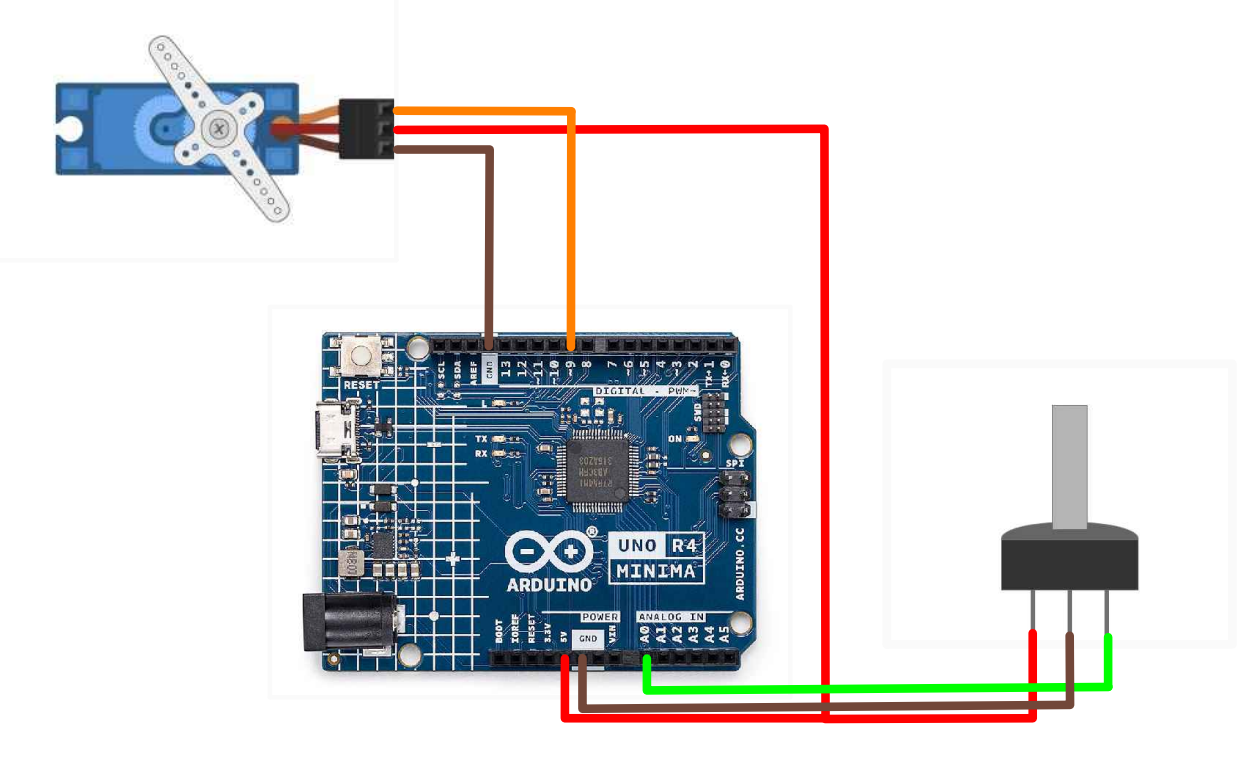
-
Connect one of the outer pins on the potentiometer to 5V and the other to GND.
-
Connect the inner (middle) pin to analog pin A0.
-
Leave the servo motor connected the same as in part 1.
- Copy the following code into your Arduino IDE:
#include <Servo.h>

Servo myservo;  // create servo object to control a servo

const int potpin = A0;  // analog pin used to connect the potentiometer
int val;    // variable to read the value from the analog pin

void setup() {
  myservo.attach(9);  // attaches the servo on pin 9 to the servo object
}

void loop() {
  val = analogRead(potpin);            // reads the value of the potentiometer (value between 0 and 1023)
  val = map(val, 0, 1023, 0, 180);     // scale it to use it with the servo (value between 0 and 180)
  myservo.write(val);                  // sets the servo position according to the scaled value
  delay(15);                           // waits for the servo to get there
}
-
Upload the code to your arduino and run it.
-
Twist the potentiometer and watch the servo motor run!
Part 3. Sweep
- Remove the potentiometer from the breadboarf and restore the wiring connections from part 1:
Connections
- Black wire to GND
- Red wire to 5V
- Orange wire to pin 9
- Paste the following code to the Arduino IDE:
#include <Servo.h>

Servo myservo;  // create servo object to control a servo
// twelve servo objects can be created on most boards

int pos = 0;    // variable to store the servo position

void setup() {
  myservo.attach(9);  // attaches the servo on pin 9 to the servo object
}

void loop() {
  for (pos = 0; pos <= 180; pos += 1) { // goes from 0 degrees to 180 degrees
    // in steps of 1 degree
    myservo.write(pos);              // tell servo to go to position in variable 'pos'
    delay(15);                       // waits 15ms for the servo to reach the position
  }
  for (pos = 180; pos >= 0; pos -= 1) { // goes from 180 degrees to 0 degrees
    myservo.write(pos);              // tell servo to go to position in variable 'pos'
    delay(15);                       // waits 15ms for the servo to reach the position
  }
}
-
Upload the code to the arduino and run it.
-
Watch the servo motor rotate back and forth!
| Prev | Next |
|---|---|
| 5. Ball Switch | 7. Ultrasonic Sensor |