18. RC522 RFID Module
This module is commonly used for security in offices, attendance at schools, and has many other practical applications. You can make your own customizable security system with this module!
Materials
| Component | Image |
|---|---|
| Breadboard | 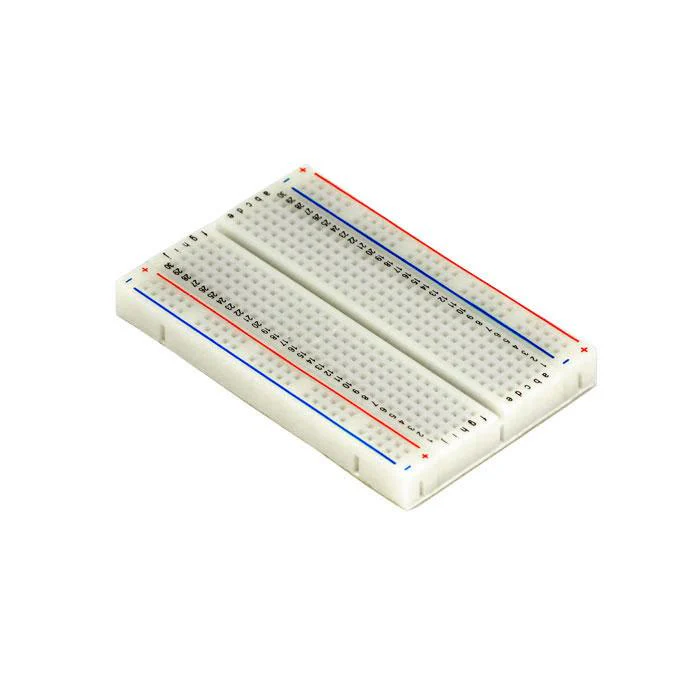 |
| Jumper wires | 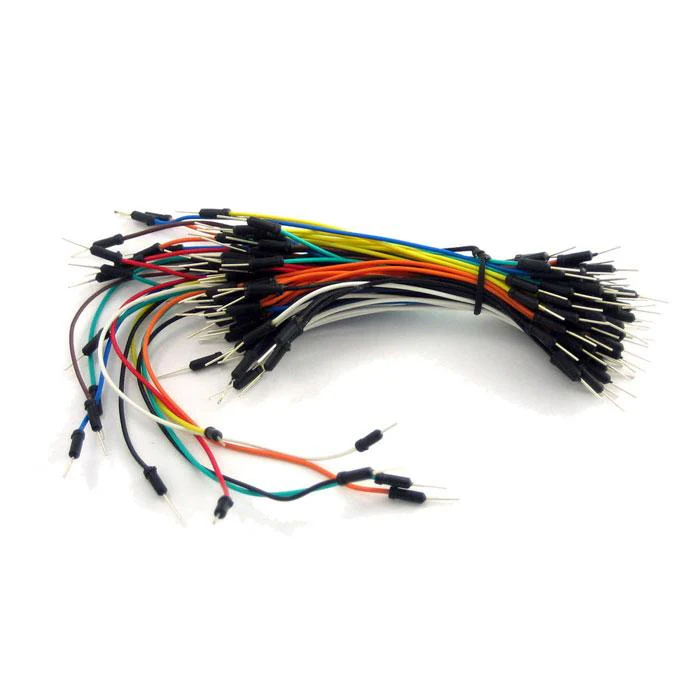 |
| Arduino Uno R4 Minima | 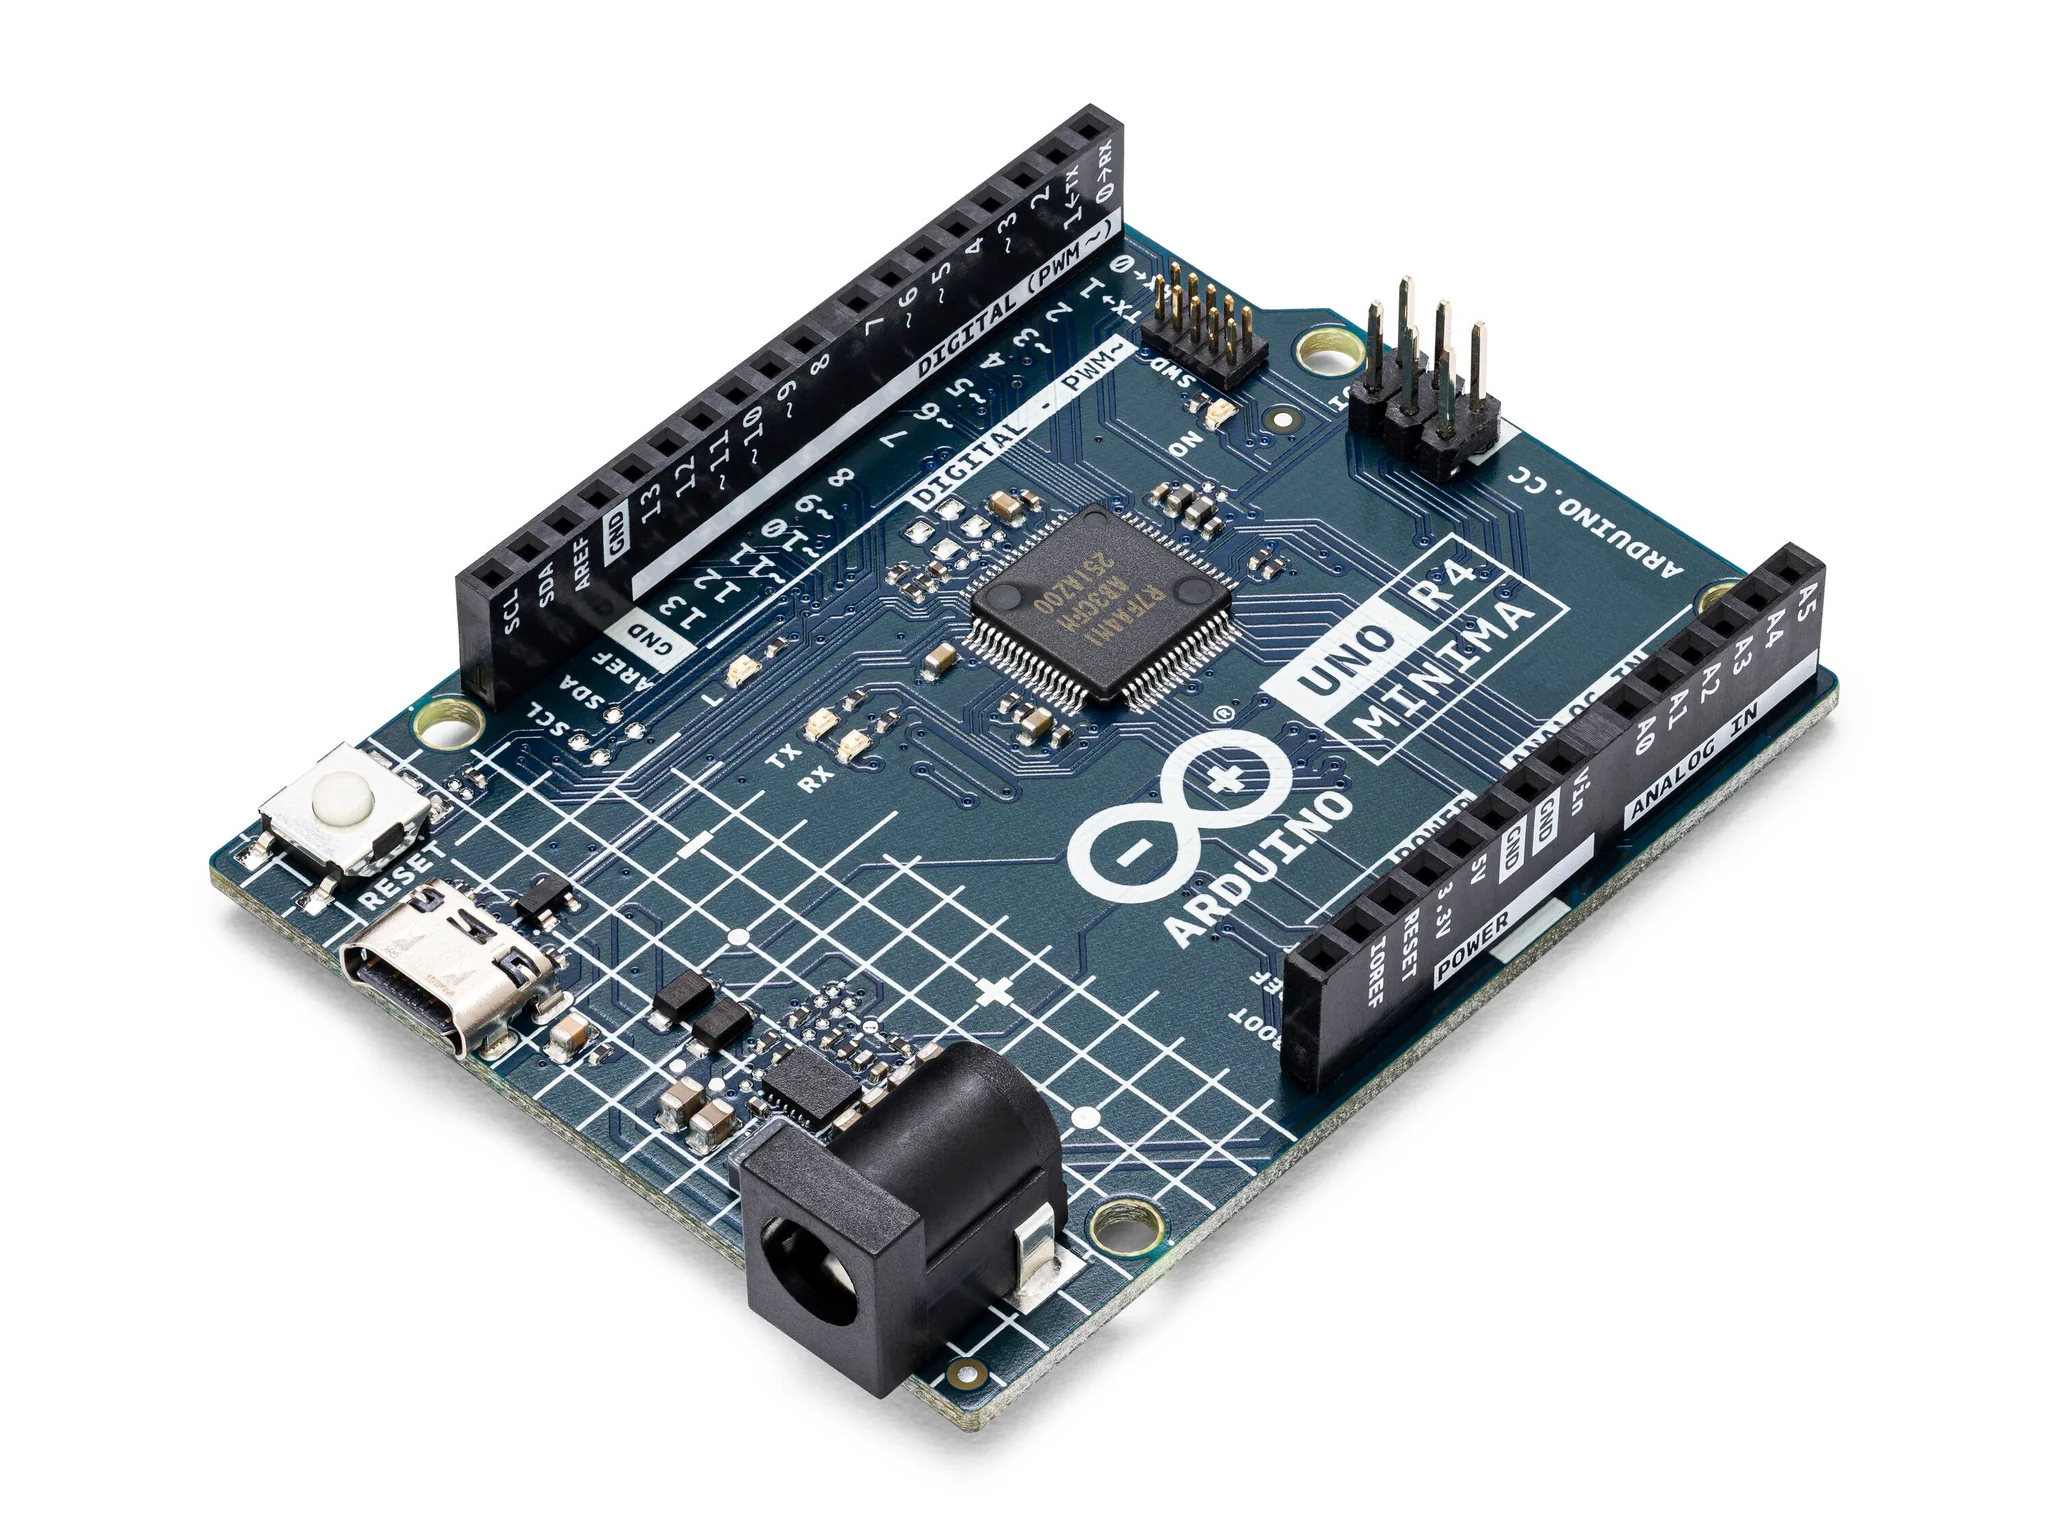 |
| RC522 RFID Module | 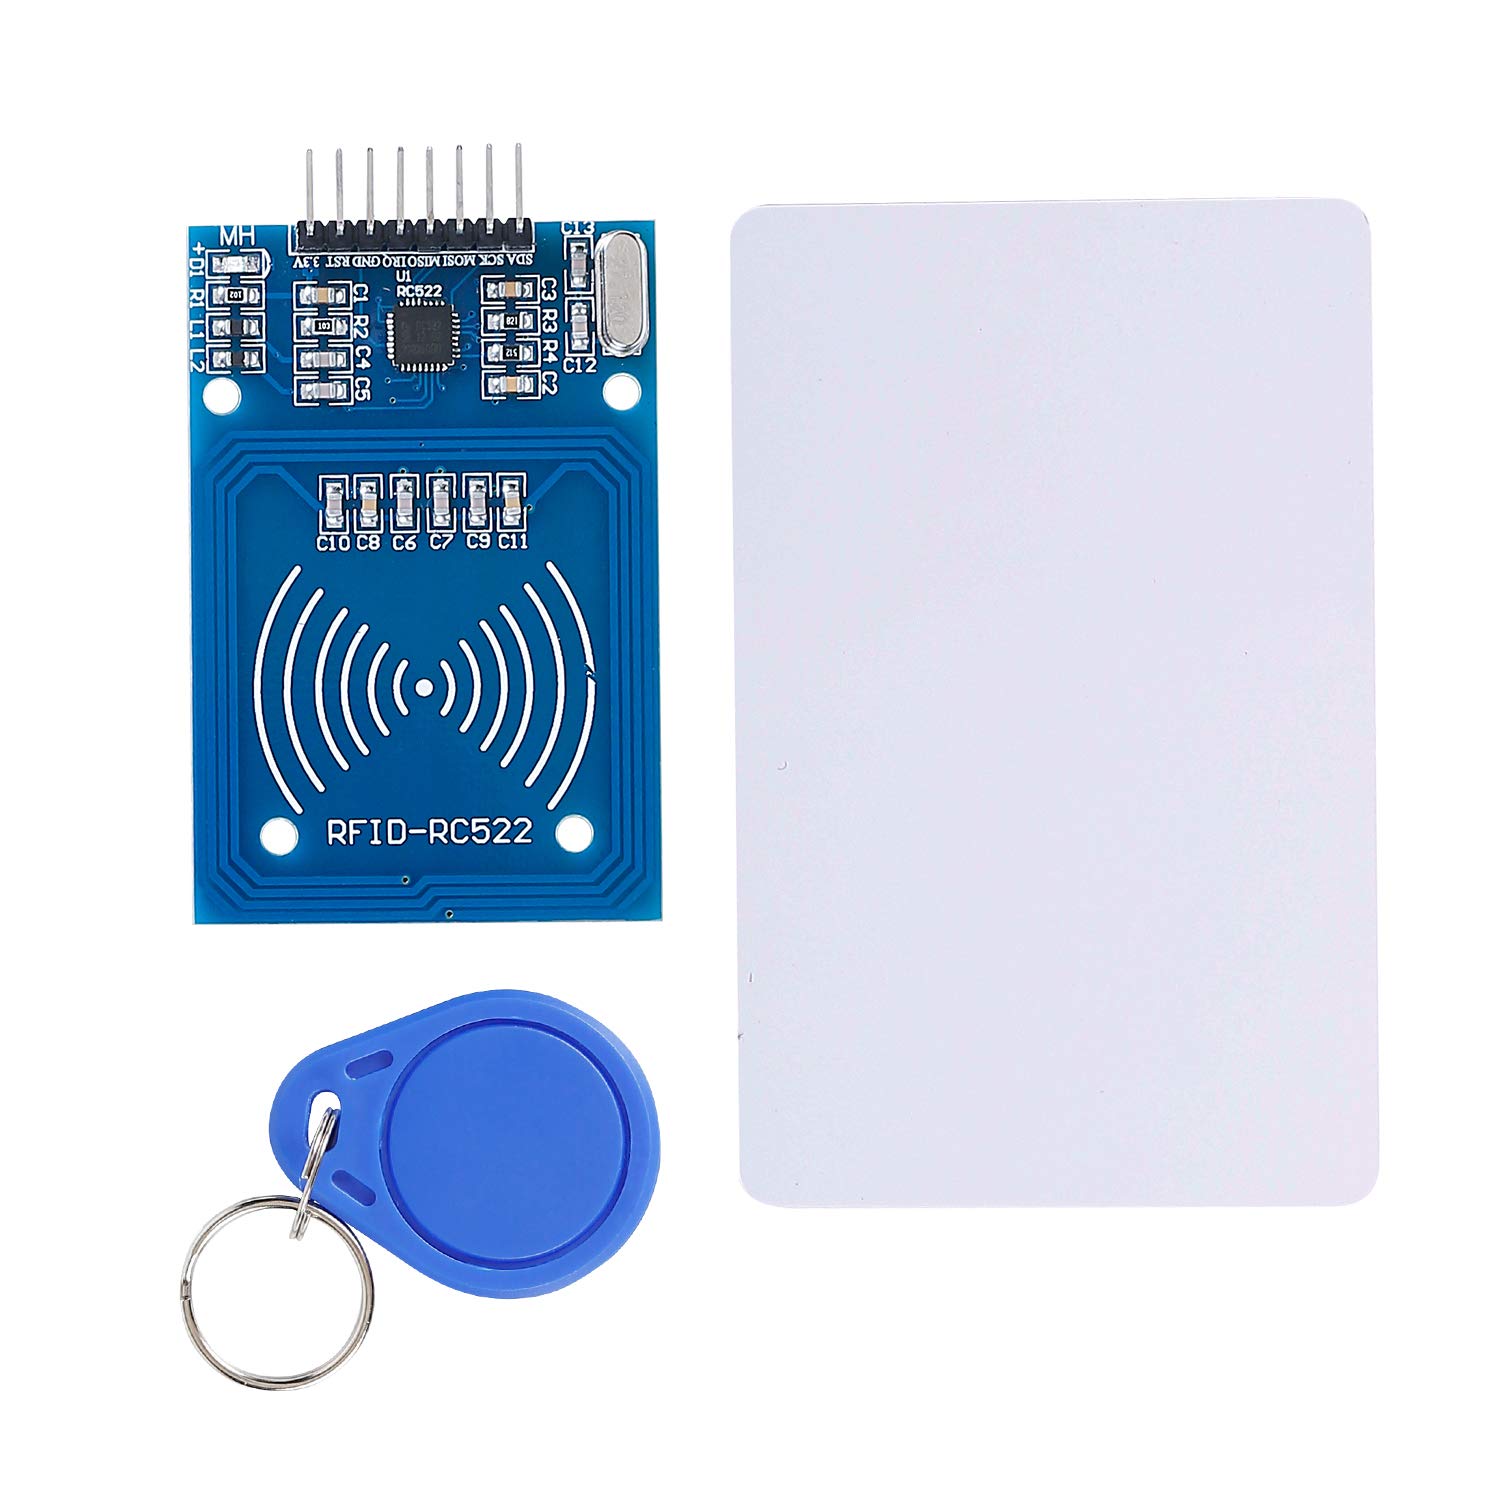 |
Instructions
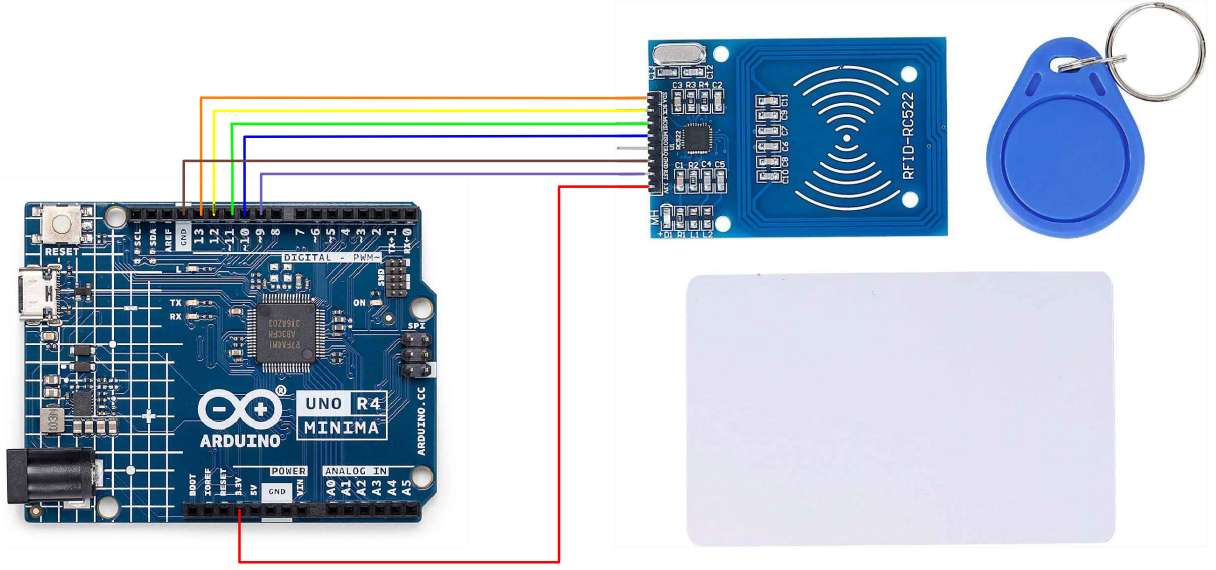
- Make the following connections using the jumper wires:
Connections
- SDA (SS_PIN) to pin 10
- SCK to pin 13
- MOSI to pin 11
- MISO to pin 12
- IRQ to not connected
- GND (RC522) to GND (Arduino R4)
- RST (RST_PIN) to pin 9
- 3.3V (RC522) to 3.3V (Arduino R4)
- USB-C to USB-A or USB-C cord (depending on available ports on your laptop)
- Paste the following code in your Arduino IDE. Use this code as a basis for future personal projects using the RFID module.
Code
#include <SPI.h>
#include <MFRC522.h>

// Define the pins for the RFID module
#define RST_PIN   9   // Configurable, see typical pin layout above
#define SS_PIN    10  // Configurable, see typical pin layout above

MFRC522 mfrc522(SS_PIN, RST_PIN);   // Create MFRC522 instance

/* Set your new UID here! */
#define NEW_UID {0xDE, 0xAD, 0xBE, 0xEF}

MFRC522::MIFARE_Key key;

void setup() {
  Serial.begin(9600);  // Initialize serial communications with the PC
  while (!Serial);     // Do nothing if no serial port is opened
  SPI.begin();

  // Init MFRC522 card with specific SPI settings
  SPI.beginTransaction(SPISettings(4000000, MSBFIRST, SPI_MODE0)); // 4 MHz SPI clock speed
  mfrc522.PCD_Init();  // Init MFRC522 card

  Serial.println(F("Warning: this example overwrites the UID of your UID changeable card, use with care!"));

  for (byte i = 0; i < 6; i++) {
    key.keyByte[i] = 0xFF;
  }
}

void loop() {
  // Look for new cards, and select one if present
  if ( ! mfrc522.PICC_IsNewCardPresent() || ! mfrc522.PICC_ReadCardSerial() ) {
    delay(50);
    return;
  }

  // Now a card is selected. The UID and SAK is in mfrc522.uid.

  // Dump UID
  Serial.print(F("Card UID:"));
  for (byte i = 0; i < mfrc522.uid.size; i++) {
    Serial.print(mfrc522.uid.uidByte[i] < 0x10 ? " 0" : " ");
    Serial.print(mfrc522.uid.uidByte[i], HEX);
  }
  Serial.println();

  // Set new UID
  byte newUid[] = NEW_UID;
  if ( mfrc522.MIFARE_SetUid(newUid, (byte)4, true) ) {
    Serial.println(F("Wrote new UID to card."));
  }

  // Halt PICC and re-select it so DumpToSerial doesn't get confused
  mfrc522.PICC_HaltA();
  if ( ! mfrc522.PICC_IsNewCardPresent() || ! mfrc522.PICC_ReadCardSerial() ) {
    return;
  }

  // Dump the new memory contents
  Serial.println(F("New UID and contents:"));
  mfrc522.PICC_DumpToSerial(&(mfrc522.uid));
  Serial.println("Test is Successful!");
  delay(2000);
}
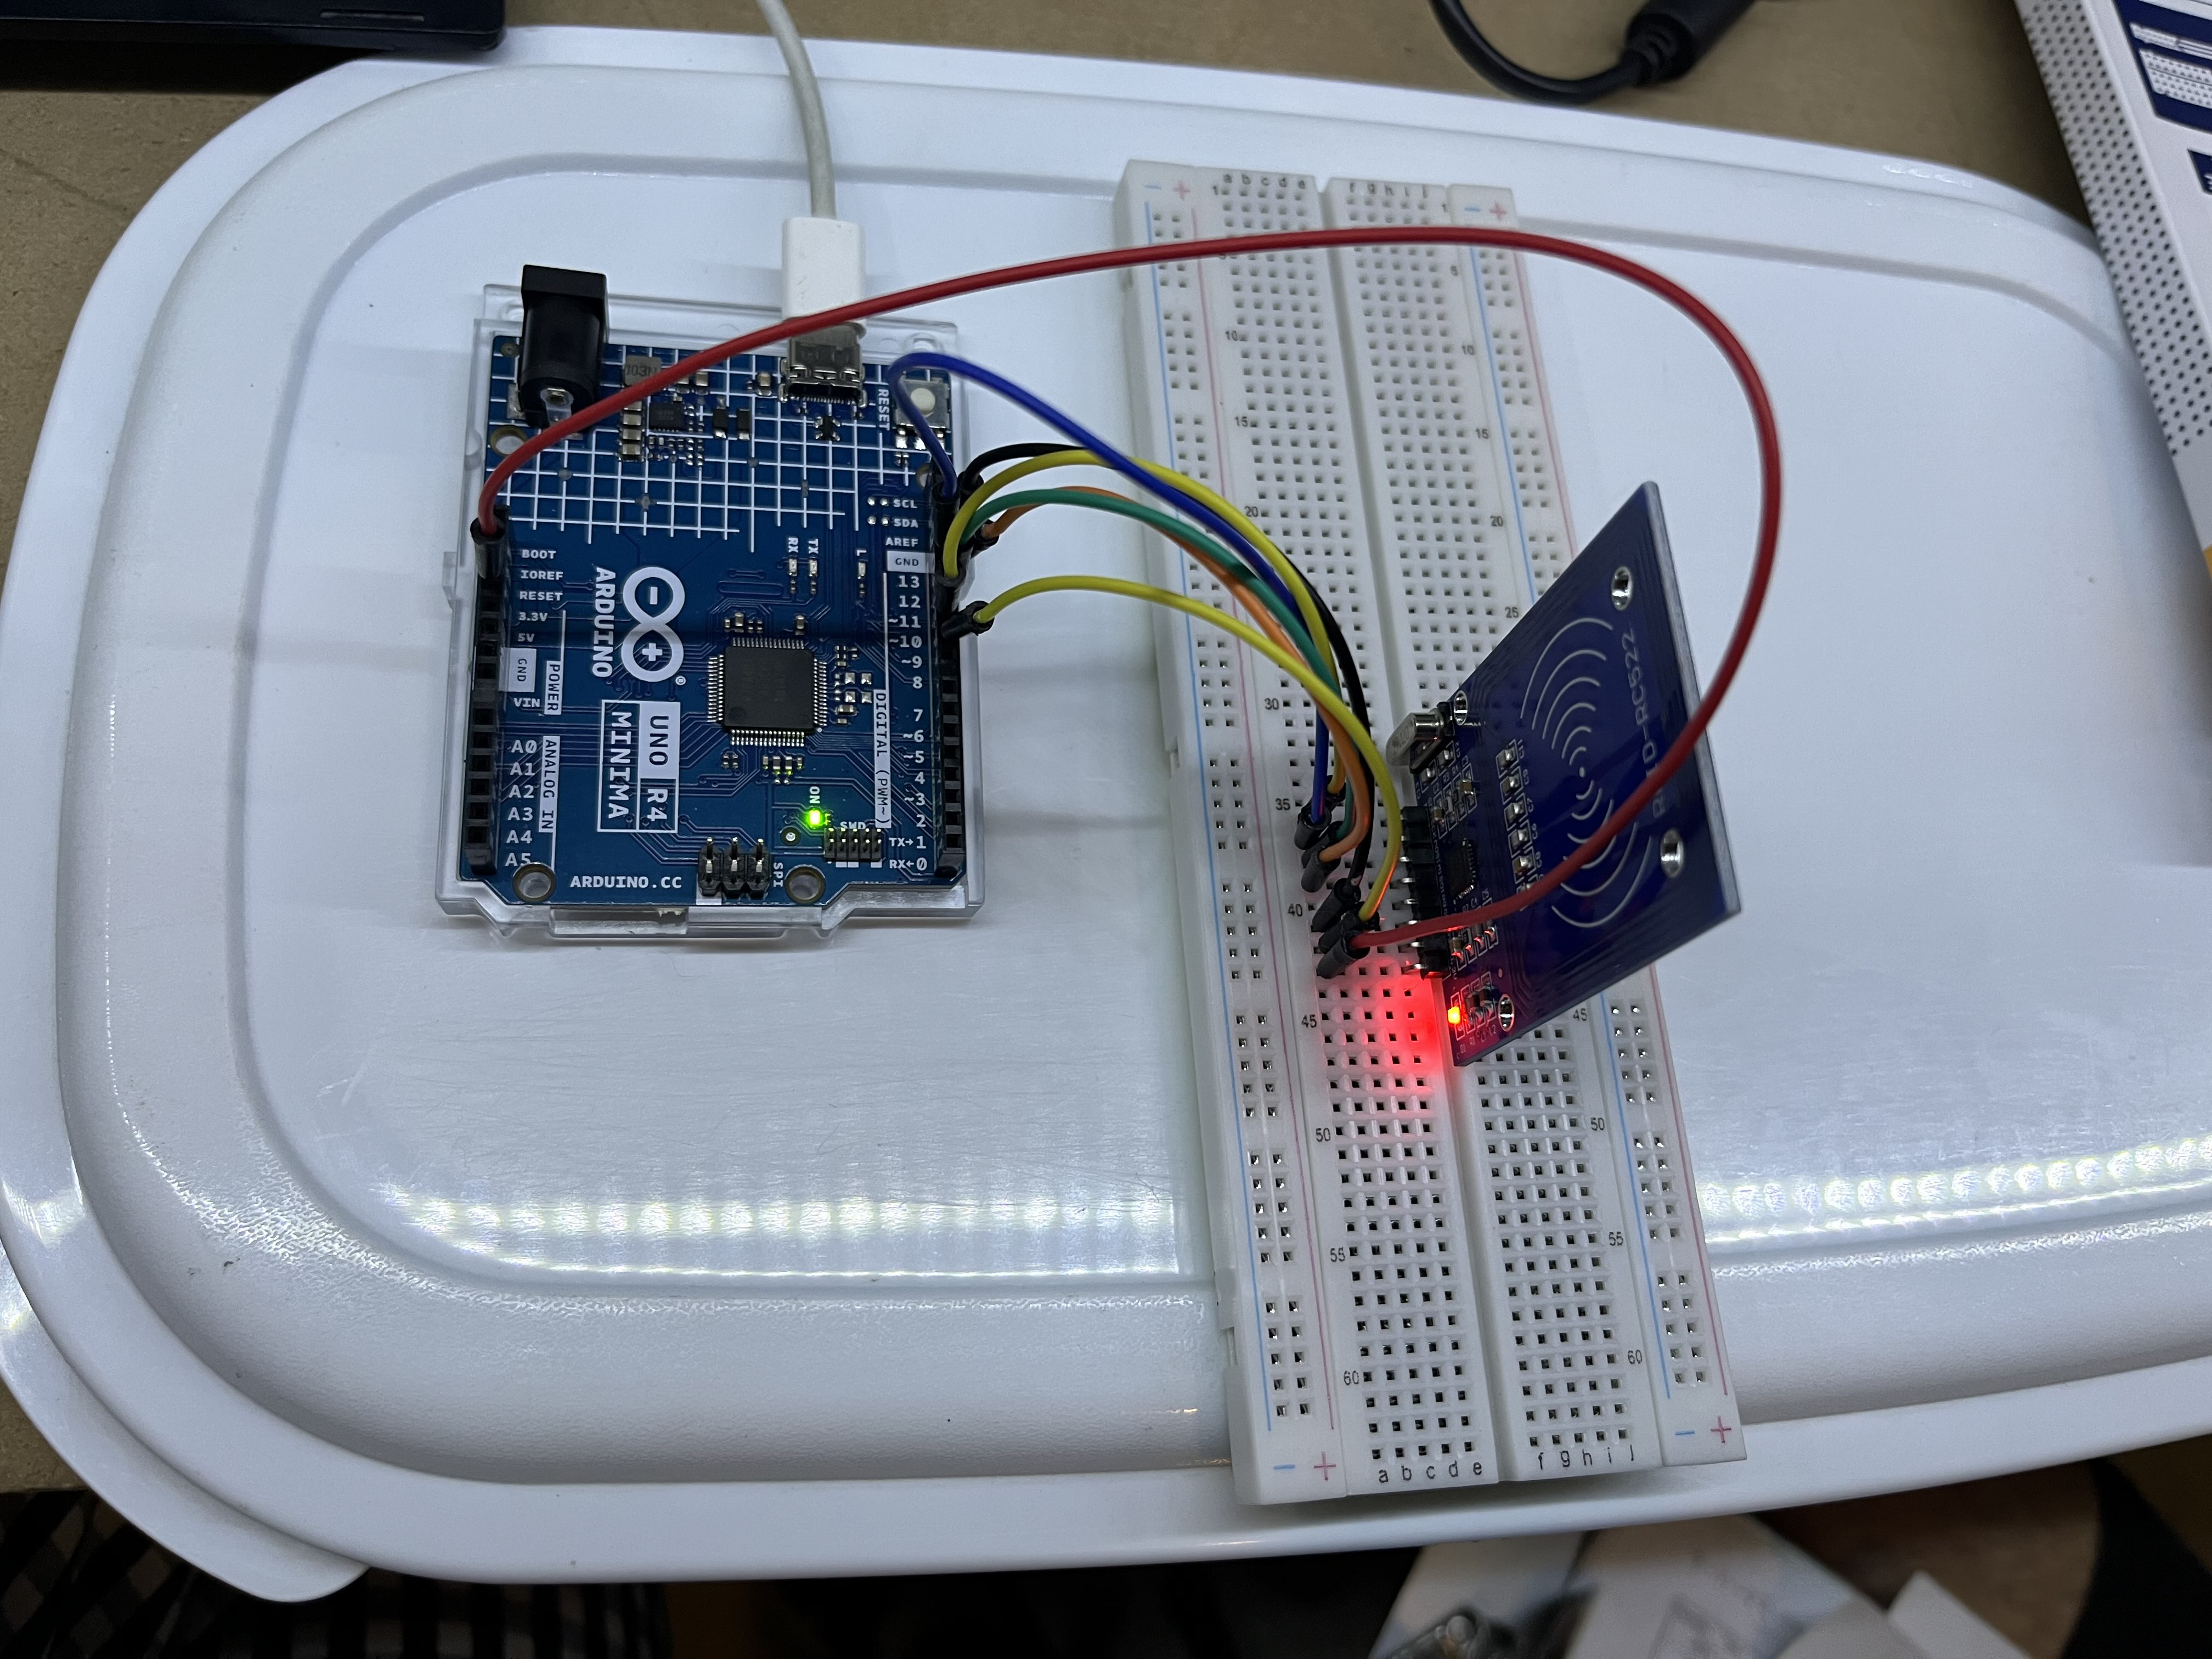
- Once all the connections have been correctly set up and the code has been pasted into your arduino IDE, connect your arduino board to your laptop.
-
Upload the code to the arduino by clicking the "Upload" button.
-
Test the module! Open to serial monitor and scan your RFID card and keychain with the module.
-
Customize! Play around with the code and personlize it to suit your own personal projects.
| Prev | Next |
|---|---|
| 17. Sound Sensor | 19. LCD 1602 Module |