5. Ball Switch
This tutorial will teach you to how to use "pull-up" to turn on an LED using a button.
Materials
| Component | Image |
|---|---|
| Breadboard | 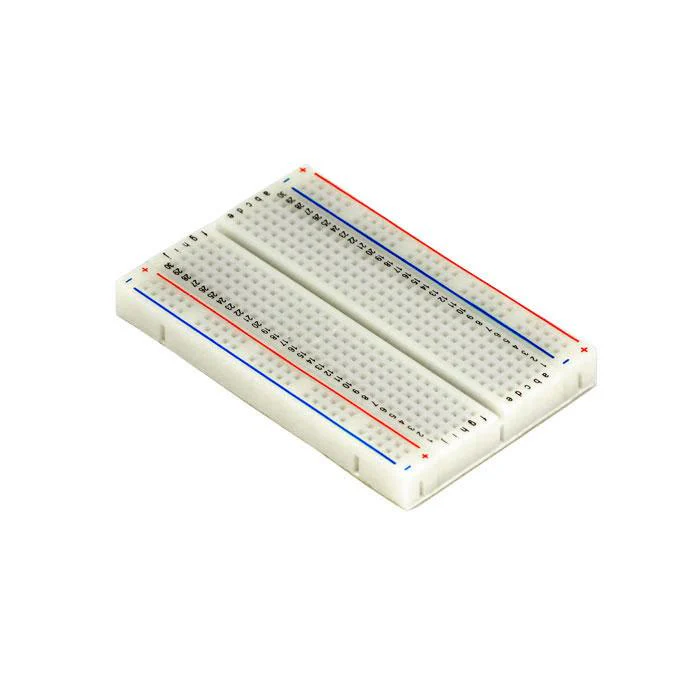 |
| Jumper wires | 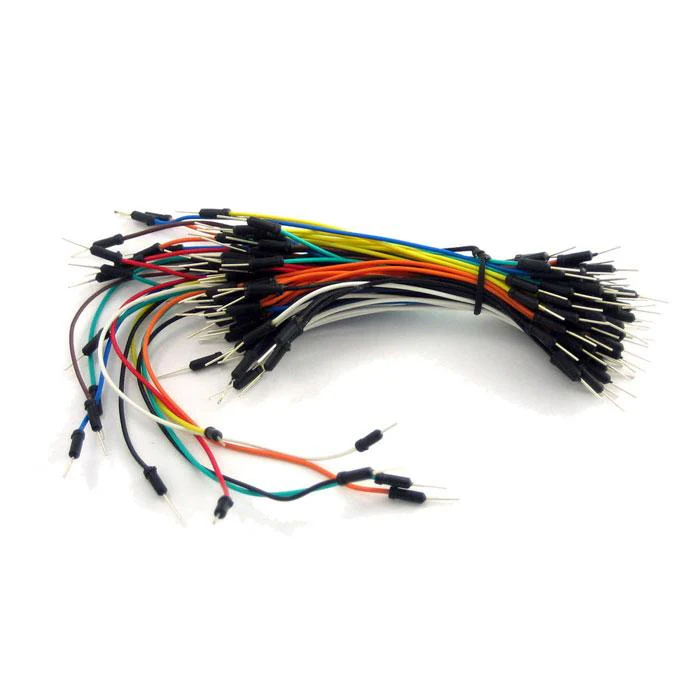 |
| Arduino Uno R4 Minima | 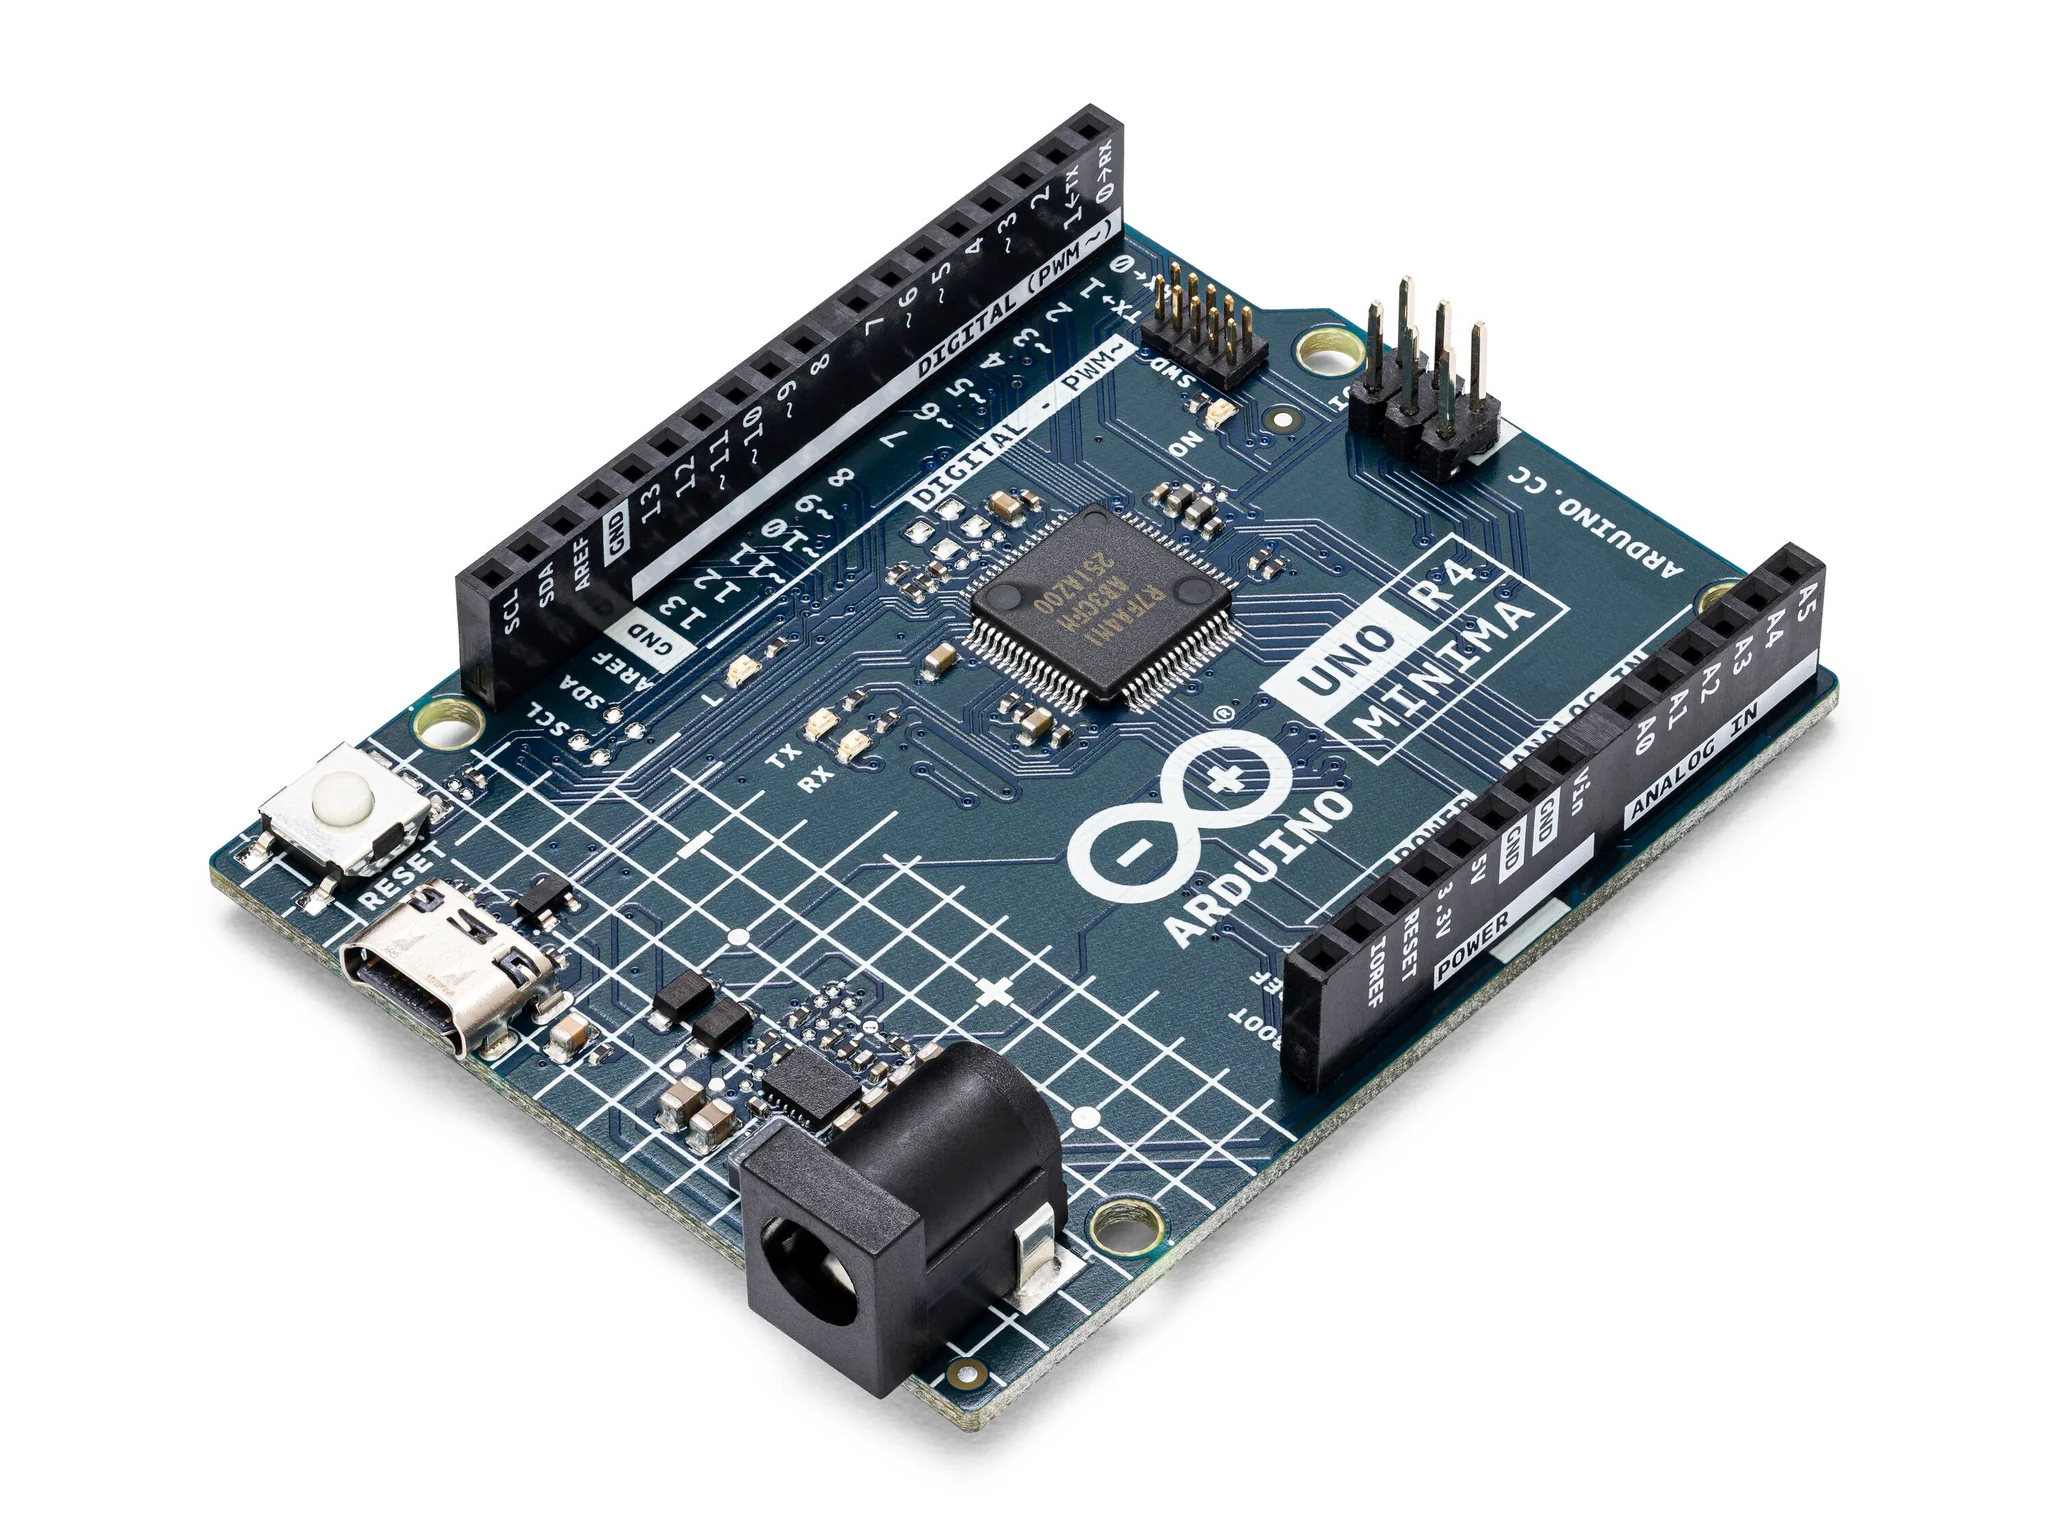 |
| LED (white, red, blue, or green) | 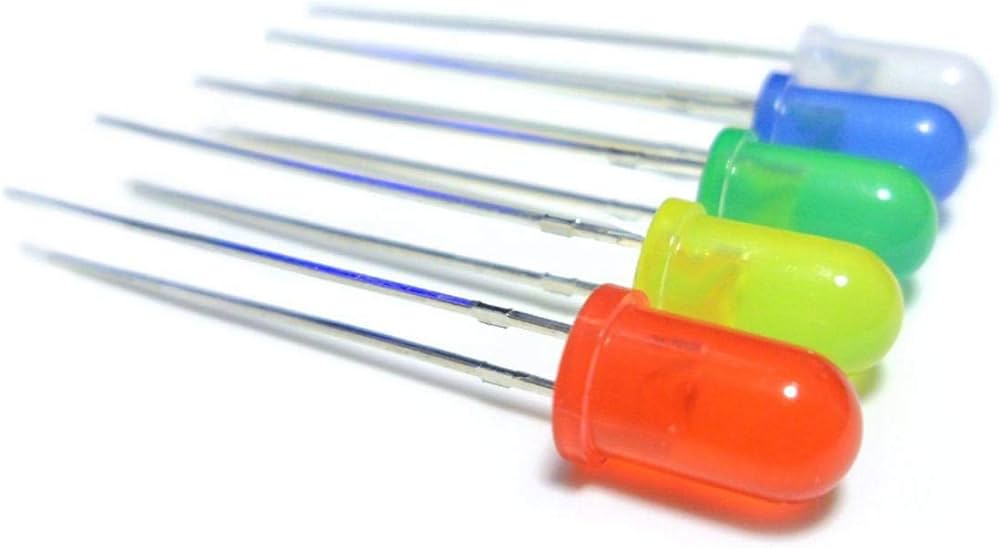 |
| Resistors (220 ohms for the LED, optional if using internal pull-up resistors for buttons) | 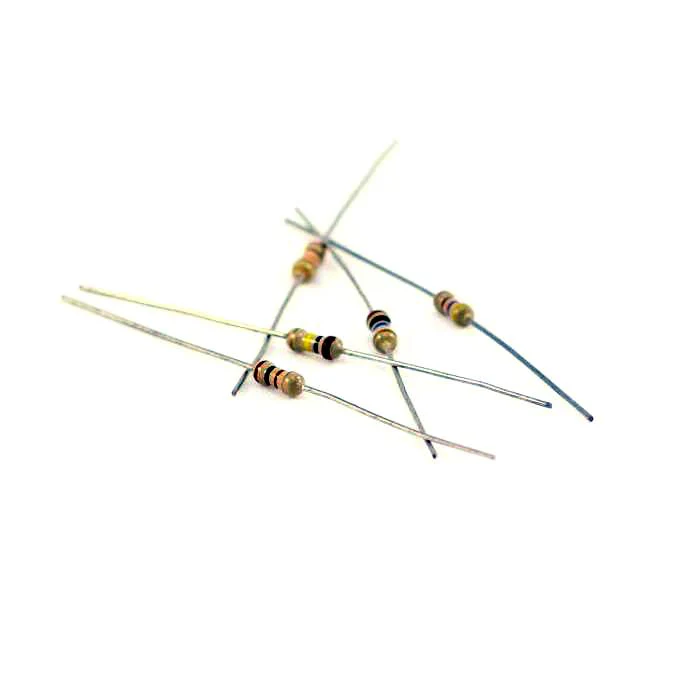 |
| Tilt Sensor | 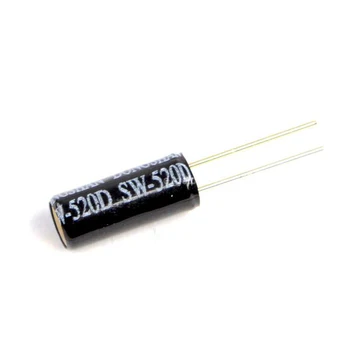 |
Instructions
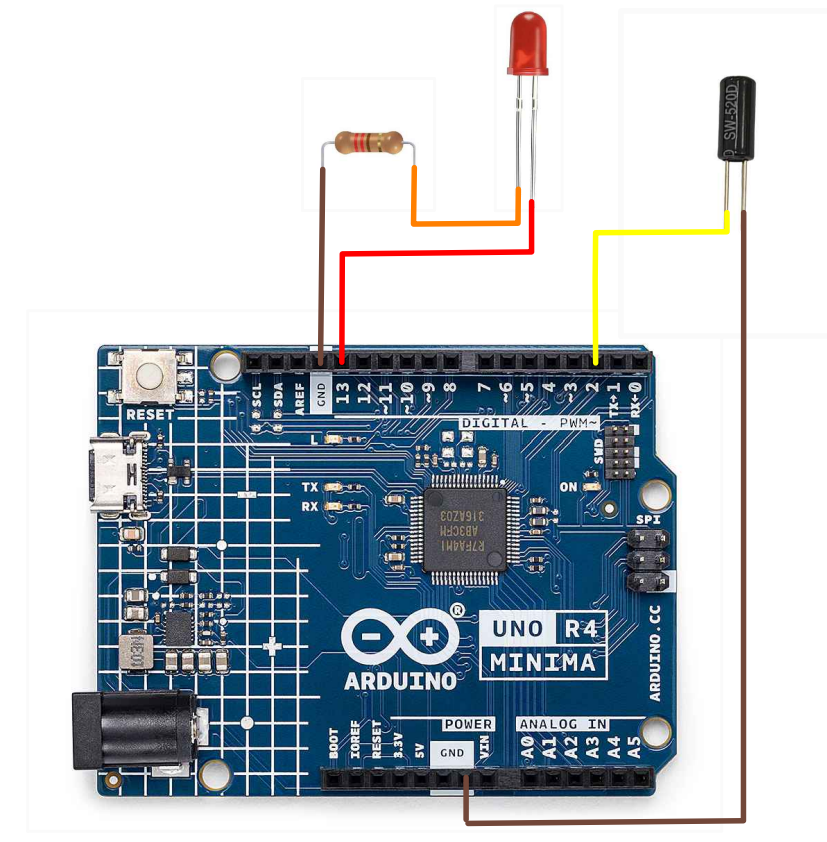
- Make the following connections using the breadboard and jumper wires:
- LED positive terminal to pin 13
- LED negative terminal to a 220 ohm resistor. Place the other leg of the resistor into ground. Use male to female jumper wires for the following connections.
- One leg of the ball switch to pin 2
- The other leg of the ball switch to GND
- Paste the following code into the Arduino IDE.
Code
const int ledPin = 13; // the LED attached to pin 13
const int switchPin = 2; // the ball switch attached to pin 2

void setup() {
  pinMode(ledPin, OUTPUT); // initialize the ledPin as an output
  pinMode(switchPin, INPUT_PULLUP); // set pin 2 as an input with an internal pull-up resistor
}

void loop() {
  int switchState = digitalRead(switchPin); // read the state of the ball switch
  if (switchState == HIGH) {
    digitalWrite(ledPin, LOW); // turn the LED off if the switch is not tilted
  } else {
    digitalWrite(ledPin, HIGH); // turn the LED on if the switch is tilted
  }
}
-
Upload the code to the arduino and run the code.
-
Test the code! Tilt the ball switch and watch the LED turn off!
| Prev | Next |
|---|---|
| 4. Passive Buzzer | 6. Servo |