20. Thermometer
Whether you're new to electronics or a seasoned maker, this project is a great way to dive into the world of Arduino and sensor interfacing. By the end of this tutorial, you will have a fully functional digital thermometer that displays real-time temperature and humidity readings on an LCD screen.
Materials
| Component | Image |
|---|---|
| Breadboard | 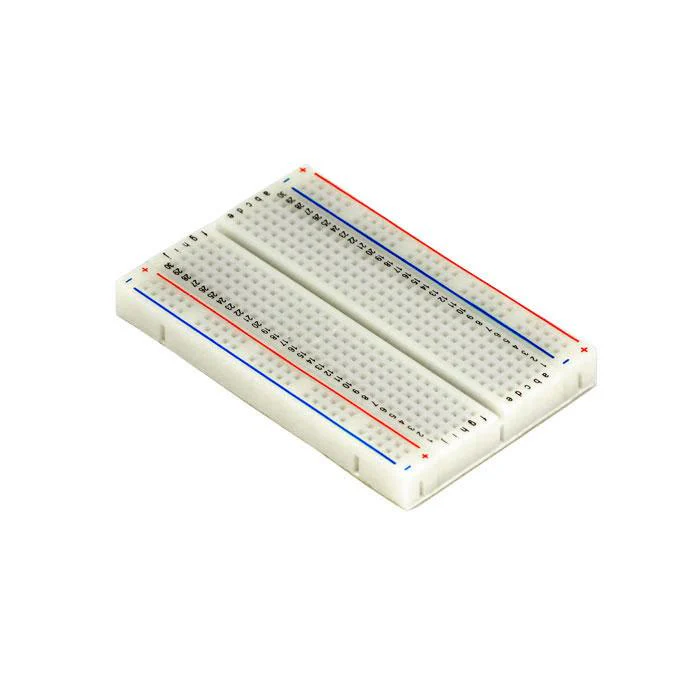 |
| Jumper wires | 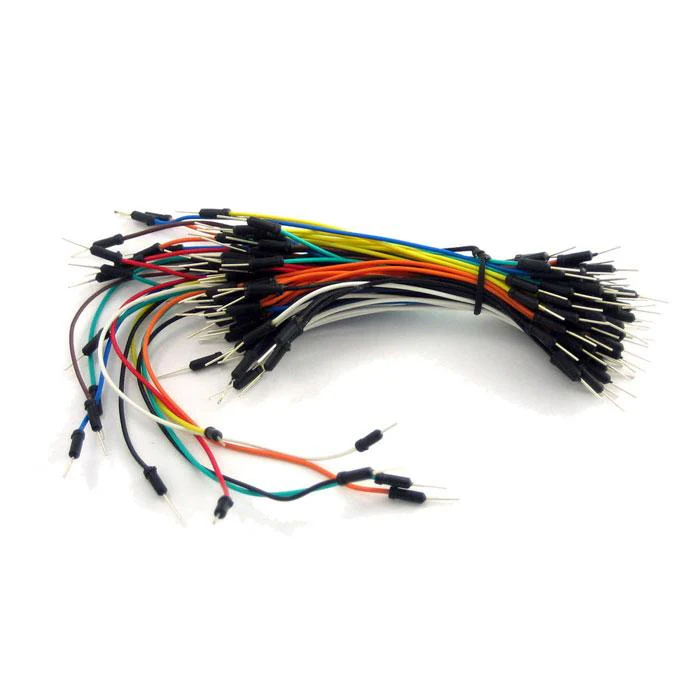 |
| Arduino Uno R4 Minima | 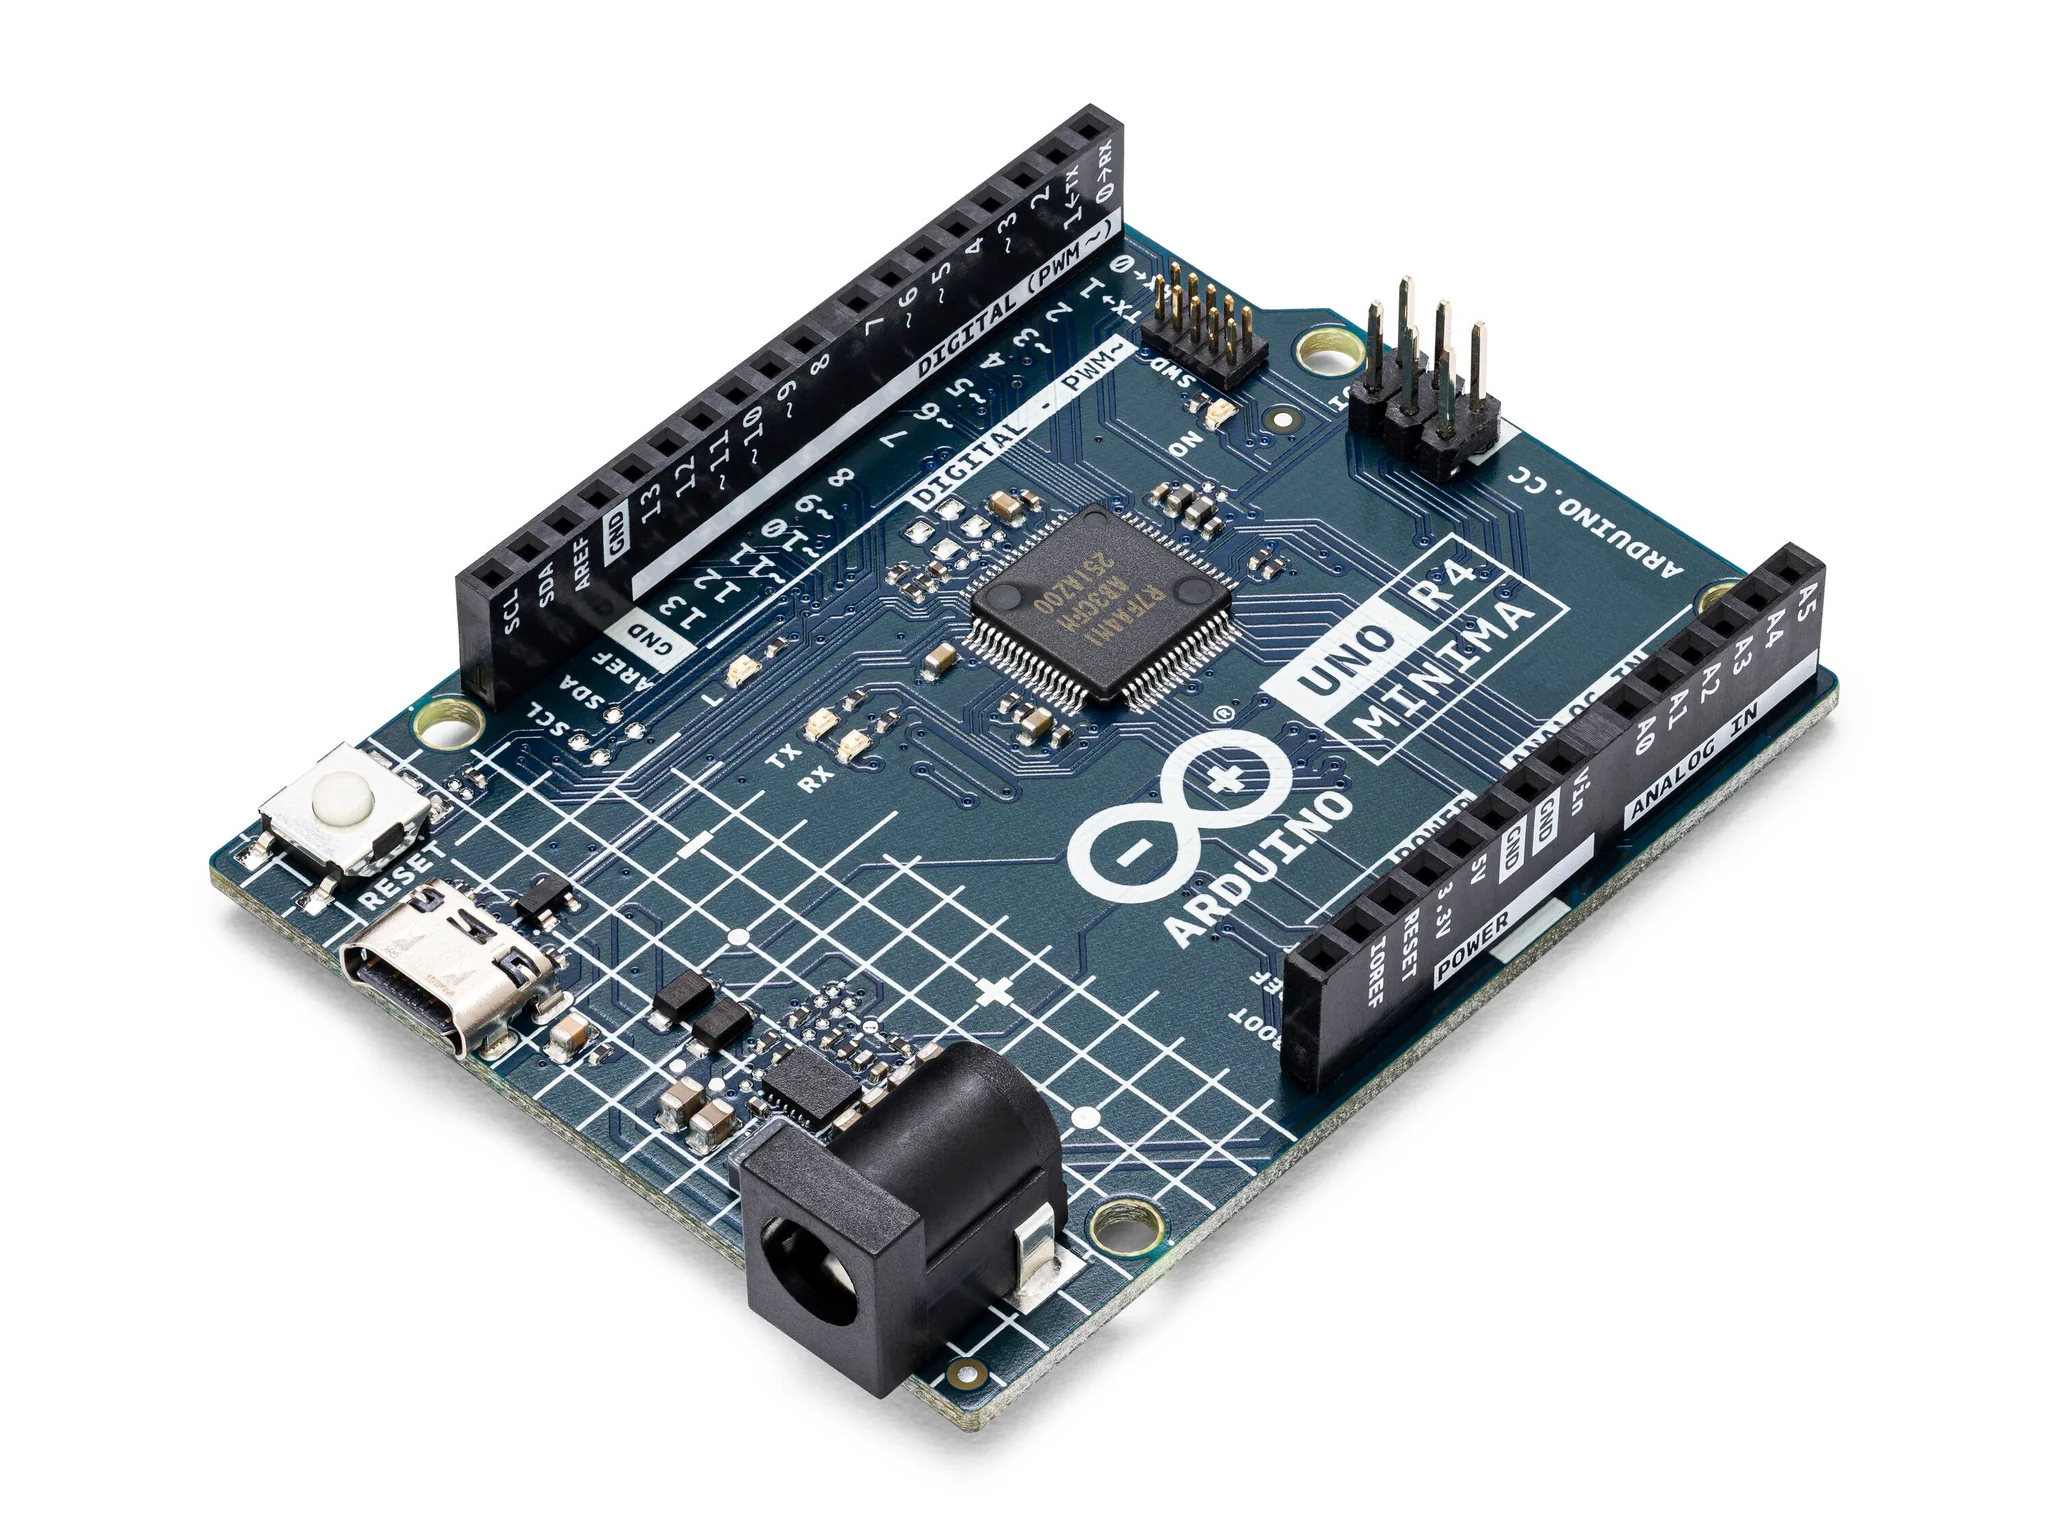 |
| LCD 1602 Module | 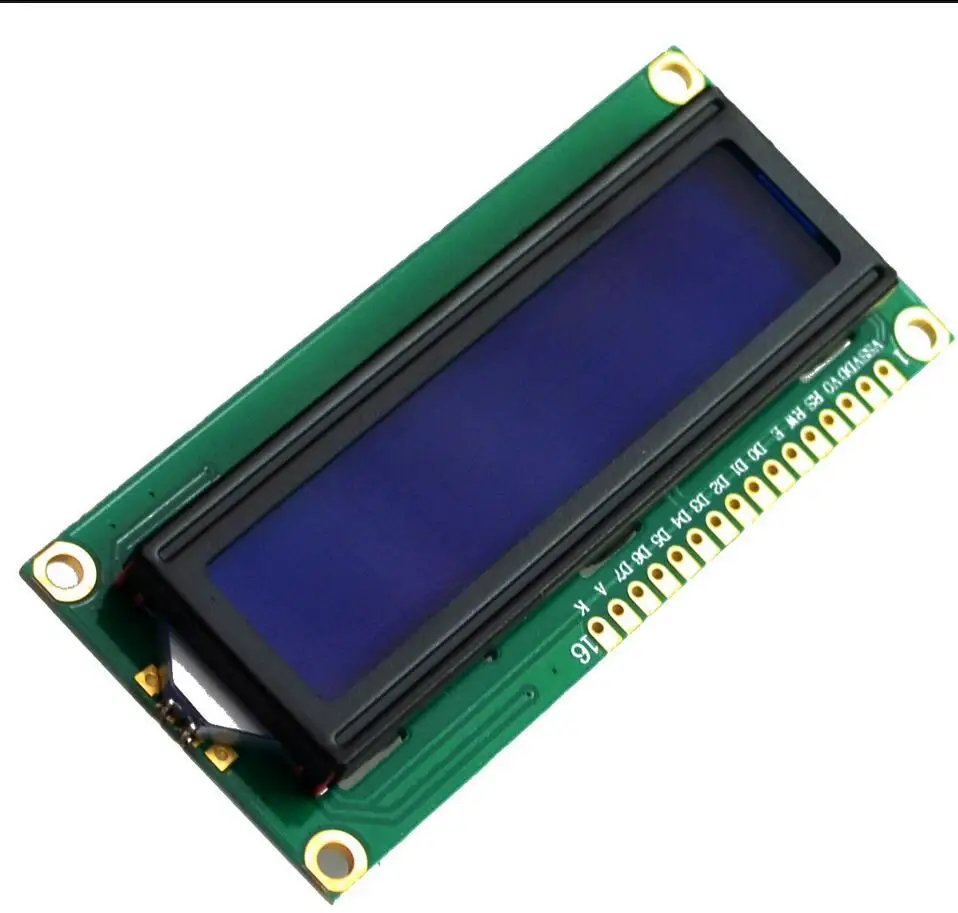 |
| DHT11 Temperature and Humidity Sensor | 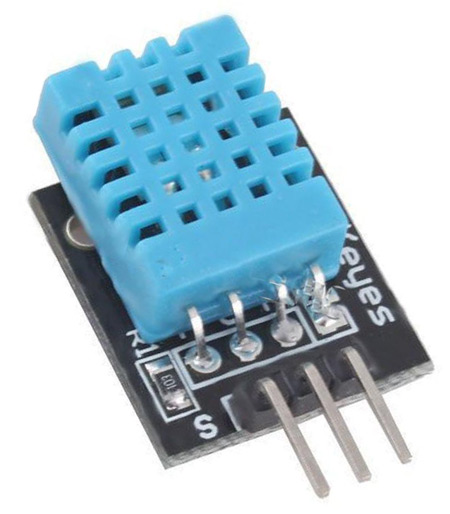 |
Instructions
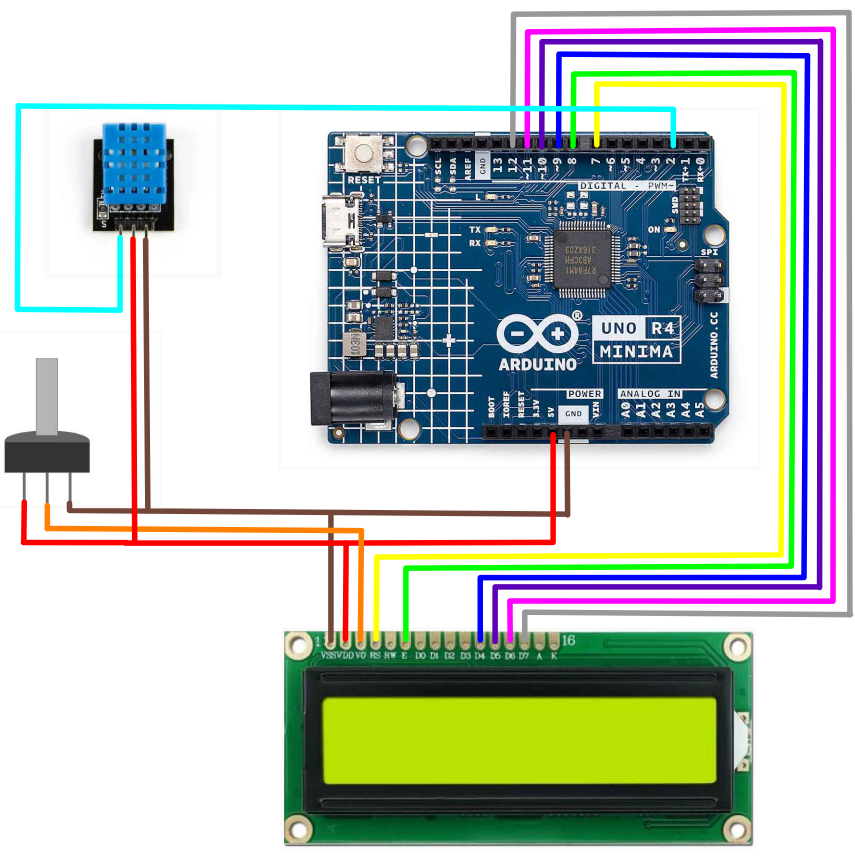
- Make the following connections using the breadboard and jumper wires.
Connections
LCD1602 to Arduino R4 Minima
- RS (Register Select) pin to Arduino digital pin 7
- E (Enable) pin to Arduino digital pin 8
- D4 pin to Arduino digital pin 9
- D5 pin to Arduino digital pin 10
- D6 pin to Arduino digital pin 11
- D7 pin to Arduino digital pin 12
- GND to GND
- VDD to 5V
- VO to the middle pin of a 10k potentiometer (the other two pins of the potentiometer to 5V and GND)
- BLA to 5V
- BLK to GND
DHT11 Sensor
- Signal to pin 2
- Vcc to 5V
- Gnd to GND
-
Download the "LiquidCrystal" and "DHT" libraries from the Library Manager on the Arduino IDE.
-
Paste the following code into your main Arduino sketch:
Code
#include <LiquidCrystal.h>
#include <DHT.h>

// Initialize the LCD library with the numbers of the interface pins
LiquidCrystal lcd(7, 8, 9, 10, 11, 12);

// Define the pin for the DHT11 sensor
#define DHTPIN 2

// Define the type of DHT sensor
#define DHTTYPE DHT11

// Initialize the DHT sensor
DHT dht(DHTPIN, DHTTYPE);

void setup() {
  // Start the LCD
  lcd.begin(16, 2);
  lcd.print("DHT11 Sensor");

  // Start the serial communication
  Serial.begin(9600);

  // Start the DHT sensor
  dht.begin();

  delay(2000); // Wait 2 seconds before starting loop
}

void loop() {
  // Read humidity and temperature
  float h = dht.readHumidity();
  float t = dht.readTemperature();
  float f = dht.readTemperature(true);

  // Check if any reads failed and exit early (to try again).
  if (isnan(h) || isnan(t) || isnan(f)) {
    Serial.println("Failed to read from DHT sensor!");
    lcd.setCursor(0, 0);
    lcd.print("Sensor Error   ");
    return;
  }

  // Compute heat index in Fahrenheit (the default)
  float hif = dht.computeHeatIndex(f, h);
  // Compute heat index in Celsius
  float hic = dht.computeHeatIndex(t, h, false);

  // Print values to serial monitor
  Serial.print("Humidity: ");
  Serial.print(h);
  Serial.print(" %\t");
  Serial.print("Temperature: ");
  Serial.print(t);
  Serial.print(" *C ");
  Serial.print(f);
  Serial.print(" *F\t");
  Serial.print("Heat index: ");
  Serial.print(hic);
  Serial.print(" *C ");
  Serial.print(hif);
  Serial.println(" *F");

  // Print values to LCD
  lcd.setCursor(0, 0);
  lcd.print("Temp: ");
  lcd.print(t);
  lcd.print(" C");

  lcd.setCursor(0, 1);
  lcd.print("Humidity: ");
  lcd.print(h);
  lcd.print(" %");

  delay(2000); // Delay 2 seconds before the next reading
}
-
Connect your Arduino to your laptop using a USB-C cable and upload the code to the arduino.
-
Run! Observe the temperature and humidity on the display.
| Prev | Next |
|---|---|
| 19. LCD 1602 Module | 21. Shift Registers and LED |