17. Sound Sensor
Sound sensors are versatile components that can detect and respond to sound levels in their environment. They are widely used in applications such as sound-activated lights, security systems, and voice-activated devices.
Materials
| Component | Image |
|---|---|
| Breadboard | 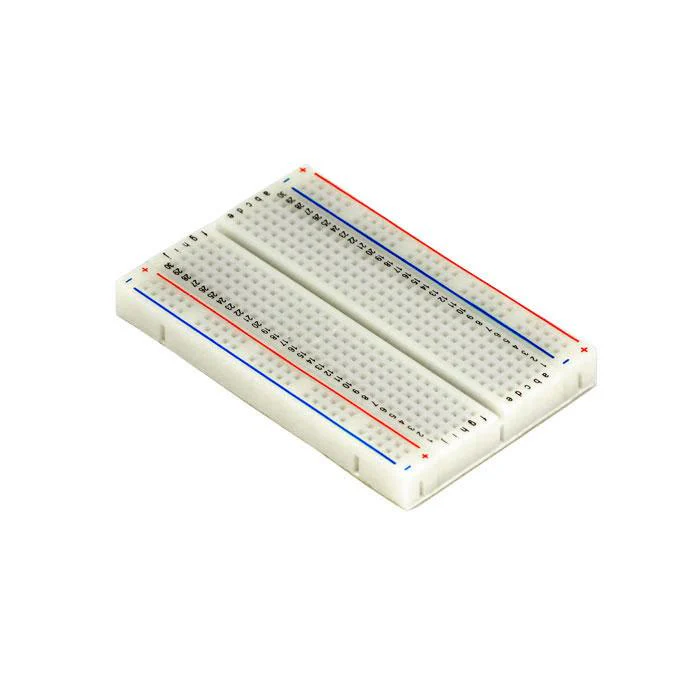 |
| Jumper wires | 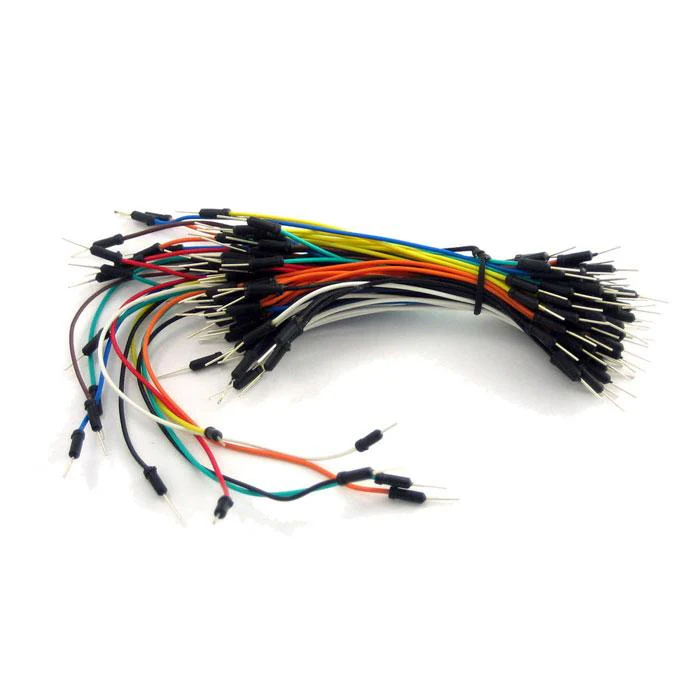 |
| Arduino Uno R4 Minima | 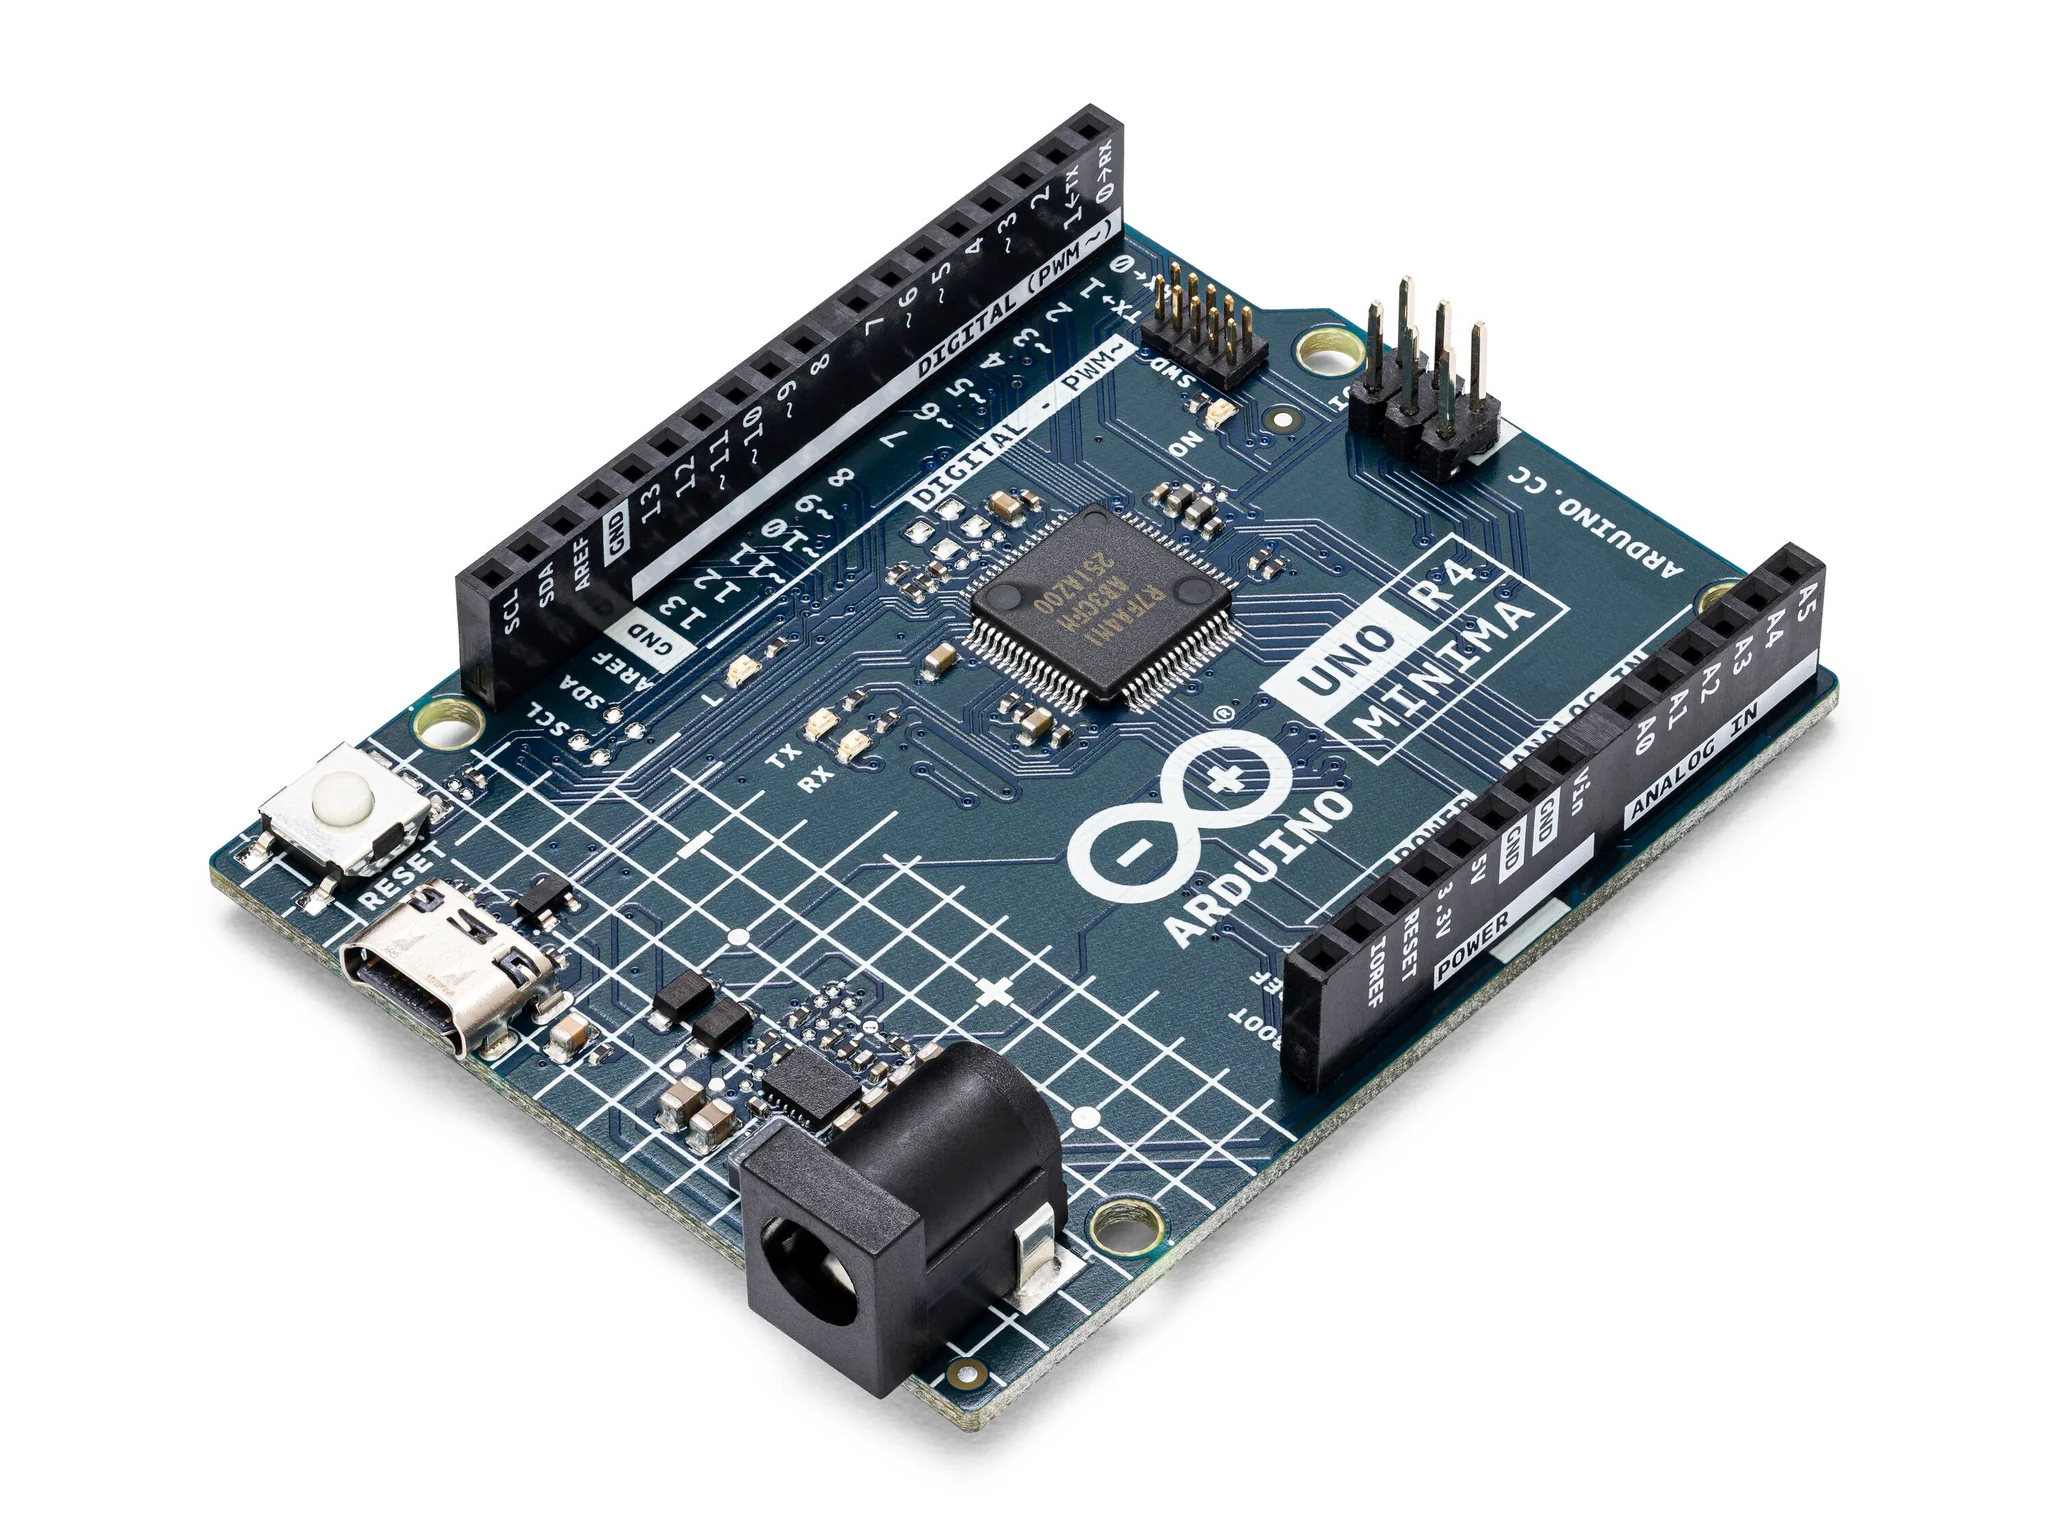 |
| Sound Sensor | 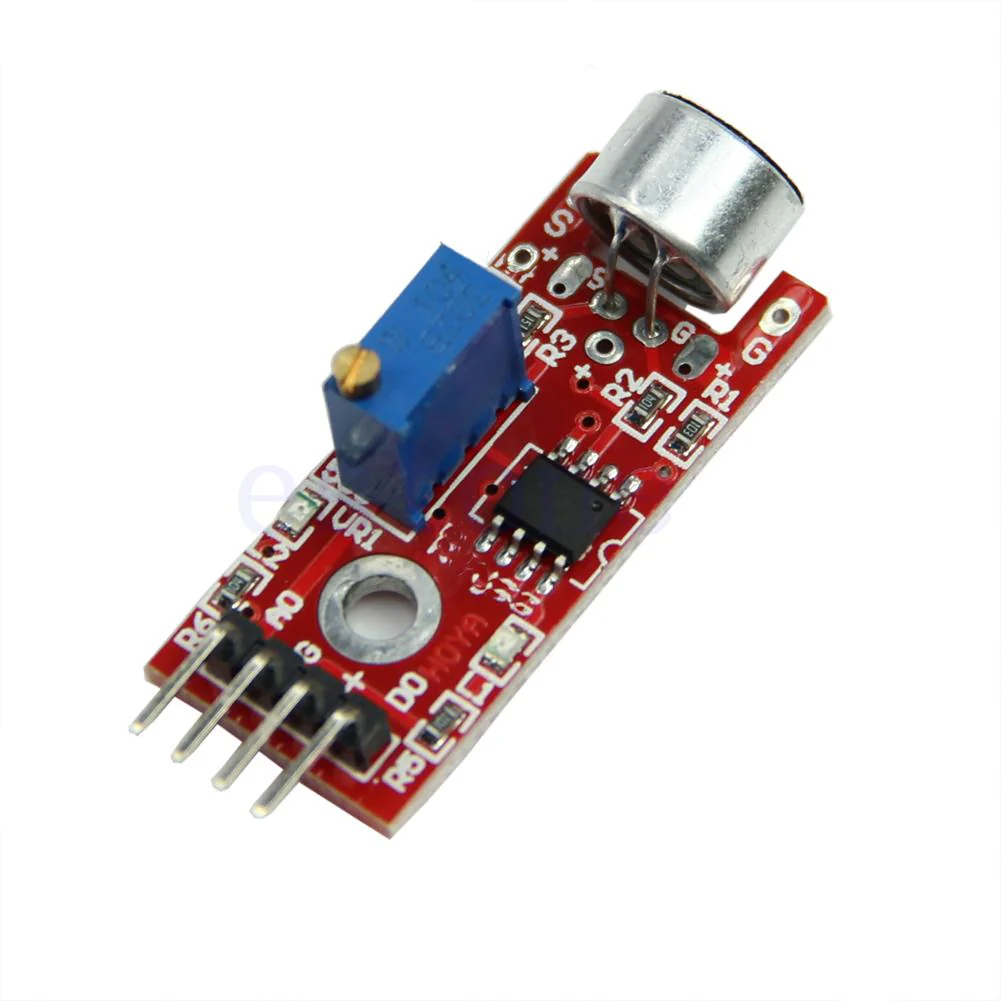 |
Instructions
- Make the following connections using the breadboard and jumper wires.
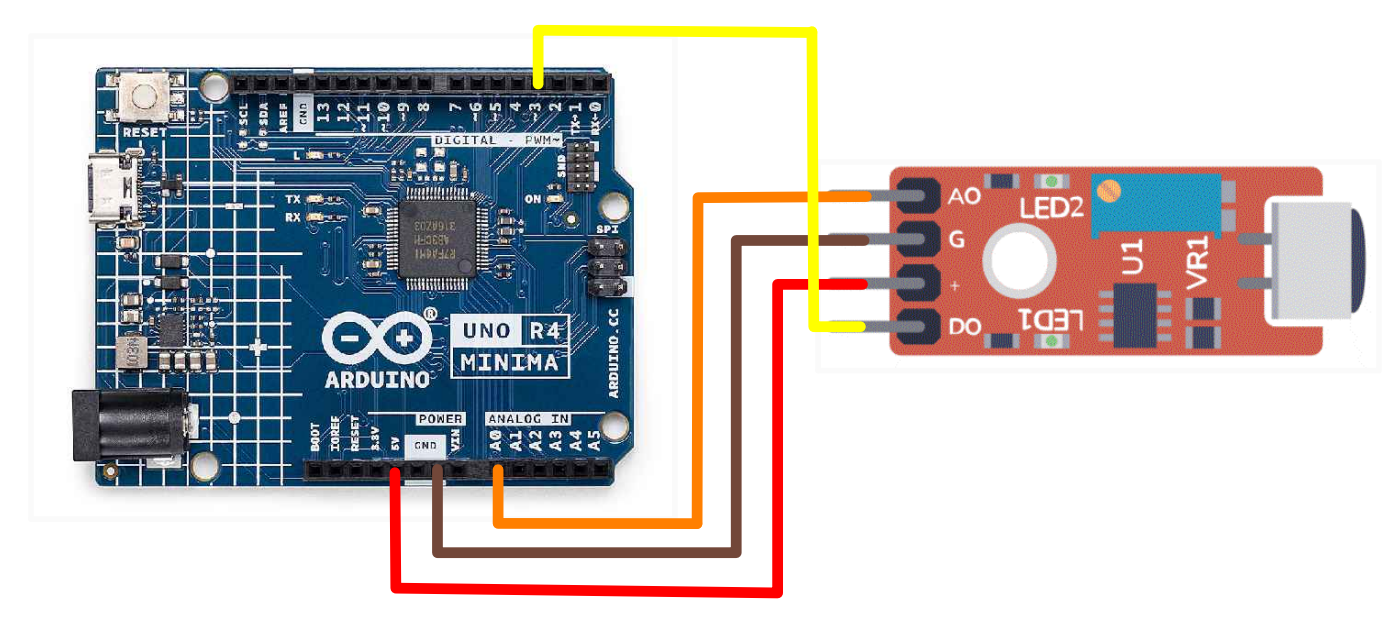
Connections
(Sound Sensor to Arduino)
- DO to pin 3
- + to 5V
- G to GND
- A0 to A0
- Paste the following code into your main Arduino sketch:
Code
int  sensorAnalogPin = A0;    // Select the Arduino input pin to accept the Sound Sensor's analog output
int  sensorDigitalPin = 3;    // Select the Arduino input pin to accept the Sound Sensor's digital output
int  analogValue = 0;         // Define variable to store the analog value coming from the Sound Sensor
int  digitalValue;            // Define variable to store the digital value coming from the Sound Sensor
int  Led13 = 13;              // Define LED port; this is the LED built in to the Arduino (labled L)


void setup()
{
  Serial.begin(9600);               // The IDE settings for Serial Monitor/Plotter (preferred) must match this speed
  pinMode(sensorDigitalPin,INPUT);  // Define pin 3 as an input port, to accept digital input
  pinMode(Led13,OUTPUT);            // Define LED13 as an output port, to indicate digital trigger reached
}

void loop(){
  analogValue = analogRead(sensorAnalogPin); // Read the value of the analog interface A0 assigned to digitalValue
  digitalValue=digitalRead(sensorDigitalPin); // Read the value of the digital interface 3 assigned to digitalValue
  Serial.println(analogValue); // Send the analog value to the serial transmit interface

  if(digitalValue==HIGH)      // Depending on the sensitivity, you can compare the analog value with the threshold
  {                           // (adjust the potentiometer clockwise to increase sensitivity, and counter-clockwise
                              // to decrease sensitivity
    digitalWrite(Led13,HIGH);
  }
  else
  {
    digitalWrite(Led13,LOW);
  }

  delay(50);                  // Slight pause so that we don't overwhelm the serial interface
}
-
Connect your Arduino to your laptop using a USB-C cable and upload the code to the arduino.
-
Test! Make noises near your sound sensor and watch the LED turn on and off. You can also open the serial monitor to see analog values fluctuate.
-
Optionally, you can increase sensitivity of the sound sensor by rotating the potentiometer clockwise. You can also decrease sensitivity by rotating the potentiometer counter-clockwise. Additinally, you can adjust the code to only turn on the LED at different thresholds. Look at the comments in the code to see where to make edits.
| Prev | Next |
|---|---|
| 16. DS1307 RTC Module | 18. RC522 RFID Module |