3. Making Sounds
Learning how to use a simple buzzer!
Materials
| Component | Image |
|---|---|
| Breadboard |  |
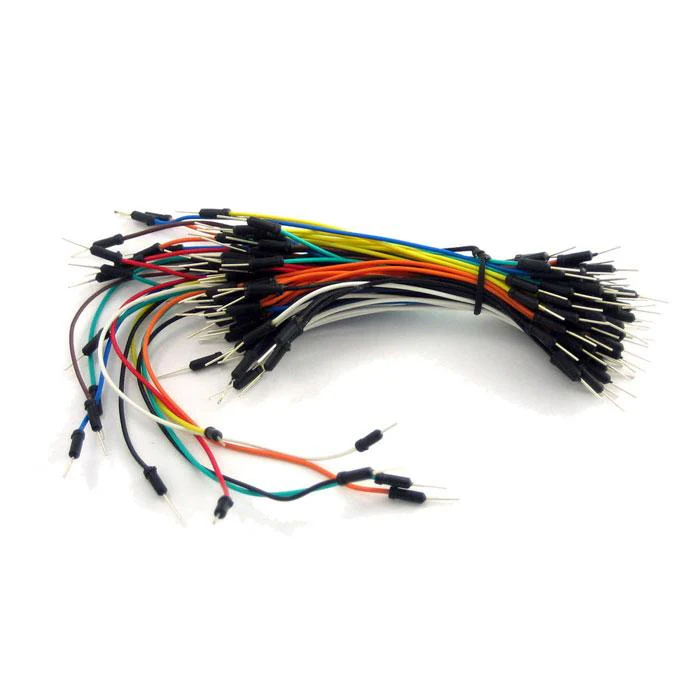
| Jumper wires |  |
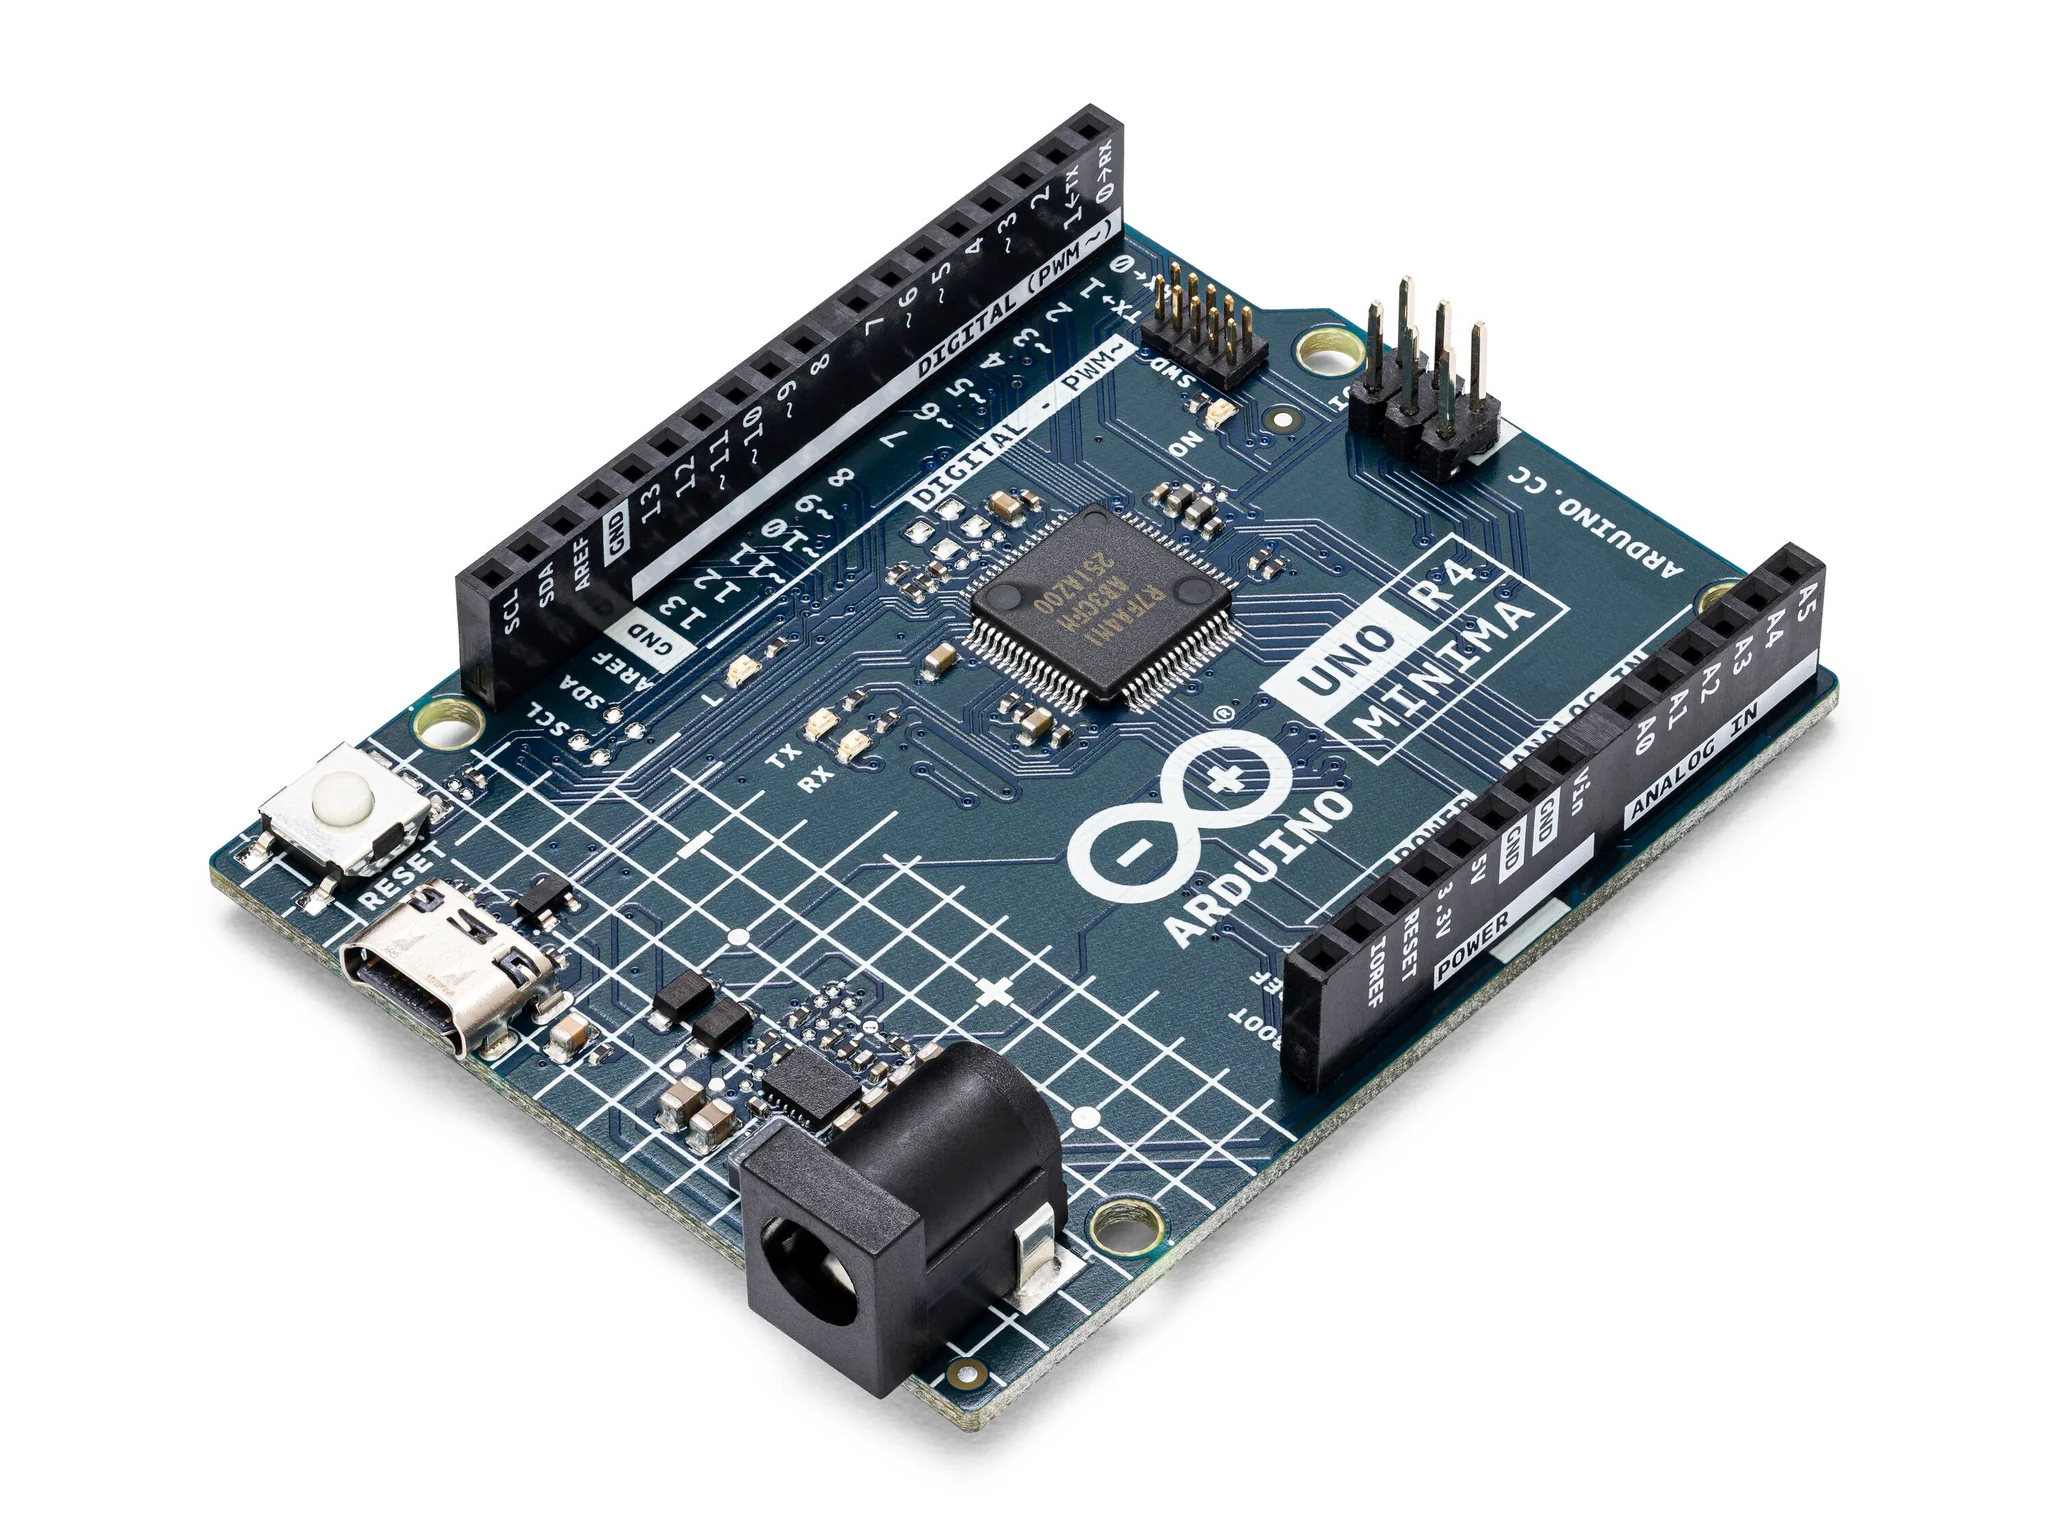
| Arduino Uno R4 Minima |  |
| Buzzer |  |
Instructions
-
Place the buzzer in the middle of the breadboard.
-
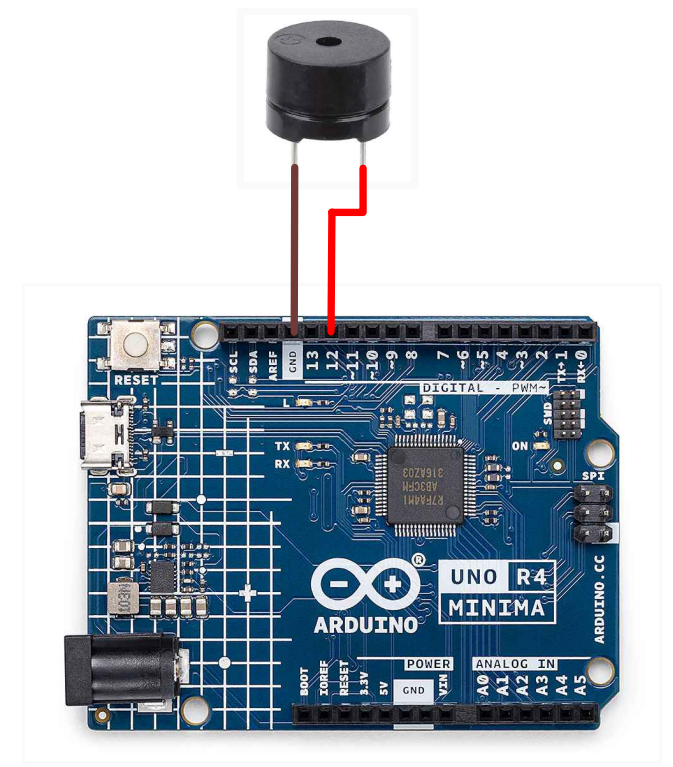
Connect the negative terminal to the ground and the postive terminal to pin 12.

- Paste the following code into your Arduino IDE:
Code
int buzzer = 12; // the pin of the active buzzer

void setup() {
  pinMode(buzzer, OUTPUT); // initialize the buzzer pin as an output
}

void loop() {
  int sound_duration = 500;
  for (int i = 0; i < 20; i++) {
    // use the if function to gradually shorten the interval of the sound
    if (i < 5) {
      sound_duration = 500;
    } else if (i < 10) {
      sound_duration = 300;
    } else if (i < 20) {
      sound_duration = 100;
    }
    // activate the active buzzer
    digitalWrite(buzzer, HIGH);
    delay(sound_duration); // wait for sound_duration ms
    // deactivate the active buzzer
    digitalWrite(buzzer, LOW);
    delay(sound_duration); // wait for sound_duration ms
  }
  // activate the active buzzer
  digitalWrite(buzzer, HIGH);
  delay(5000); // keep playing sound for 5 seconds
}
- Upload the code and watch the buzzer sound!
| Prev | Next |
|---|---|
| 2. Digital Input | 4. Passive Buzzer |