11. IR Receiver Module
The KY-022 IR receiver module is a small, affordable sensor that can detect and demodulate infrared signals from a remote control. It operates at a frequency of 38 kHz, which is a standard frequency for most consumer IR remotes. The module consists of a photodiode, an amplifier, and a demodulator circuit, all housed in a single package.
Materials
| Component | Image |
|---|---|
| Breadboard | 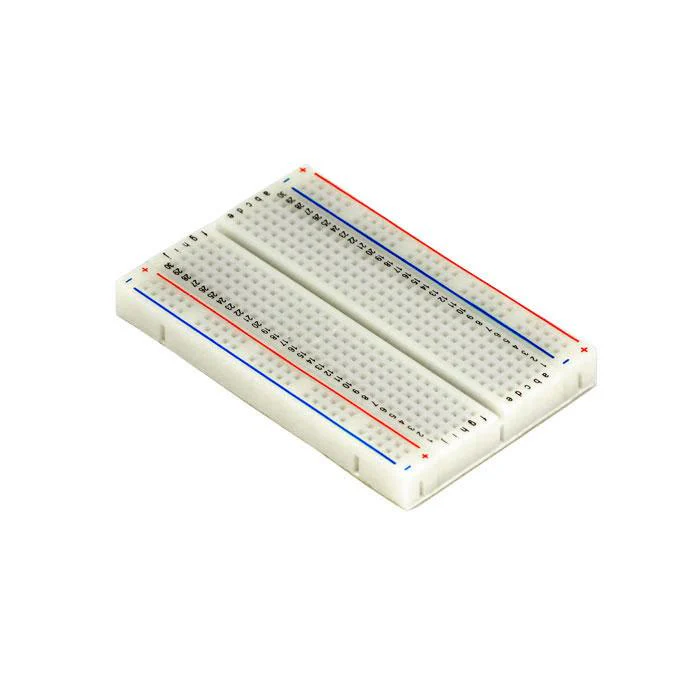 |
| Jumper wires | 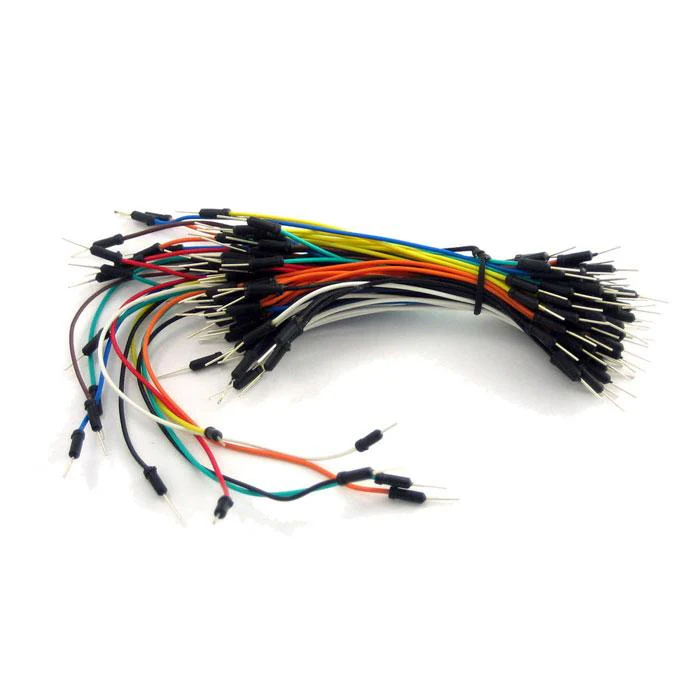 |
| Arduino Uno R4 Minima | 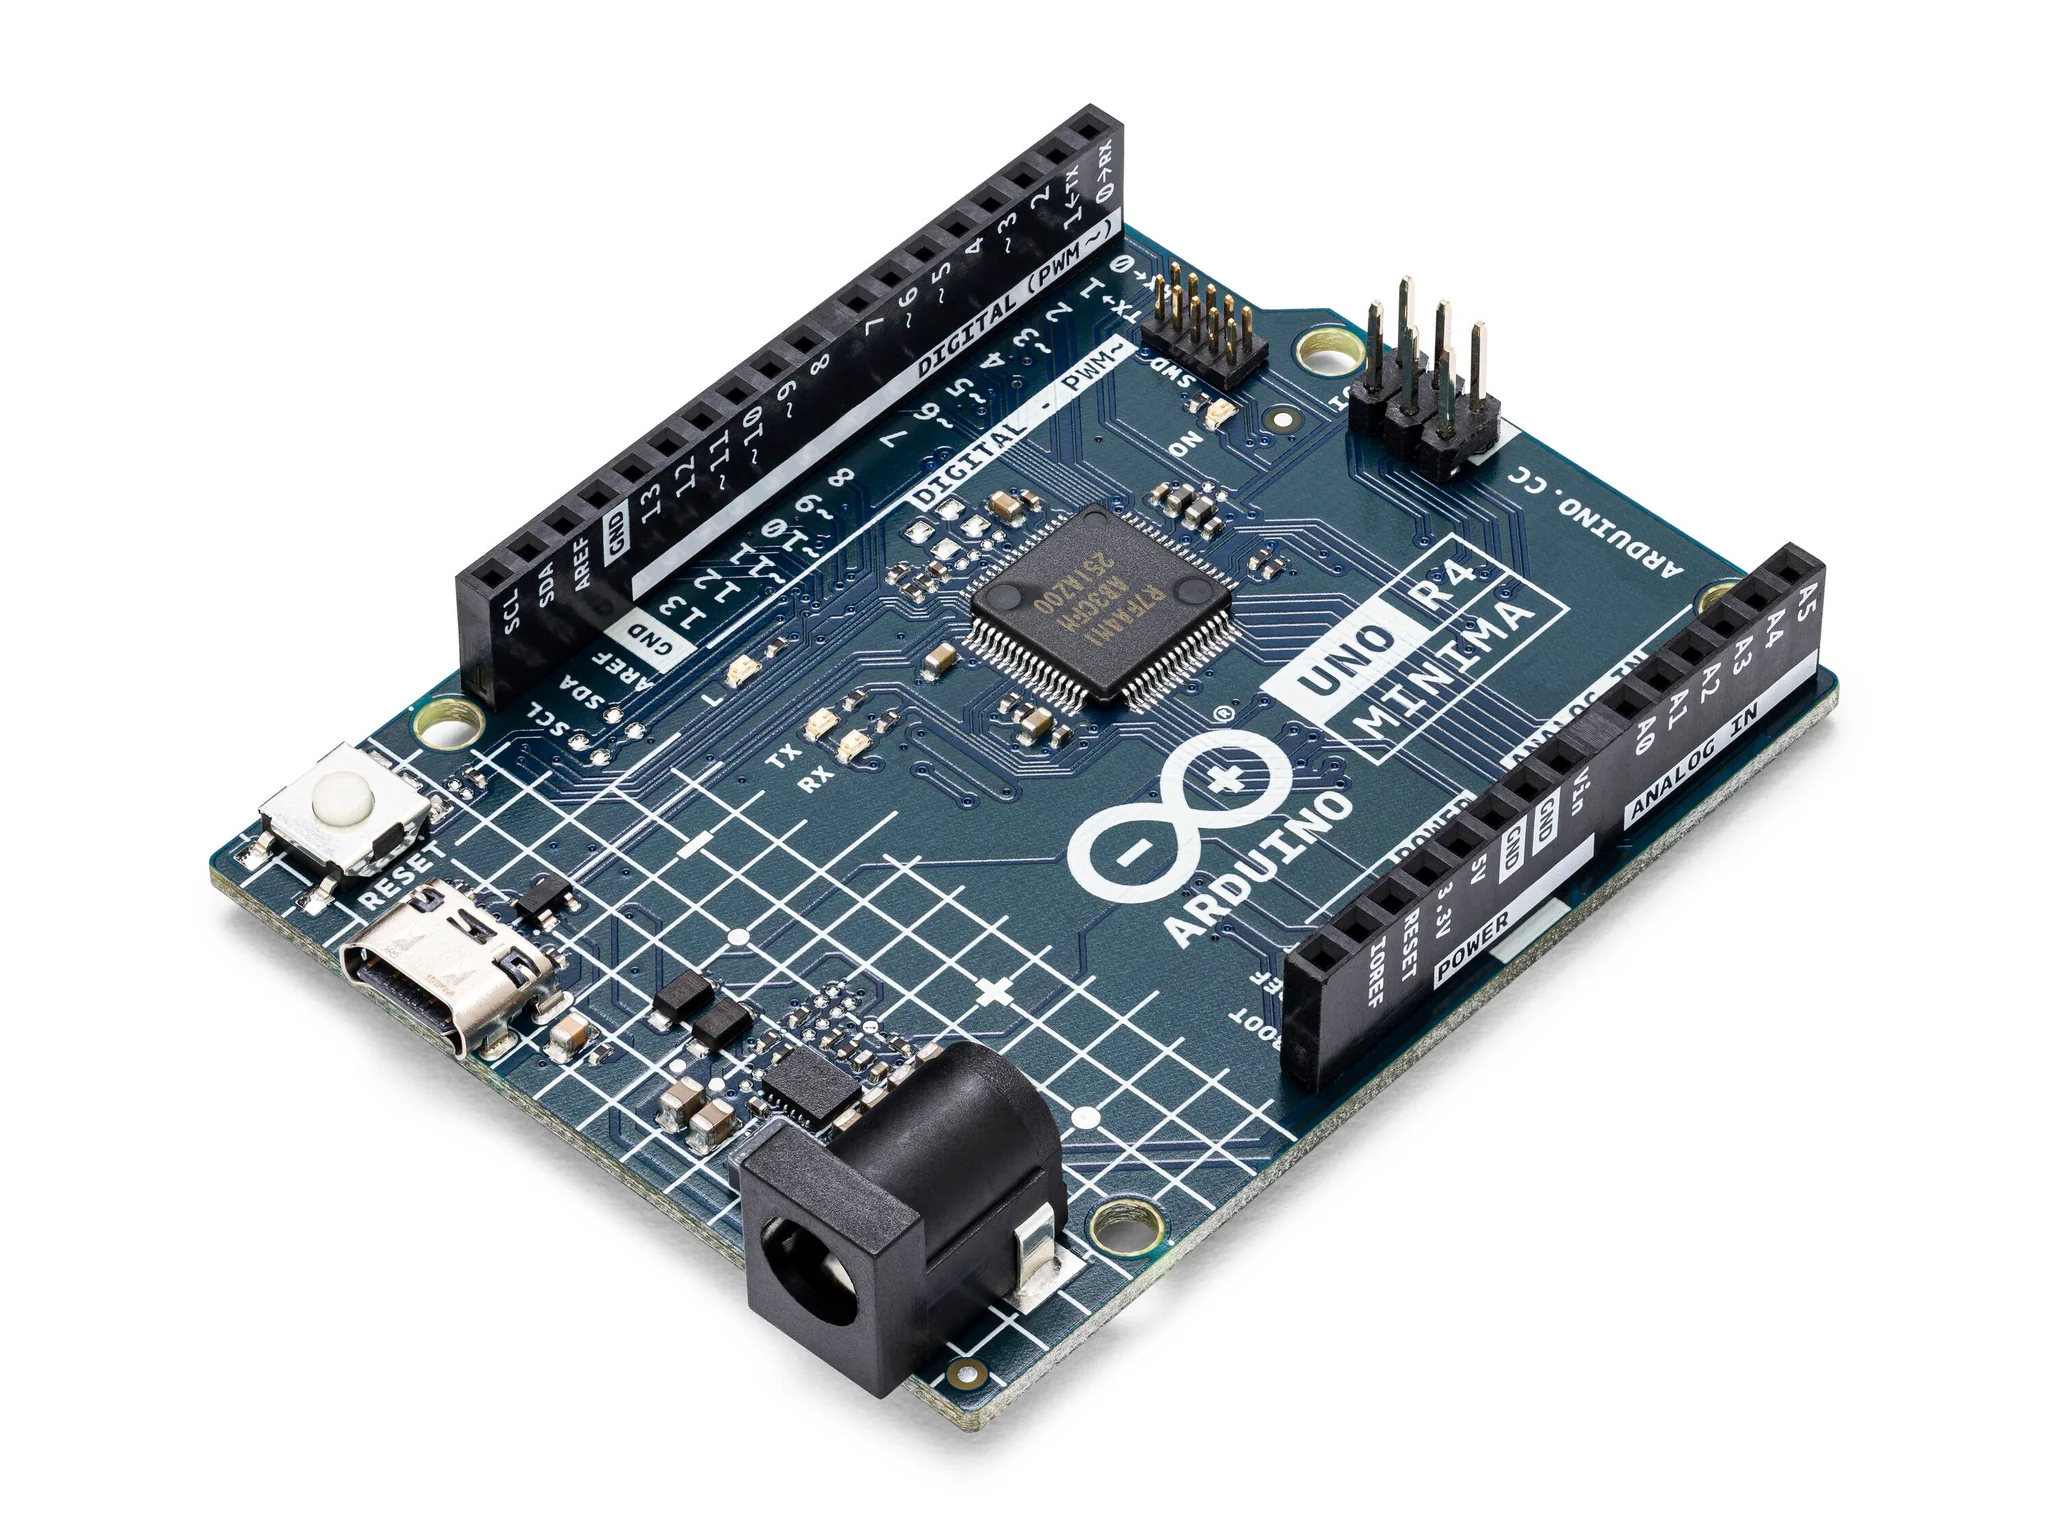 |
| KY022 IR Receiver Module + Remote | 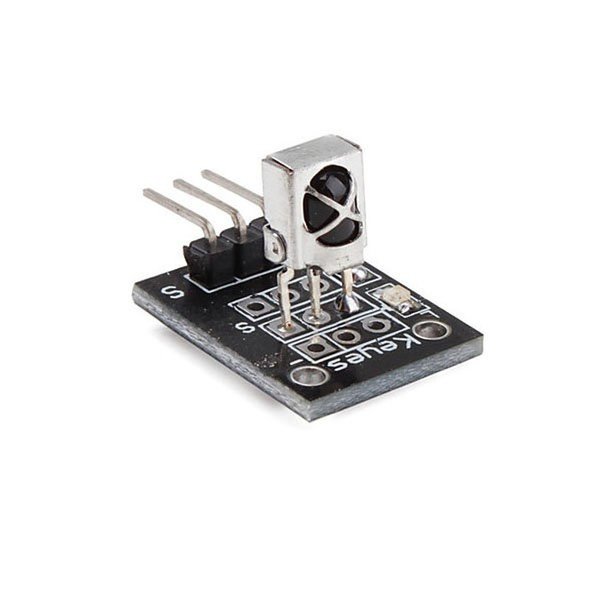 |
| IR Remote Control |  |
Instructions
- Make the following connections using the breadboard and jumper wires.
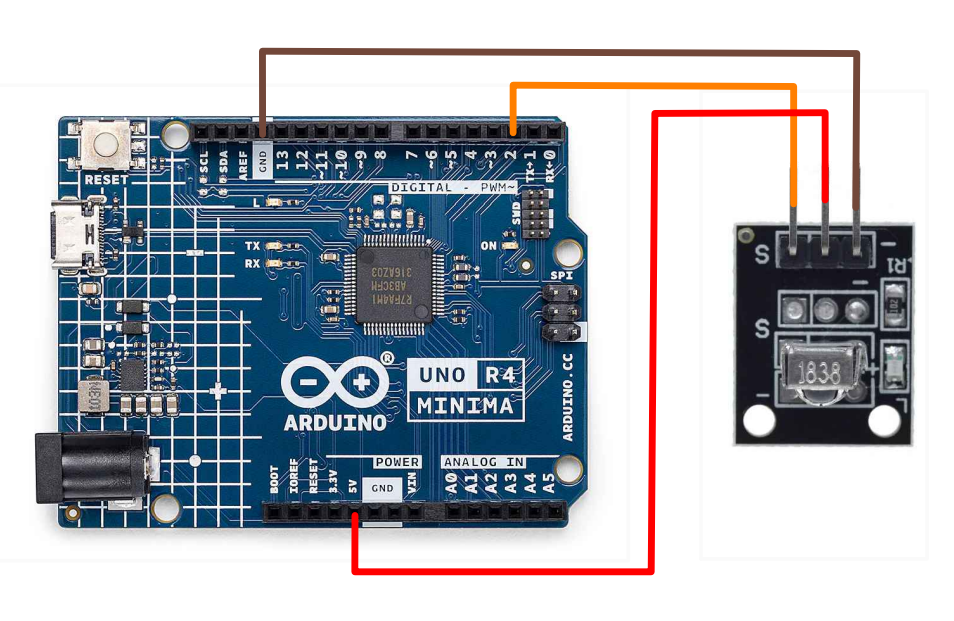
Connections
- Signal to pin 11
- Vcc to 5V
- GND to GND
-
Download the "IRremote" library from the library manager in the arduino IDE.
-
Paste the following code into your main Arduino sketch:
Code
#include <IRremote.hpp>
// Set your receiving module to the corresponding Arduino pin
int RECV_PIN = 11;
IRrecv irrecv(RECV_PIN);
decode_results results;

void setup() {
  Serial.begin(9600); // Start the serial monitor
  IrReceiver.begin(RECV_PIN, ENABLE_LED_FEEDBACK);  // Start the receiver
}

// This loop continuously runs
void loop() {
  if (IrReceiver.decode()) {
    Serial.println(IrReceiver.decodedIRData.decodedRawData, HEX);  // Print "old" raw data
    switch (IrReceiver.decodedIRData.decodedRawData) {
      // Print out the corresponding button depending on the hex code received by the module
      case 0xBA45FF00: Serial.println("POWER"); break;
      case 0xB847FF00: Serial.println("FUNC/STOP"); break;
      case 0xB946FF00: Serial.println("VOL+"); break;
      case 0xBB44FF00: Serial.println("FAST BACK"); break;
      case 0xBF40FF00: Serial.println("PAUSE"); break;
      case 0xBC43FF00: Serial.println("FAST FORWARD"); break;
      case 0xF807FF00: Serial.println("DOWN"); break;
      case 0xEA15FF00: Serial.println("VOL-"); break;
      case 0xF609FF00: Serial.println("UP"); break;
      case 0xE619FF00: Serial.println("EQ"); break;
      case 0xF20DFF00: Serial.println("ST/REPT"); break;
      case 0xE916FF00: Serial.println("0"); break;
      case 0xF30CFF00: Serial.println("1"); break;
      case 0xE718FF00: Serial.println("2"); break;
      case 0xA15EFF00: Serial.println("3"); break;
      case 0xF708FF00: Serial.println("4"); break;
      case 0xE31CFF00: Serial.println("5"); break;
      case 0xA55AFF00: Serial.println("6"); break;
      case 0xBD42FF00: Serial.println("7"); break;
      case 0xAD52FF00: Serial.println("8"); break;
      case 0xB54AFF00: Serial.println("9"); break;
    }

    IrReceiver.resume(); // Enable receiving of the next value
  }
  // Delay the sensor so as not to overload the module
  delay(1000);
}
-
Connect your Arduino to your laptop using a USB-C cable and upload the code to the arduino.
-
Test! Open the serial monitor and press buttons the remote. See if the correct statements are being printed out.
| Prev | Next |
|---|---|
| 10. Analog Joystick | 12. MAX7219 LED Matrix |