1. RBG LED Module
This LED is unique and has the ability to shine with all colours on the spectrum!
Materials
| Component | Image |
|---|---|
| Breadboard | 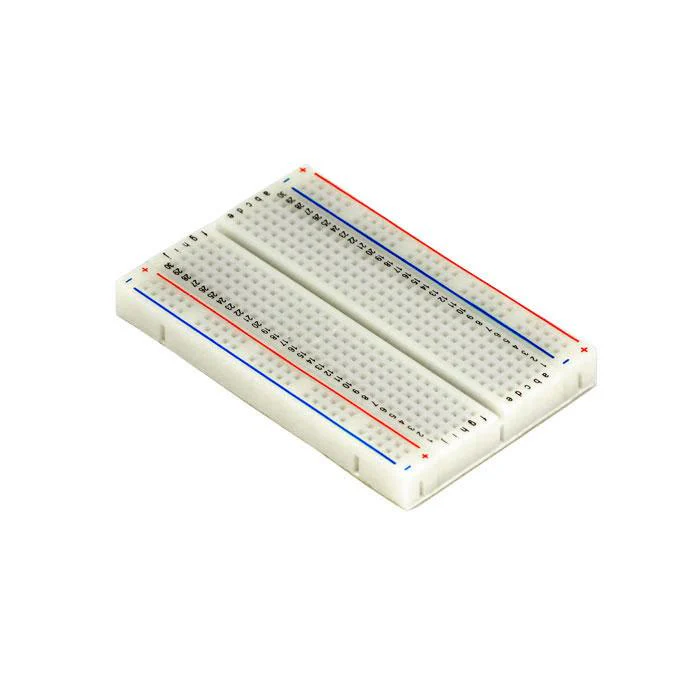 |
| Jumper wires | 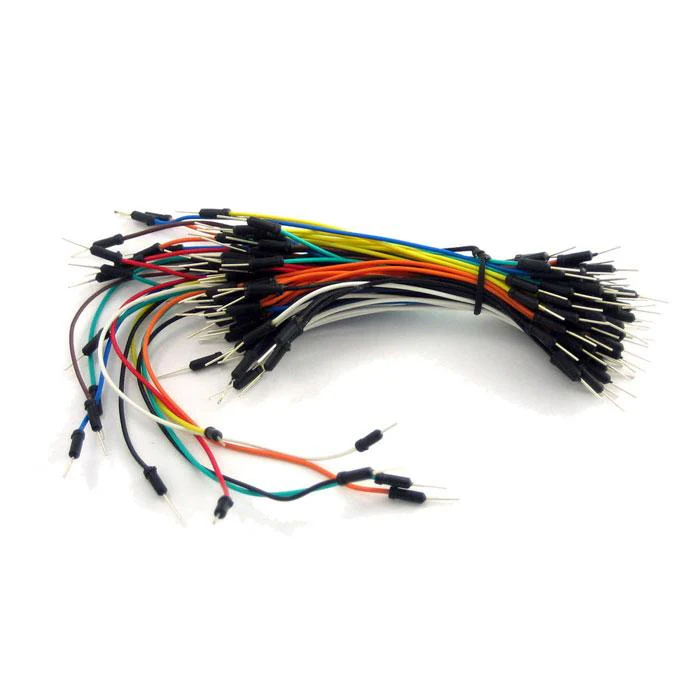 |
| Arduino Uno R4 Minima | 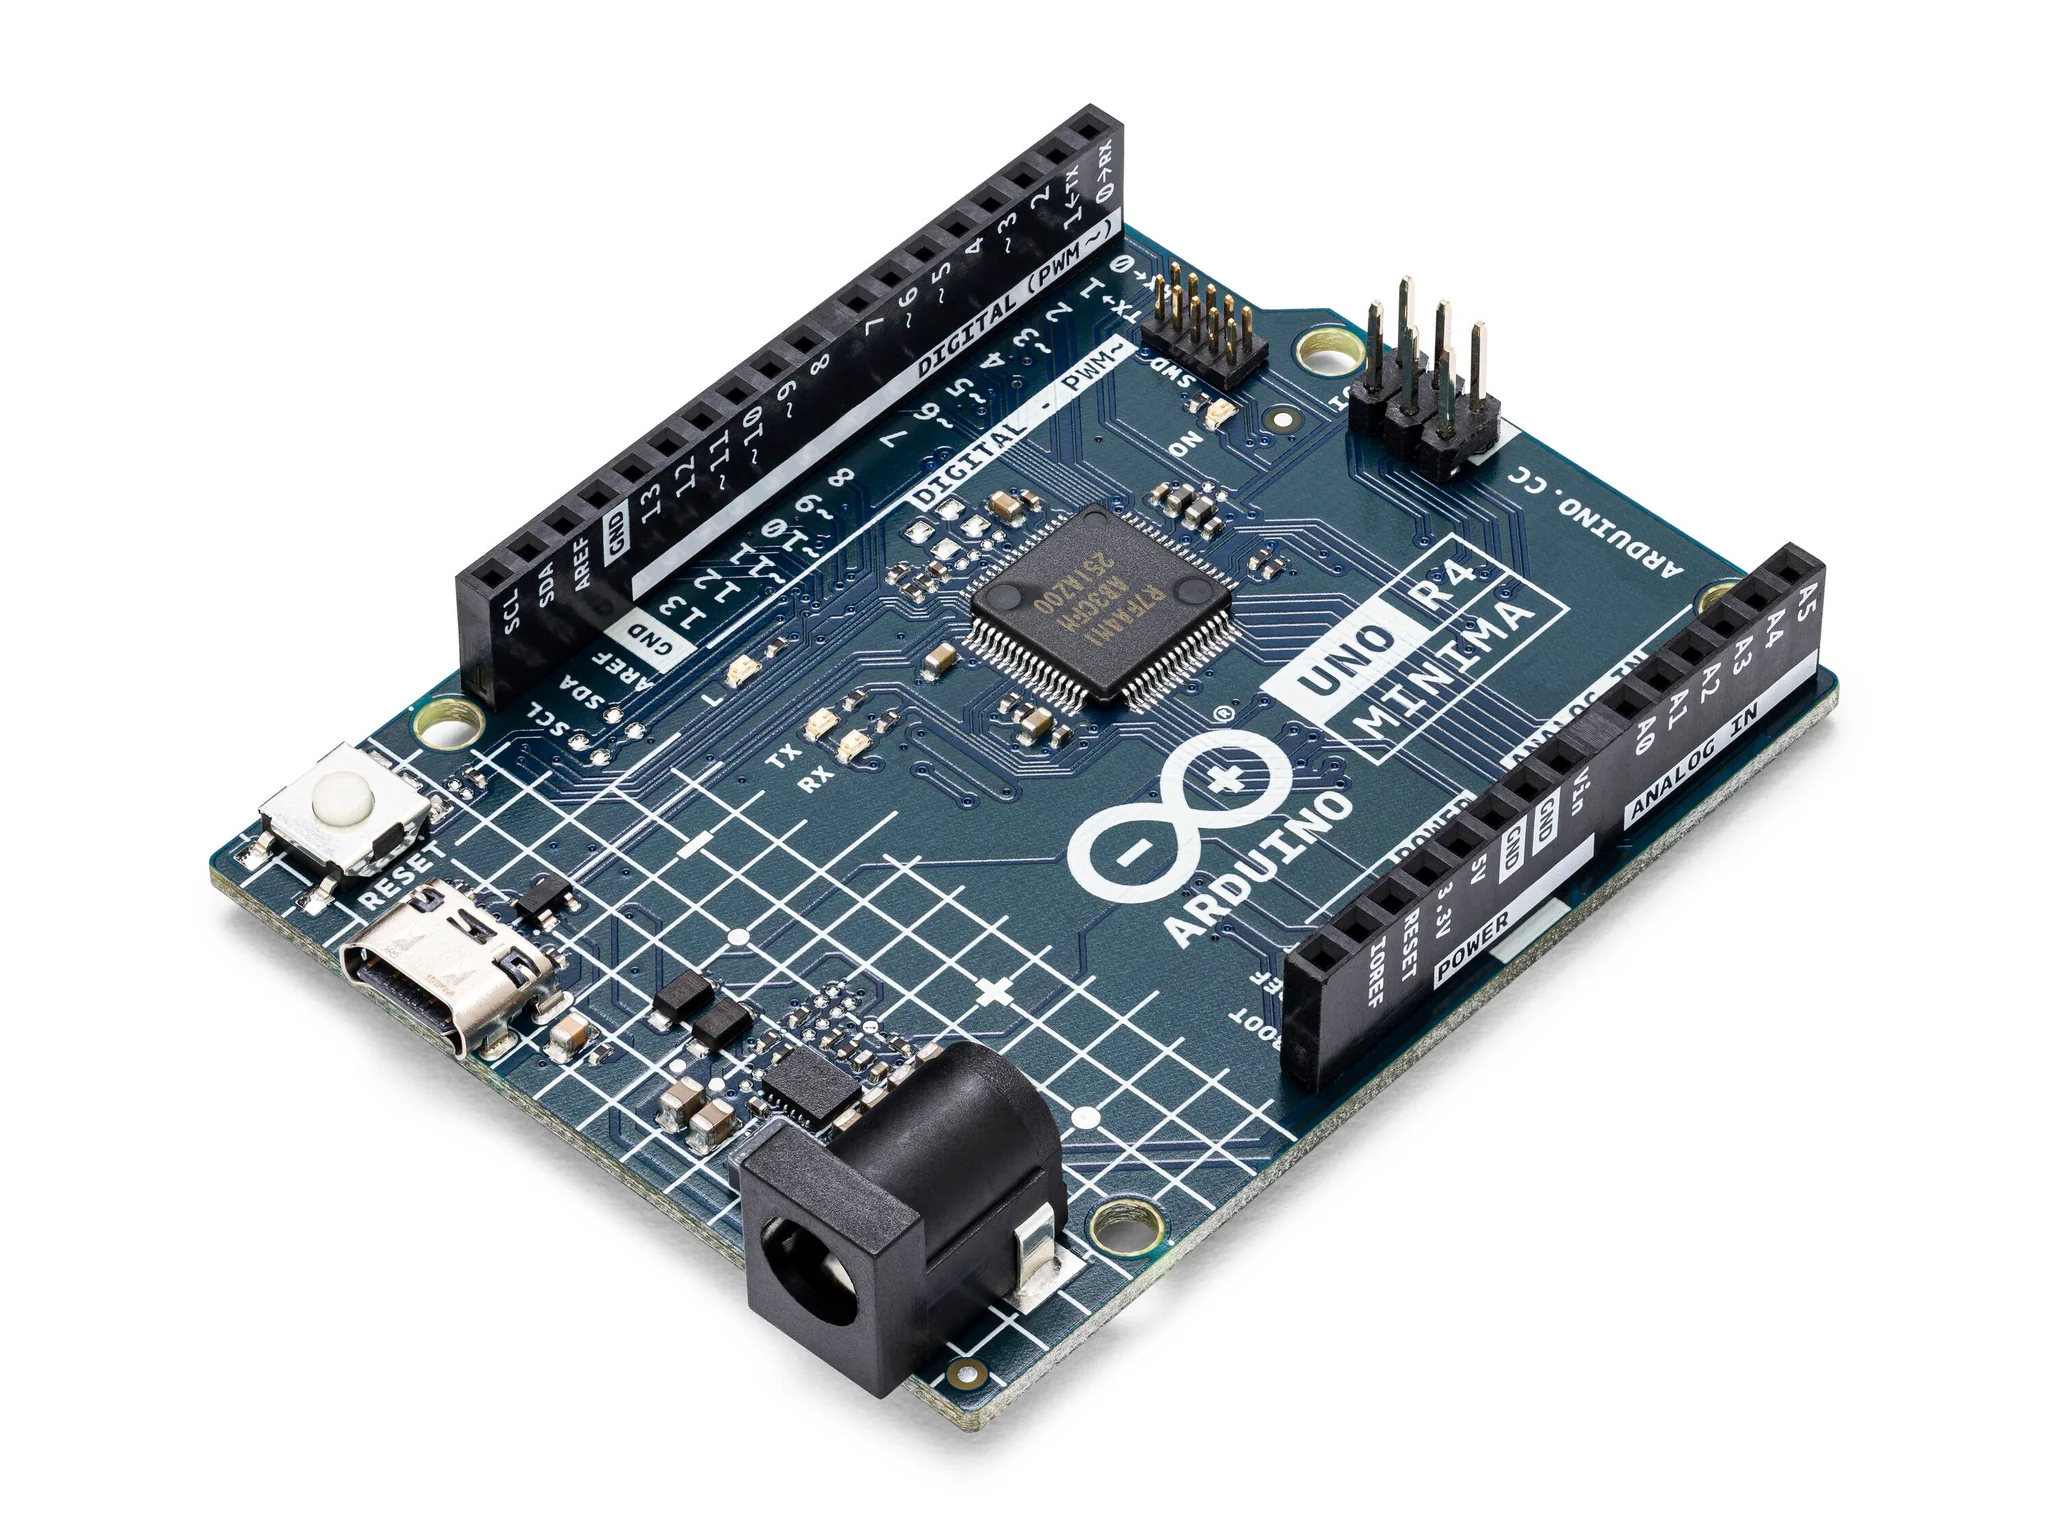 |
| Resistors (220 ohms for the LED, optional if using internal pull-up resistors for buttons) | 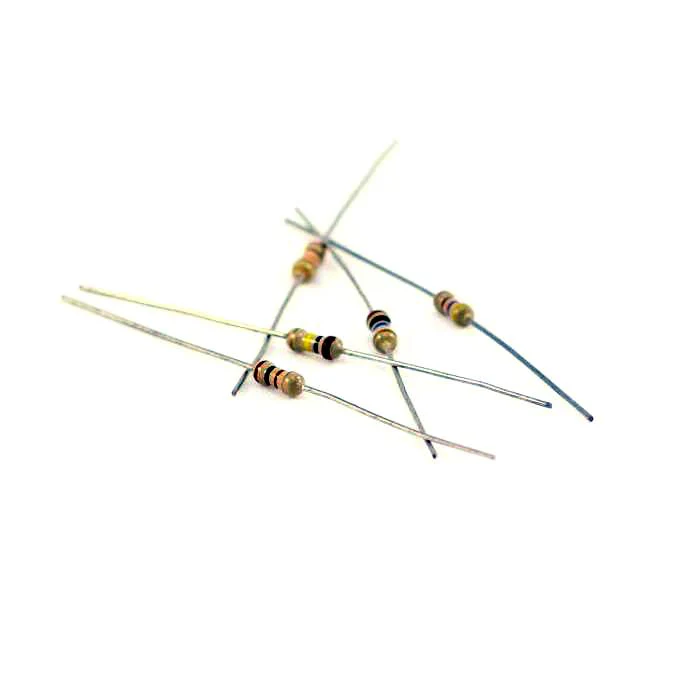 |
| RGB LED | 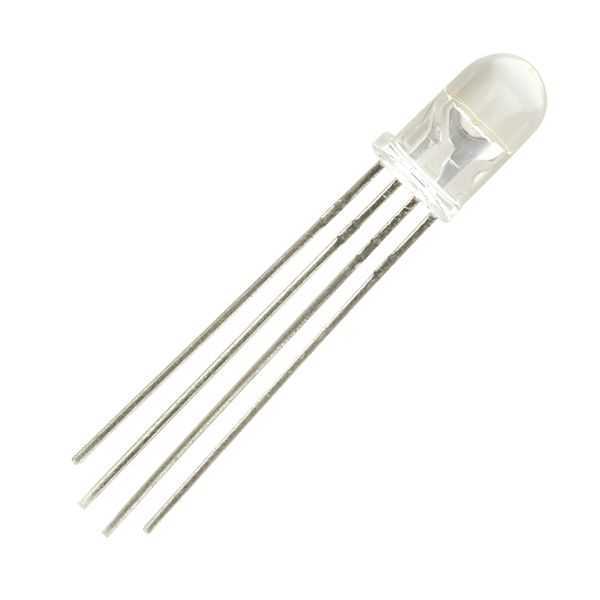 |
| USB-C cable |
Instructions
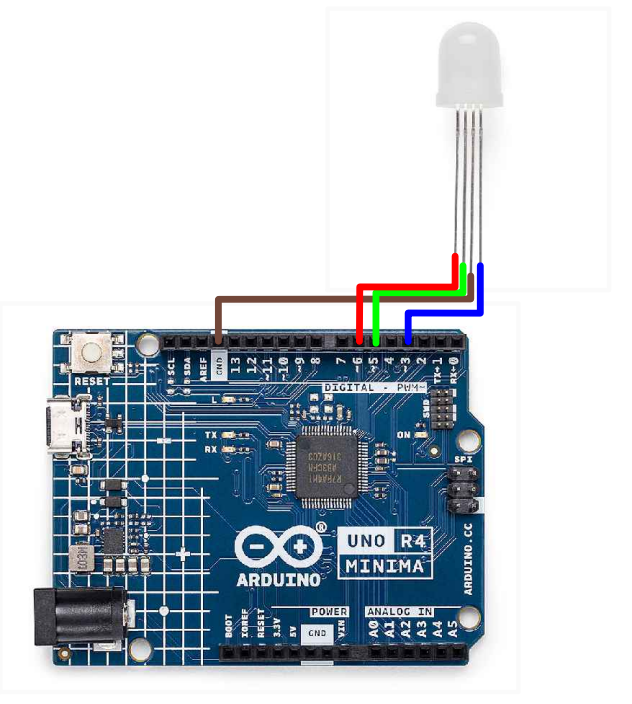
- Make the following connections between the Arduino Uno R4 Minima to the RGB-LED module.
Connections
- Red to pin 6
- Ground to GND
- Green to pin 5
- Blue to pin 3
- 10K Ohm Resistor between ground and RGB LED (this is optional and is recommended if you intend to leave the LED on for extended periods of time. This reduces the chance of frying your LED module due to increased resistance)
- Copy the following code into the Arduino IDE.
Code
// Define Pins
#define BLUE 3
#define GREEN 5
#define RED 6

void setup() {
  pinMode(RED, OUTPUT);
  pinMode(GREEN, OUTPUT);
  pinMode(BLUE, OUTPUT);
  digitalWrite(RED, HIGH);
  digitalWrite(GREEN, LOW);
  digitalWrite(BLUE, LOW);
}

// define variables
int redValue;
int greenValue;
int blueValue;

// main loop
void loop() {
  #define delayTime 10 // you can change the time it takes to fade between the colours

  redValue = 255; // choose a value between 1 and 255 to change the color.
  greenValue = 0;
  blueValue = 0;

  // the following for loops loop through the entire colour cycle

  for (int i = 0; i < 255; i += 1) { // fades out red and brings green to full when i=255
    redValue -= 1;
    greenValue += 1;
    analogWrite(RED, redValue);
    analogWrite(GREEN, greenValue);
    delay(delayTime);
  }

  redValue = 0;
  greenValue = 255;
  blueValue = 0;

  for (int i = 0; i < 255; i += 1) { // fades out green and brings blue to full when i=255
    greenValue -= 1;
    blueValue += 1;
    analogWrite(GREEN, greenValue);
    analogWrite(BLUE, blueValue);
    delay(delayTime);
  }

  redValue = 0;
  greenValue = 0;
  blueValue = 255;

  for (int i = 0; i < 255; i += 1) { // fades out blue and brings red to full when i=255
    blueValue -= 1;
    redValue += 1;
    analogWrite(BLUE, blueValue);
    analogWrite(RED, redValue);
    delay(delayTime);
  }
}
-
Connect your Arduino to your laptop using the USB-C cable and upload the code to the arduino.
-
Watch the LED change colours!
| Prev | Next |
|---|---|
| Introduction | 2. Digital Input |