9. DHT11 Temperature and Humidity Sensor
This tutorial will help you learn how ouse the temperature and humidity sensor.
Materials
| Component | Image |
|---|---|
| Breadboard | 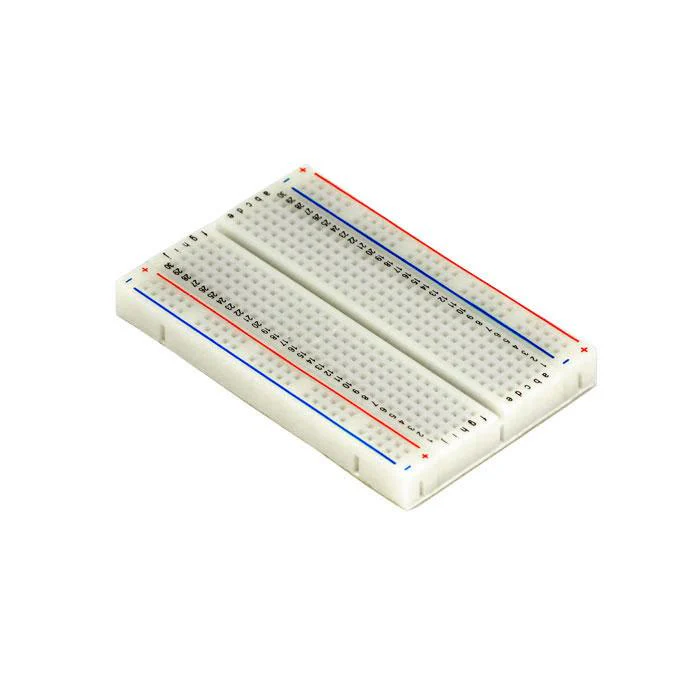 |
| Jumper wires | 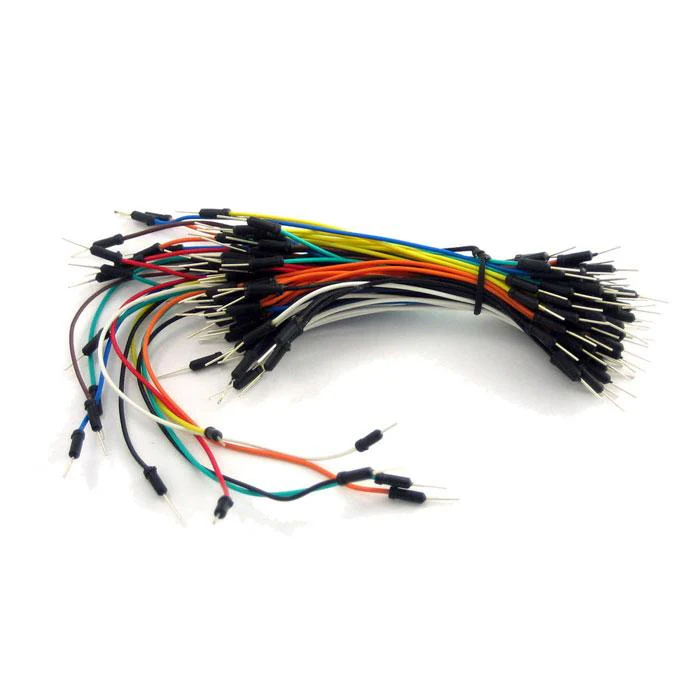 |
| Arduino Uno R4 Minima | 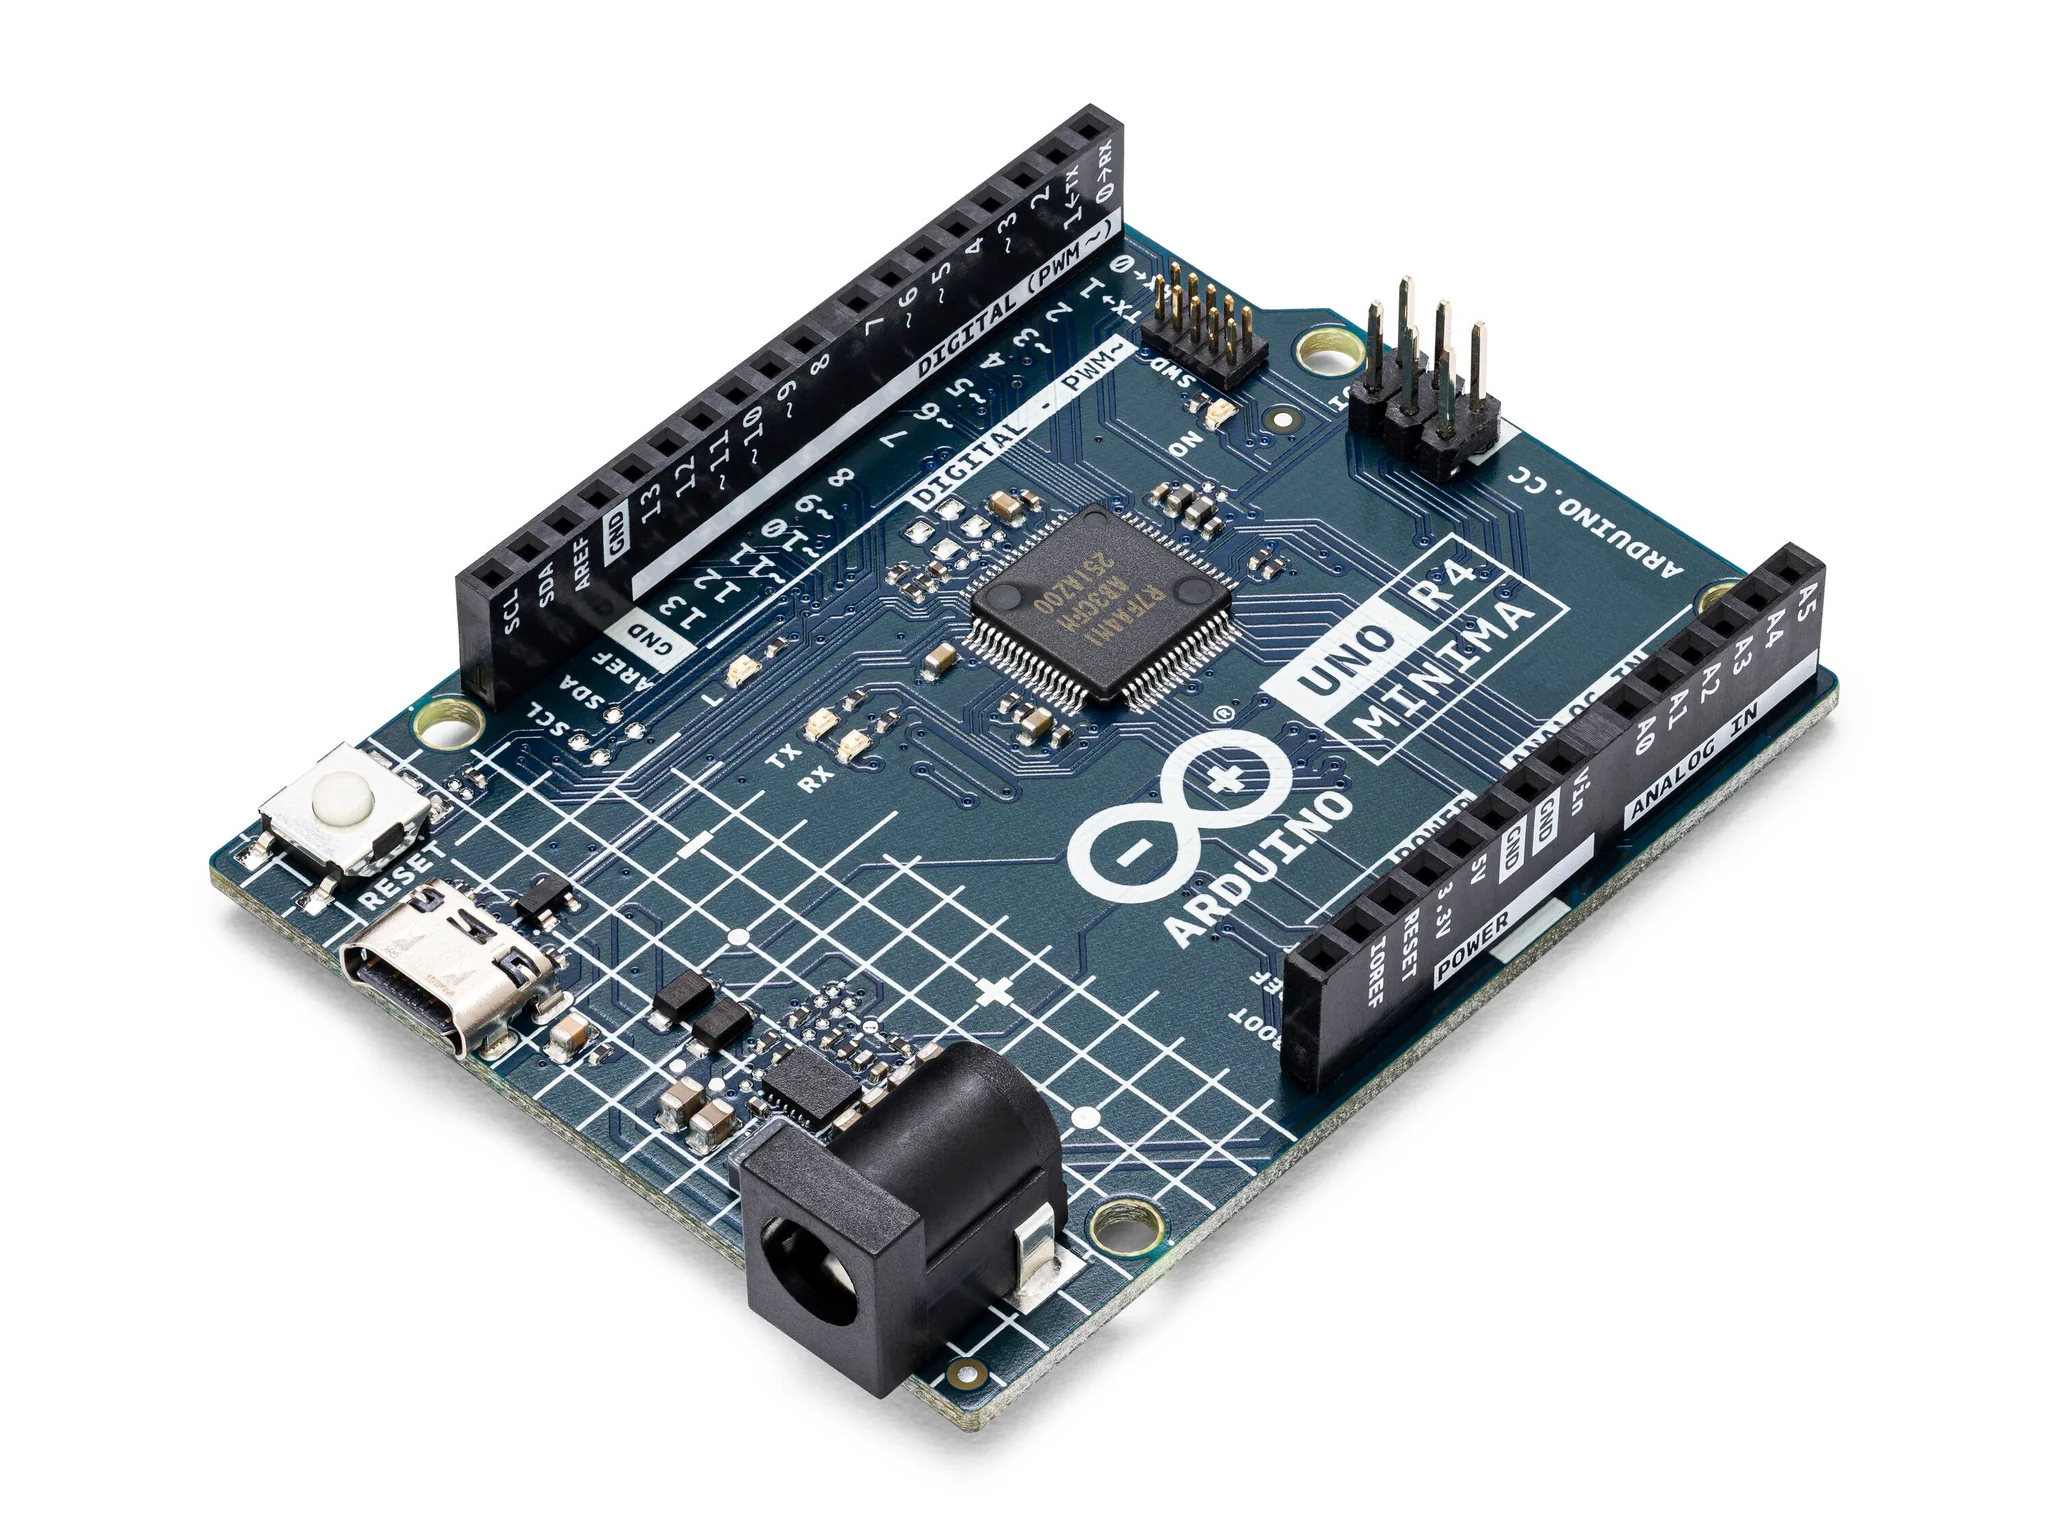 |
| DHT11 Temperature and Humidity Sensor | 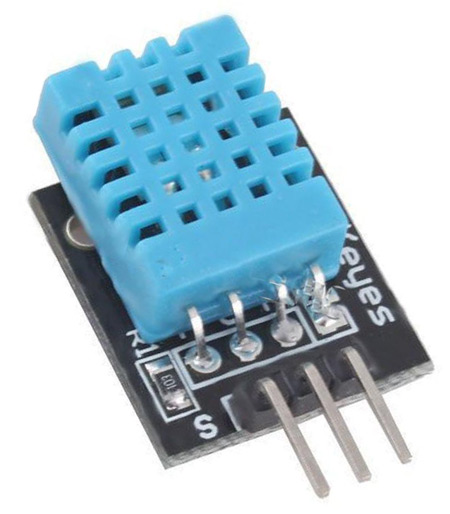 |
Instructions
- Make the following connections to using the dreadboard and jumper wires.
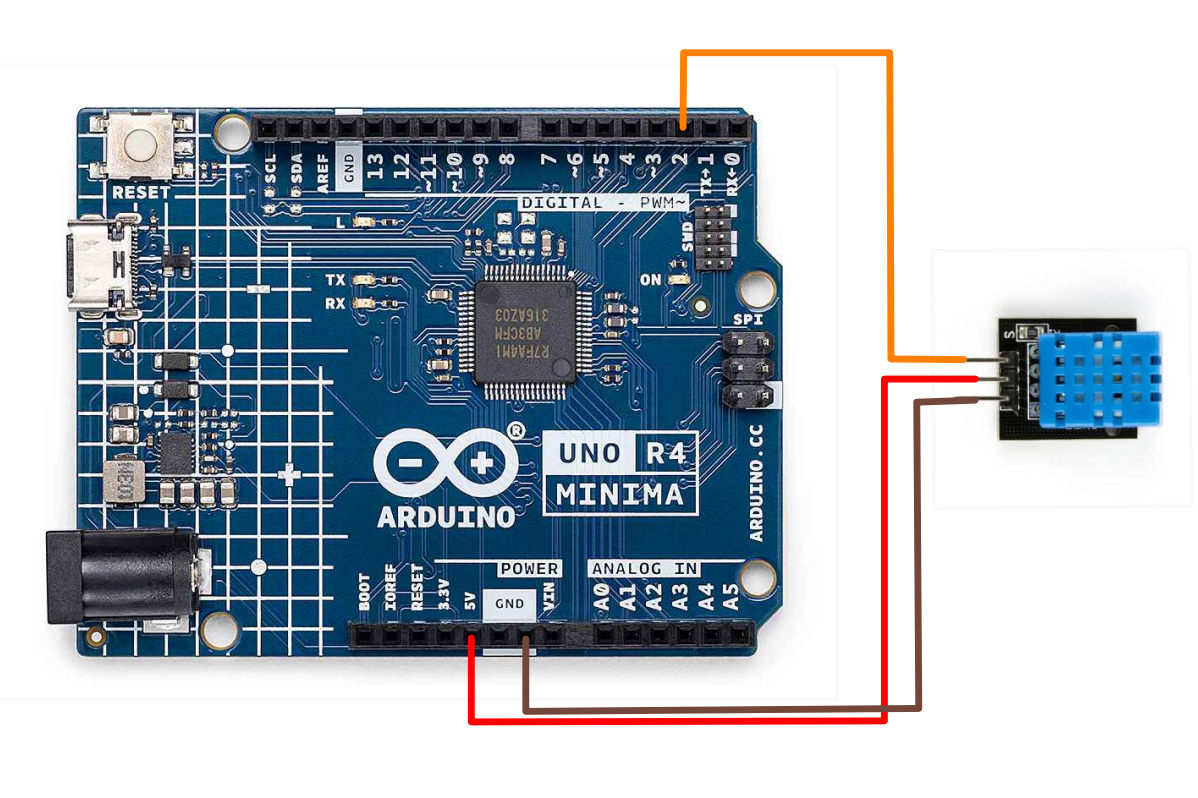
Connections
- Vcc to 5V
- Signal to pin 2
- Gnd to GND
-
Download the DHT sensor library by Adafruit on the Arduino library manager.
-
Make sure that the DHT.h file is within the same directory as you main Arduino sketch.
-
In your main Arduino sketch, paste the following code:
Code
#include <DHT.h>
#define DHT_SENSOR_PIN 2
#define DHT_SENSOR_TYPE DHT11

DHT dht_sensor(DHT_SENSOR_PIN, DHT_SENSOR_TYPE);

void setup() {
  Serial.begin(9600);
  dht_sensor.begin();
}

void loop() {
  float temperature = dht_sensor.readTemperature();
  float humidity = dht_sensor.readHumidity();

  if (isnan(temperature) || isnan(humidity)) {
    Serial.println("Failed to read from DHT sensor!");
    return;
  }

  Serial.print("Temperature: ");
  Serial.print(temperature);
  Serial.print(" °C, Humidity: ");
  Serial.print(humidity);
  Serial.println(" %");

  delay(2000); // Wait for 2 seconds before reading again
}
-
Upload your code to your arduino using a USB-C cable and run it.
-
Test! Open the serial monitor and watch the temperature and humidity vary depending on nearby objects!
| Prev | Next |
|---|---|
| 8. Membrane Switch Module | 10. Analog Joystick |