10. Analog Joystick
Analog joysticks are versatile input devices commonly used in game controllers, robotics, and various DIY projects. They provide a simple and intuitive way to control the movement or direction of objects and can be easily interfaced with Arduino boards.
Materials
| Component | Image |
|---|---|
| Breadboard | 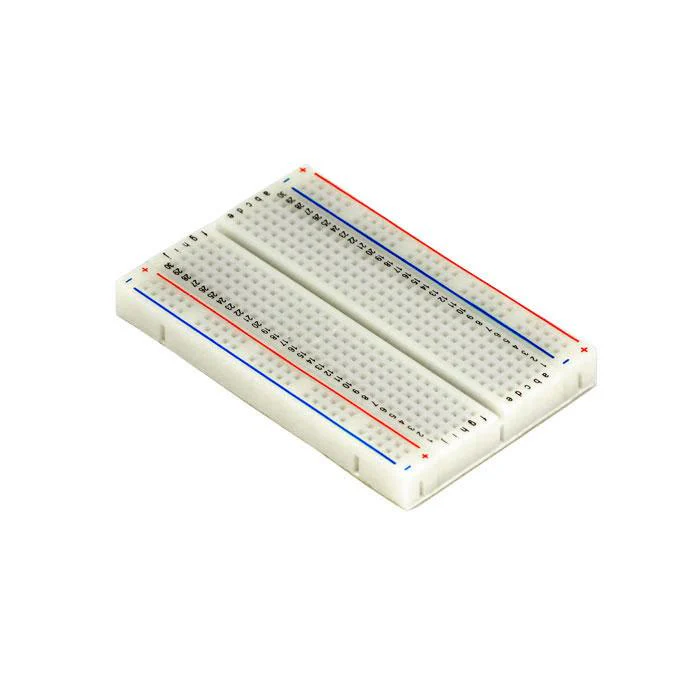 |
| Jumper wires | 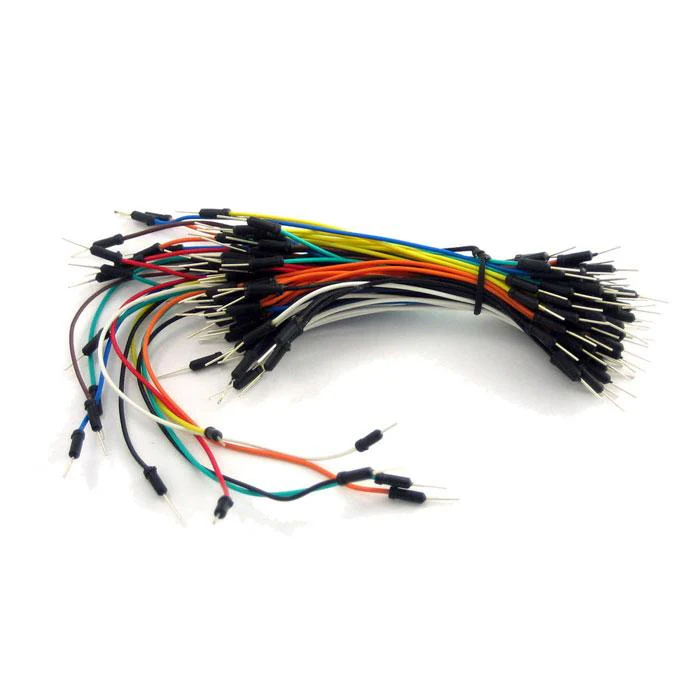 |
| Arduino Uno R4 Minima | 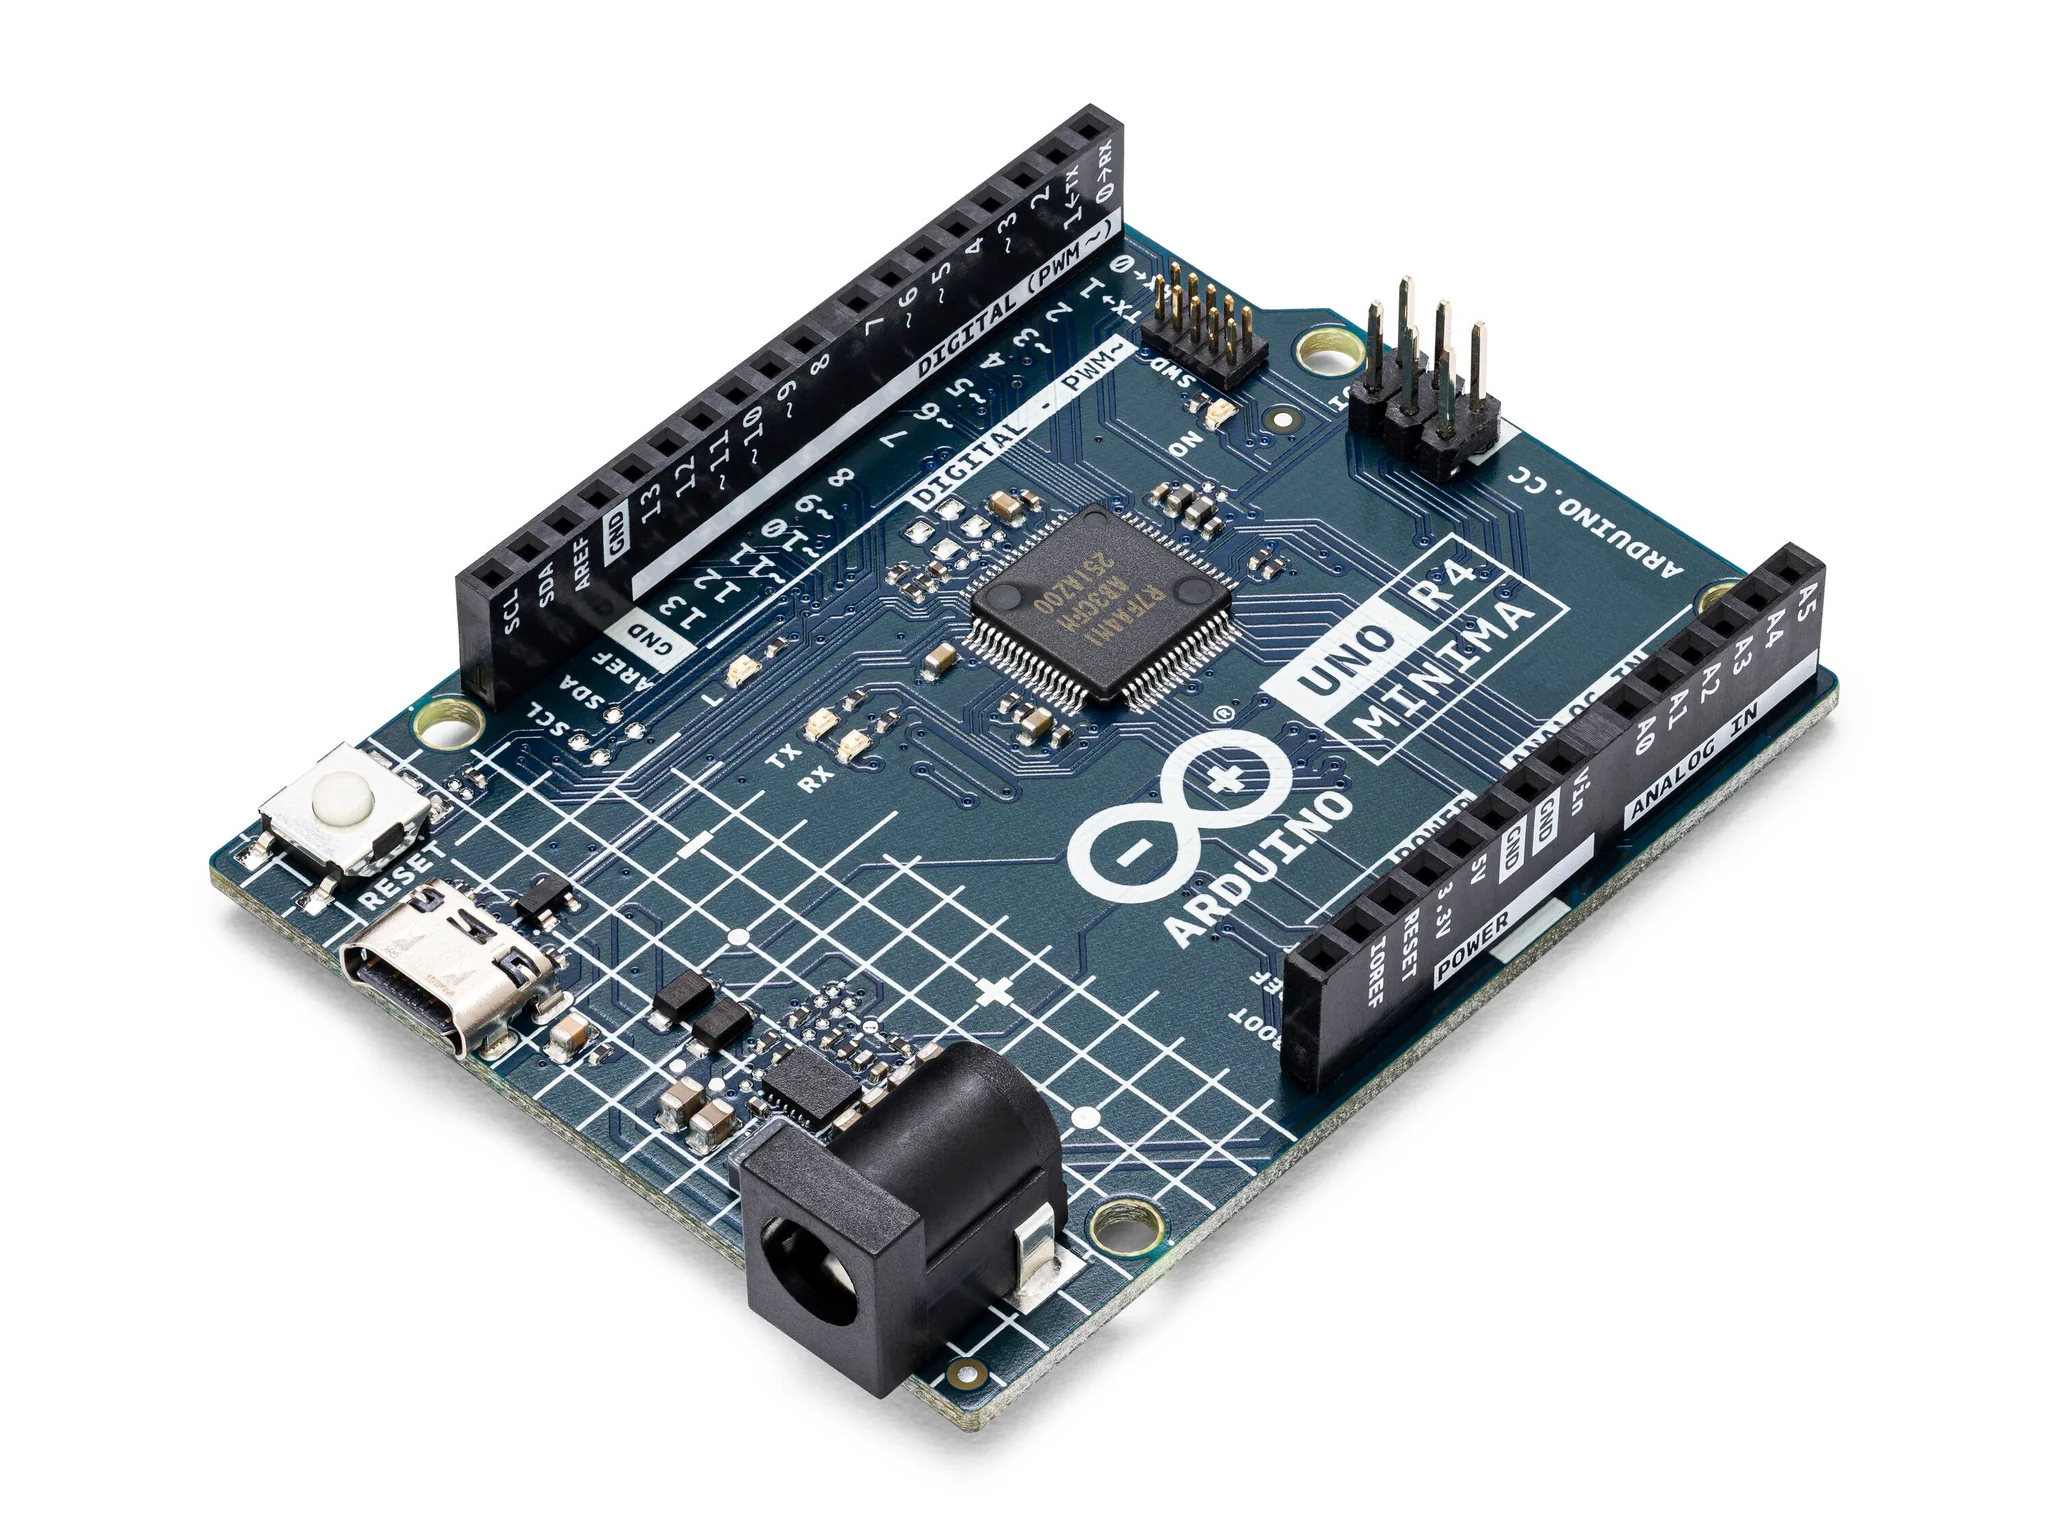 |
| Joystick Module | 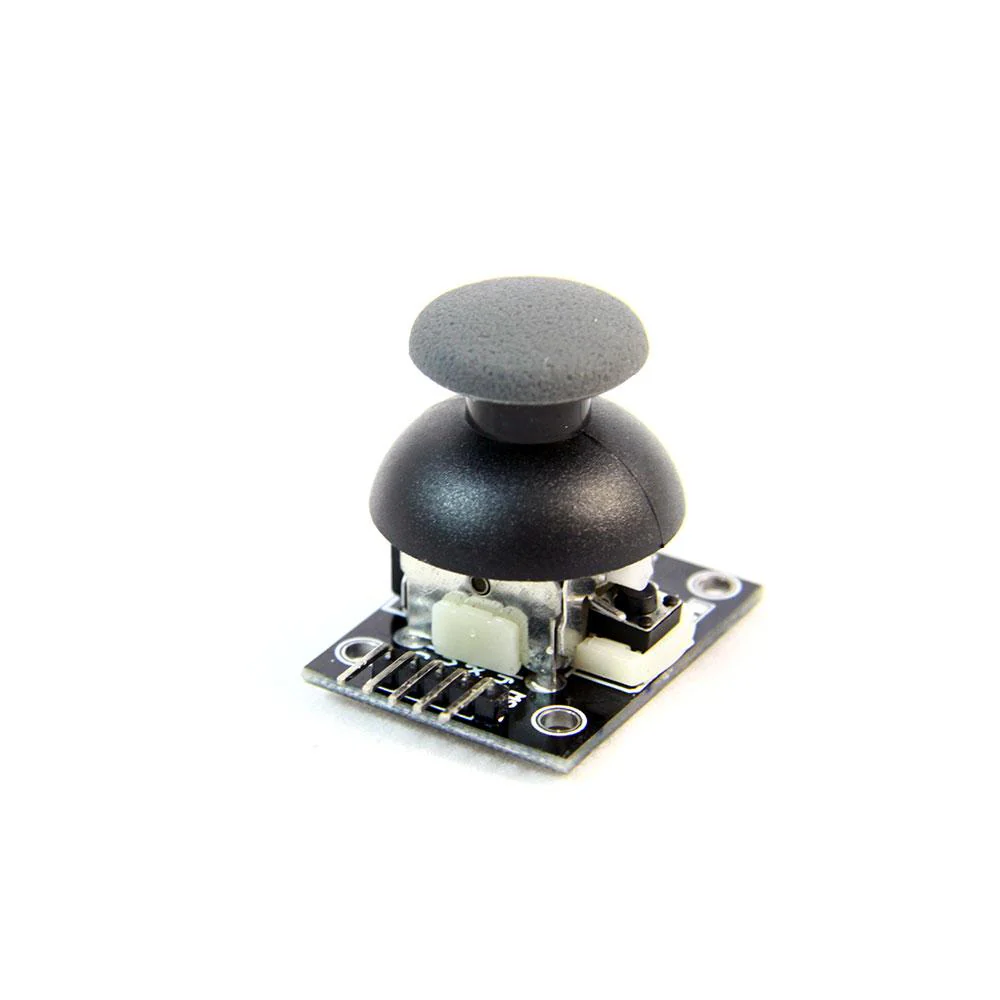 |
Instructions
- Make the following connections using the breadboard and jumper wires.
Connections
(Joystick module to Arduino)
- GND to GND
- 5V to 5V
- VRx to A0
- VRy to A1
- SW to pin 2

- Paste the following code into your main Arduino sketch:
Code
// Arduino pin numbers
const int SW_pin = 2;   // digital pin connected to switch output
const int X_pin = A0;   // analog pin connected to X output
const int Y_pin = A1;   // analog pin connected to Y output

void setup() {
  pinMode(SW_pin, INPUT);
  digitalWrite(SW_pin, HIGH);
  Serial.begin(9600);
}

void loop() {
  Serial.print("Switch:  ");
  Serial.print(digitalRead(SW_pin));
  Serial.print("\n");
  Serial.print("X-axis: ");
  Serial.print(analogRead(X_pin));
  Serial.print("\n");
  Serial.print("Y-axis: ");
  Serial.println(analogRead(Y_pin));
  Serial.print("\n\n");
  delay(1000);
}
-
Connect your Arduino to your laptop using a USB-C cable and upload the code to the arduino.
-
Test! Open the serial monitor and observe the print out statements as you move the joystick module.
| Prev | Next |
|---|---|
| 9. DHT11 Temperature and Humidity Sensor | 11. IR Receiver Module |