Building the Lightsaber
Materials
| Component | Count | Image |
|---|---|---|
| Teensy 4.1 | 1 | 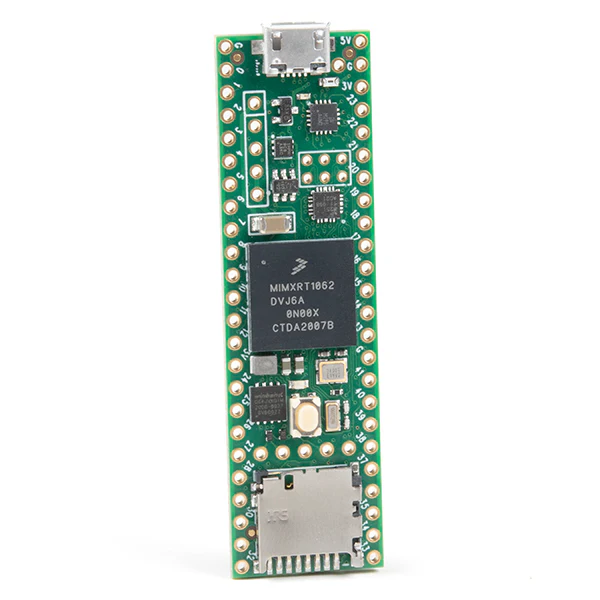 |
| Teensy Propshield | 1 |  |
| Breakaway Female Headers (Machine) | 2 | 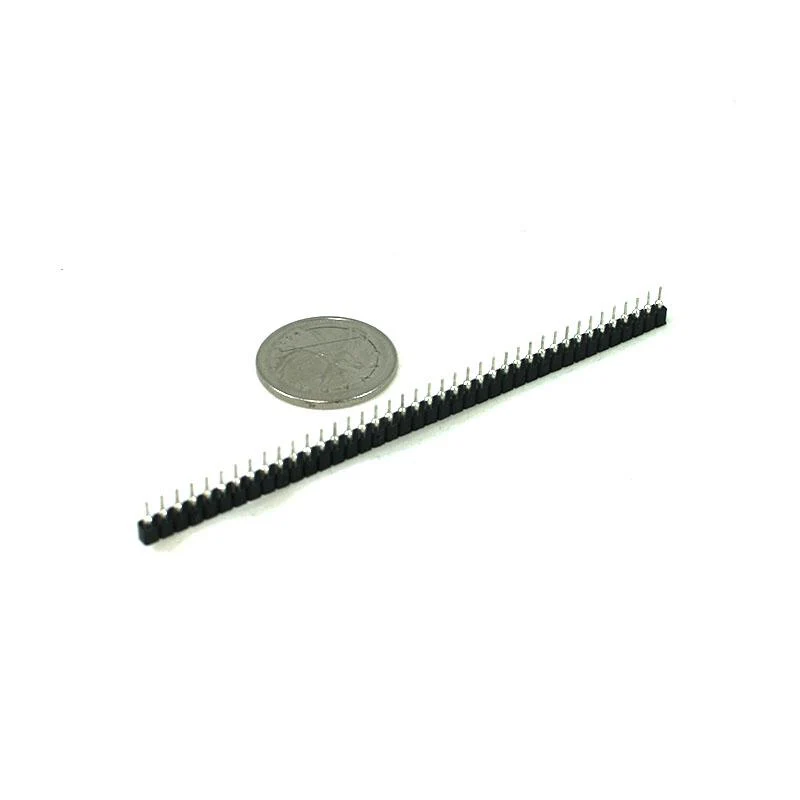 |
| Breakaway Male Headers (Machine) | 2 | 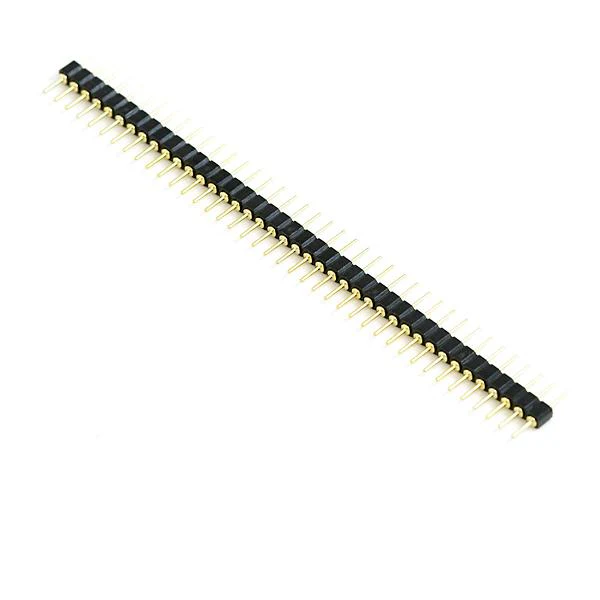 |
| Wires | 1 |  |
| Resistor (2200 Ohm) | 1 | 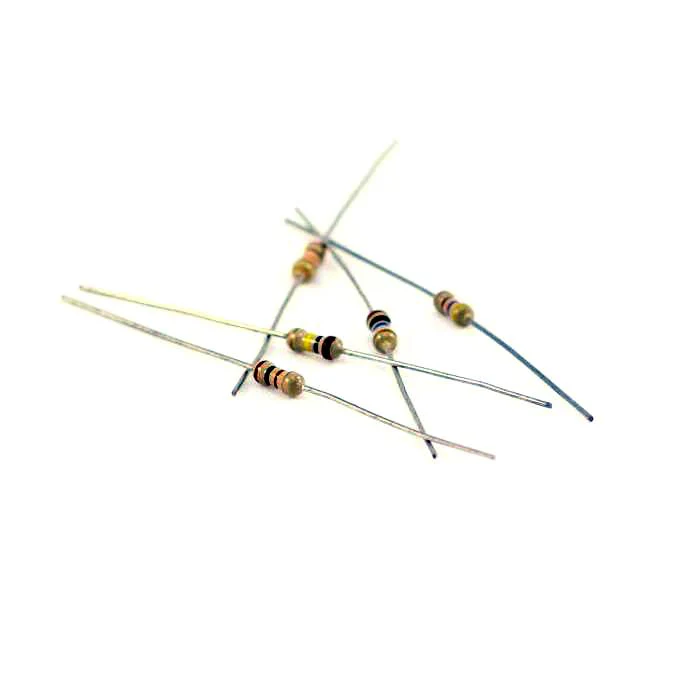 |
| Micro SD card | 1 |  |
| 2 switch buttons | 2 | 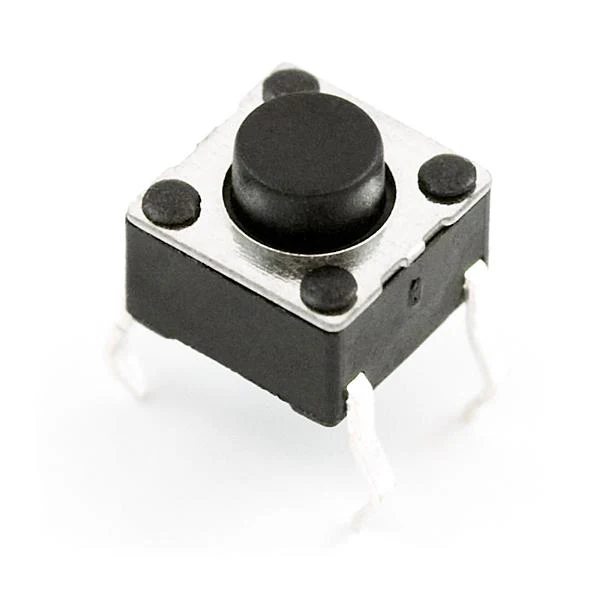 |
Building the Lightsaber
The wiring for the lightsaber can be found in the diagram below:
Programming the Lightsaber
The program for the lightsaber uses a state machine to achieve the functionality of a lightsaber. There are 3 main states: ON, ON STANDBY, and OFF. The state changes when the power button is pressed. The second button changes the colour of the lightsaber. The IMU will detect one of 3 movements: twist, swing, and clash. This prompts the speaker to output different sound effects based on movement detected. The pseudocode to implement this state machine is defined below:
state = OFF

while true:
    if state == OFF:
        if Button1_Press:
            PlaySound("Saber On")
            TurnOnBladeLEDs()
            state = ON_STANDBY

    elif state == ON_STANDBY:
        PlaySound("Saber Hum")
        if Gyroscope_Delta:
            PlaySound("Twirl")
        if Accelerometer_Delta_Slow:
            PlayRandomSound("Saber Swing", 1, 3)
        if Accelerometer_Delta_Rapid:
            PlaySound("Clash")
        if Button2_Press:
            ChangeLEDColor()
        if Button1_Press:
            PlaySound("Saber Off")
            TurnOffBladeLEDs()
            state = OFF